

What would our portfolio be without a dedicated work page, right?
Let's get started on creating this. Hopefully, we can reuse some of the components we already created when working on the homepage, as we see for the blog page.
As a reminder, the work page looks like this in the design file.
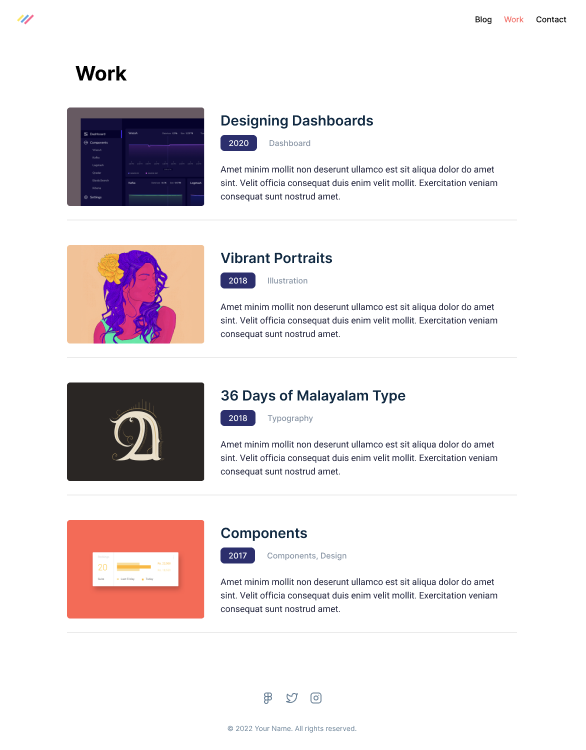
Creating the work page
Let's start by adding a new page to our pages directory. We'll call this file work.js.
The rough outline for it will look like this:
import Head from 'next/head';

export default function WorkPage() {
  return (
    <div>
      <Head>
        <title>NextJS Work</title>
        <meta name='description' content='Generated by create next app' />
        <link rel='icon' href='/favicon.ico' />
      </Head>
      <section>
        <div>
          <h1>Work</h1>
        </div>
      </section>
    </div>
  );
}
We can reuse all the classes we used in yesterday's blog page.
<section className="px-6">
  <div className="max-w-4xl mx-auto">
    <h1 className="text-3xl font-bold mb-6 p-4">Work</h1>
  </div>
</section>
Now let's add some mockup work components we created before.
import Head from 'next/head';
import Work from '../components/work';

export default function WorkPage() {
  return (
    <div>
      <Head>
        <title>NextJS Work</title>
        <meta name='description' content='Generated by create next app' />
        <link rel='icon' href='/favicon.ico' />
      </Head>
      <section className='px-6'>
        <div className='max-w-4xl mx-auto'>
          <h1 className='text-3xl font-bold mb-6 p-4'>Work</h1>
          <Work />
          <Work />
          <Work />
          <Work />
        </div>
      </section>
    </div>
  );
}
Let's see how it looks when we run our app and visit the work page.
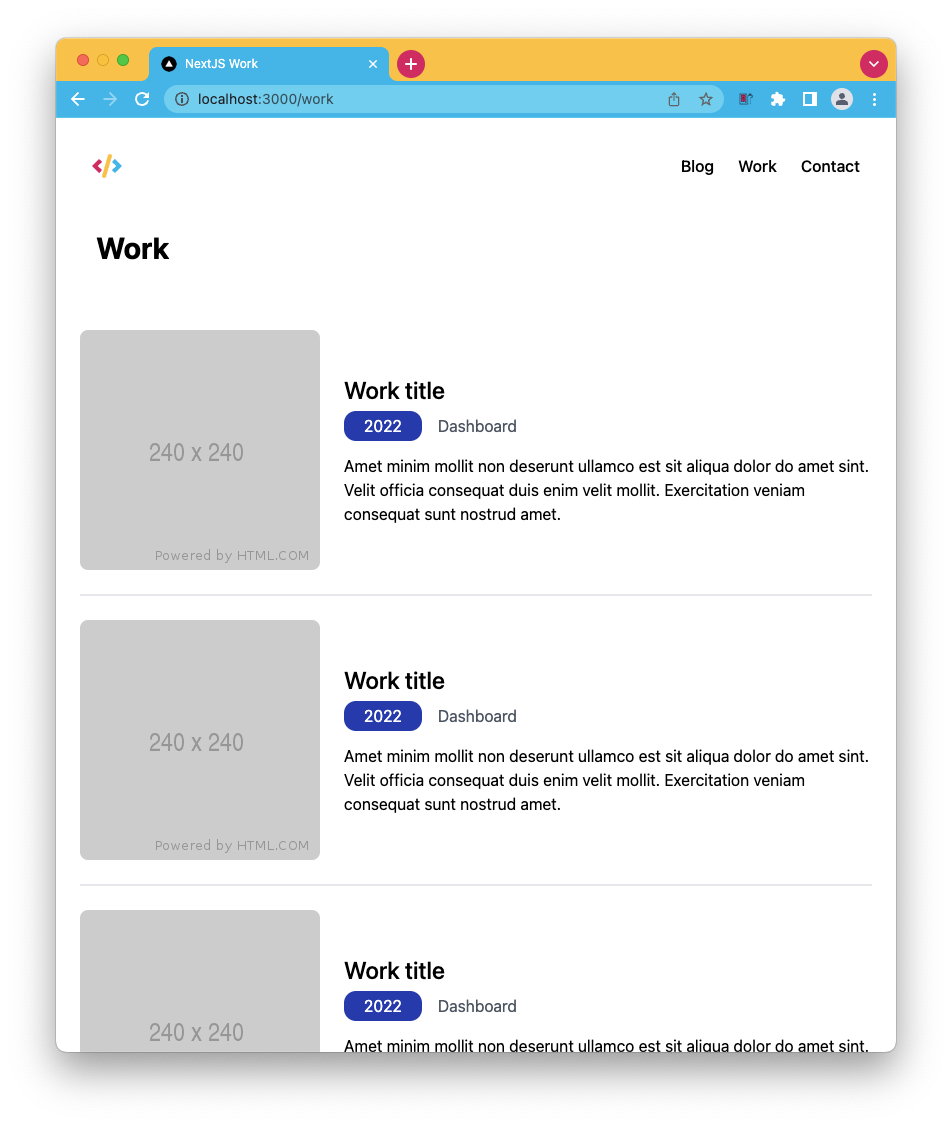
Wow, this one works out of the box. Thank you, reusable components.
You can also find the completed code for today on GitHub
Thank you for reading, and let's connect!
Thank you for reading my blog. Feel free to subscribe to my email newsletter and connect on Facebook or Twitter
About the author
I'm a full-stack developer from South Africa 🇿🇦. I love writing about JavaScript, HTML and CSS.
Comments
Join the discussionNo comments yet. Be the first to comment.



