

So far, we have used a static menu in our header. This static menu doesn't do much expect for the visual representation.
Let's change that and make it work. We'll also tackle setting the active state on each page.
If you are new to this series, you can start using the code from this GitHub branch.
Dynamic menu loading
As you can see in our components/header.js file, our menu is plain HTML at the moment.
Let's first change it so it can dynamically loop over each element. This will help us later, so we don't have to repeat the code as much.
First, start by creating a plain array.
const routes = ['Blog', 'Work', 'Contact'];
Now we can adjust the code inside the ul element to loop over this array and render the items for us.
<ul className='flex gap-6 font-medium'>
  {routes.map((route) => {
    return (
      <li key={route}>
        <Link href={`${route.toLowerCase()}`}>{route}</Link>
      </li>
    );
  })}
</ul>
Do note this is technically still the same code. However, it makes it more manageable to add classes and business logic to it.
If you now run your app, you can navigate to the work and blog pages. (The contact page doesn't exist, so it throws an error)
Active menu items
Now that we can use our menu, there is no indication of which menu item is active.
Let's change the active menu item to the red color we use everywhere for buttons.
First, we'll have to import the Next.js router as we need to access the current route.
import { useRouter } from 'next/router';

export default function Header() {
  const router = useRouter();
}
Then we can add a className on our li element to check if the current routes pathname matches the looped element.
If it's the case, we will turn the item red.
<li className={`hover:underline ${router.pathname === `/${route.toLowerCase()}` && 'text-red-400'}`}>
I also added a generic class always to show an underline on hover.
And now, if we re-run our page and visit the work page, it should be highlighted in red!
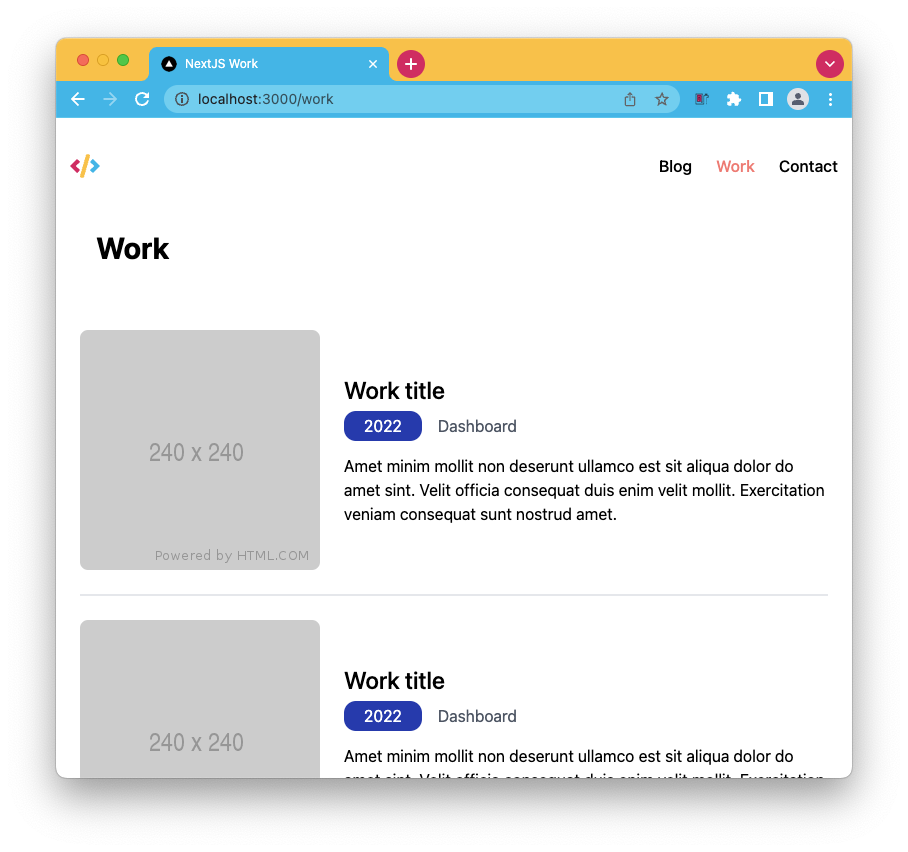
If you want to see the complete code example, use this GitHub branch
Thank you for reading, and let's connect!
Thank you for reading my blog. Feel free to subscribe to my email newsletter and connect on Facebook or Twitter
About the author
I'm a full-stack developer from South Africa 🇿🇦. I love writing about JavaScript, HTML and CSS.
Comments
Join the discussionNo comments yet. Be the first to comment.



