
Deploying Vendure

I'm a full-stack developer from South Africa 🇿🇦. I love writing about JavaScript, HTML and CSS.
The cool part about Vendure is how easy it is to set up and how abstract each layer is. Basically, we get the following elements:
- External database
- Server
- Worker
- Admin UI
- Frontend
While this is amazing, it also brings a bit of complexity when it comes to hosting your Vendure shop.
At the time of writing, I'm still doing some research, and it seems Michael from Vendure is also working on an excellent guide for hosting. (Which I'll add here once it's done).
For my testing purpose, I decided to try out hosting to see what's possible and go with the following setup.
- RailwayApp for the database, server, worker, and admin UI
- Netlify for the storefront
I wouldn't change the front end, as Netlify works fine. However, Vercel or Cloudflare would work equally well.
As for the backend side, Railway works, but it's a bit slow on their free tier. (Still experimenting with a nice setup there).
Setting up the backend
I'll still show you how to host Vendure for free but with limited resources for this guide. You should be able to apply this process to another provider or potentially upgrade the railway subscription.
Create a new Railway account or login into your existing one, creating a new project.
The first thing I added was a PostgreSQL database. I then manually connected to it with TablePlus and imported the database I had locally.
You'll see the database connection string we'll need in a bit on the connection screen, so copy that to a safe spot.
The next thing we need to do is add a new service, a project, from GitHub. (Assuming you pushed your project to GitHub). In Railway, you'll be able to right-click on the canvas and select the new service option.

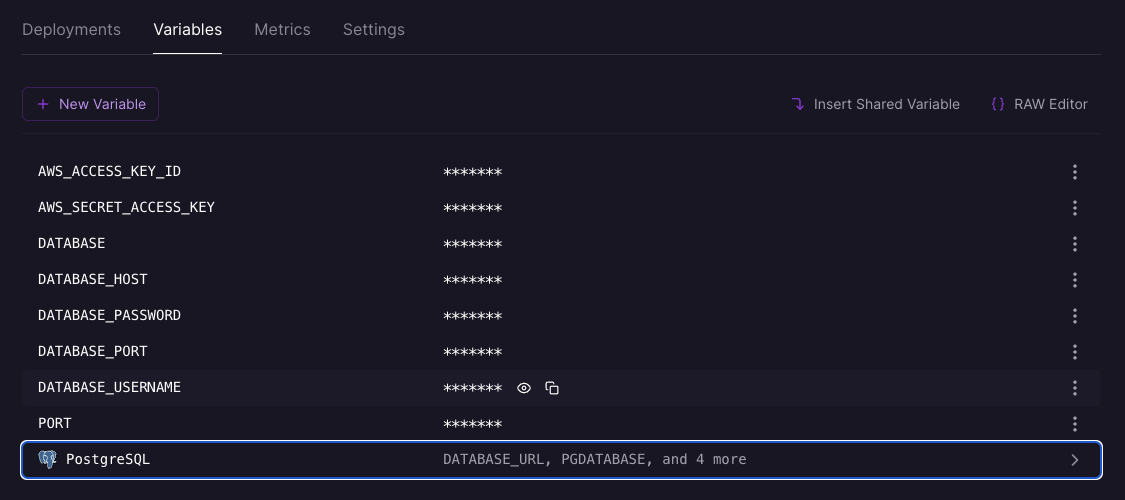
Once you add the service, it should automatically add the Postgres variables.
Add optional variables you have set in your .env file.
You'll need to add the database options here, as Vendure uses an indirect connection.
Then we'll also need to define what command it should run in the settings.
And in the case of Vendure, we can set it to yarn run build.
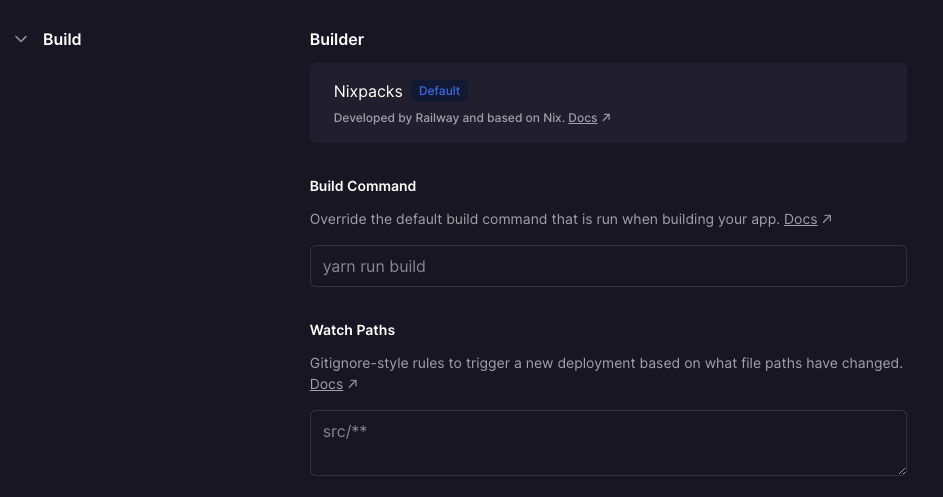
It should then auto-build your application every single time you push new changes.
Note: I sometimes found you need to trigger re-deploy as it would timeout the first deployment manually.
Once it's running, you should already have access to your admin UI!
The URL should be something like this: https://your-name.up.railway.app/admin.
Hosting the storefront
Depending on which storefront option you choose, we have multiple options. I chose Remix, so I found Netlify super easy.
Log in to Netlify and choose the project from your GitHub repos. It will automatically recognize it's a Remix project and set all the configurations for us.
All we need to do here is set an environment variable for the VENDURE_API_URL. This should point to your Railway environment.
Then go ahead and deploy it, and it should be up and running.
Thank you for reading, and let's connect!
Thank you for reading my blog. Feel free to subscribe to my email newsletter and connect on Facebook or Twitter


