
Rethinking our Remix admin routes

In the previous article, we first looked at shared layouts in Remix.
But let's take a deeper look at how we can refactor this a little bit.
The previous example used a /posts/admin structure, which is fine if we only have posts in our admin section.
But what happens if we add categories? Now we have to replicate the whole admin structure there.
What I want to achieve is a separate /admin/{something} structure.
Note: You would fully split your admin from the front-end part in most projects.
In our case, we will mix the front-end with the admin part to ease our showcase example.
Creating the admin routes
The first thing we want to change is to have a basic admin folder. Create this admin folder inside your routes directory.
We have learned from the previous article that we will need to create an admin.tsx file in our routes directory. This file will serve as the main layout for the admin part.
Go ahead and create this file and use the following markup.
import { Link, Outlet } from '@remix-run/react';

export default function PostAdmin() {
  return (
    <div className='mx-auto max-w-4xl'>
      <h1 className='my-6 mb-2 border-b-2 text-center text-3xl'>
        My super cool admin
      </h1>
      <header className='border-b-2 mb-2 p-2'>
        <ul className='flex gap-3'>
          <li>
            <Link to={'/admin'} className='text-blue-600 underline'>
              Admin
            </Link>
          </li>
          <li>
            <Link to={'posts'} className='text-blue-600 underline'>
              Posts
            </Link>
          </li>
        </ul>
      </header>
      <main className='p-4'>
        <Outlet />
      </main>
    </div>
  );
}
This will render a basic header that can link to our admin dashboard and our admin post section.
If we now create a super simple index.tsx inside our admin folder, we can see if this router outlet works.
export default function AdminIndex() {
  return <p>Welcome to the admin panel</p>;
}
Go ahead and run your app. At this point, you should see the following result.
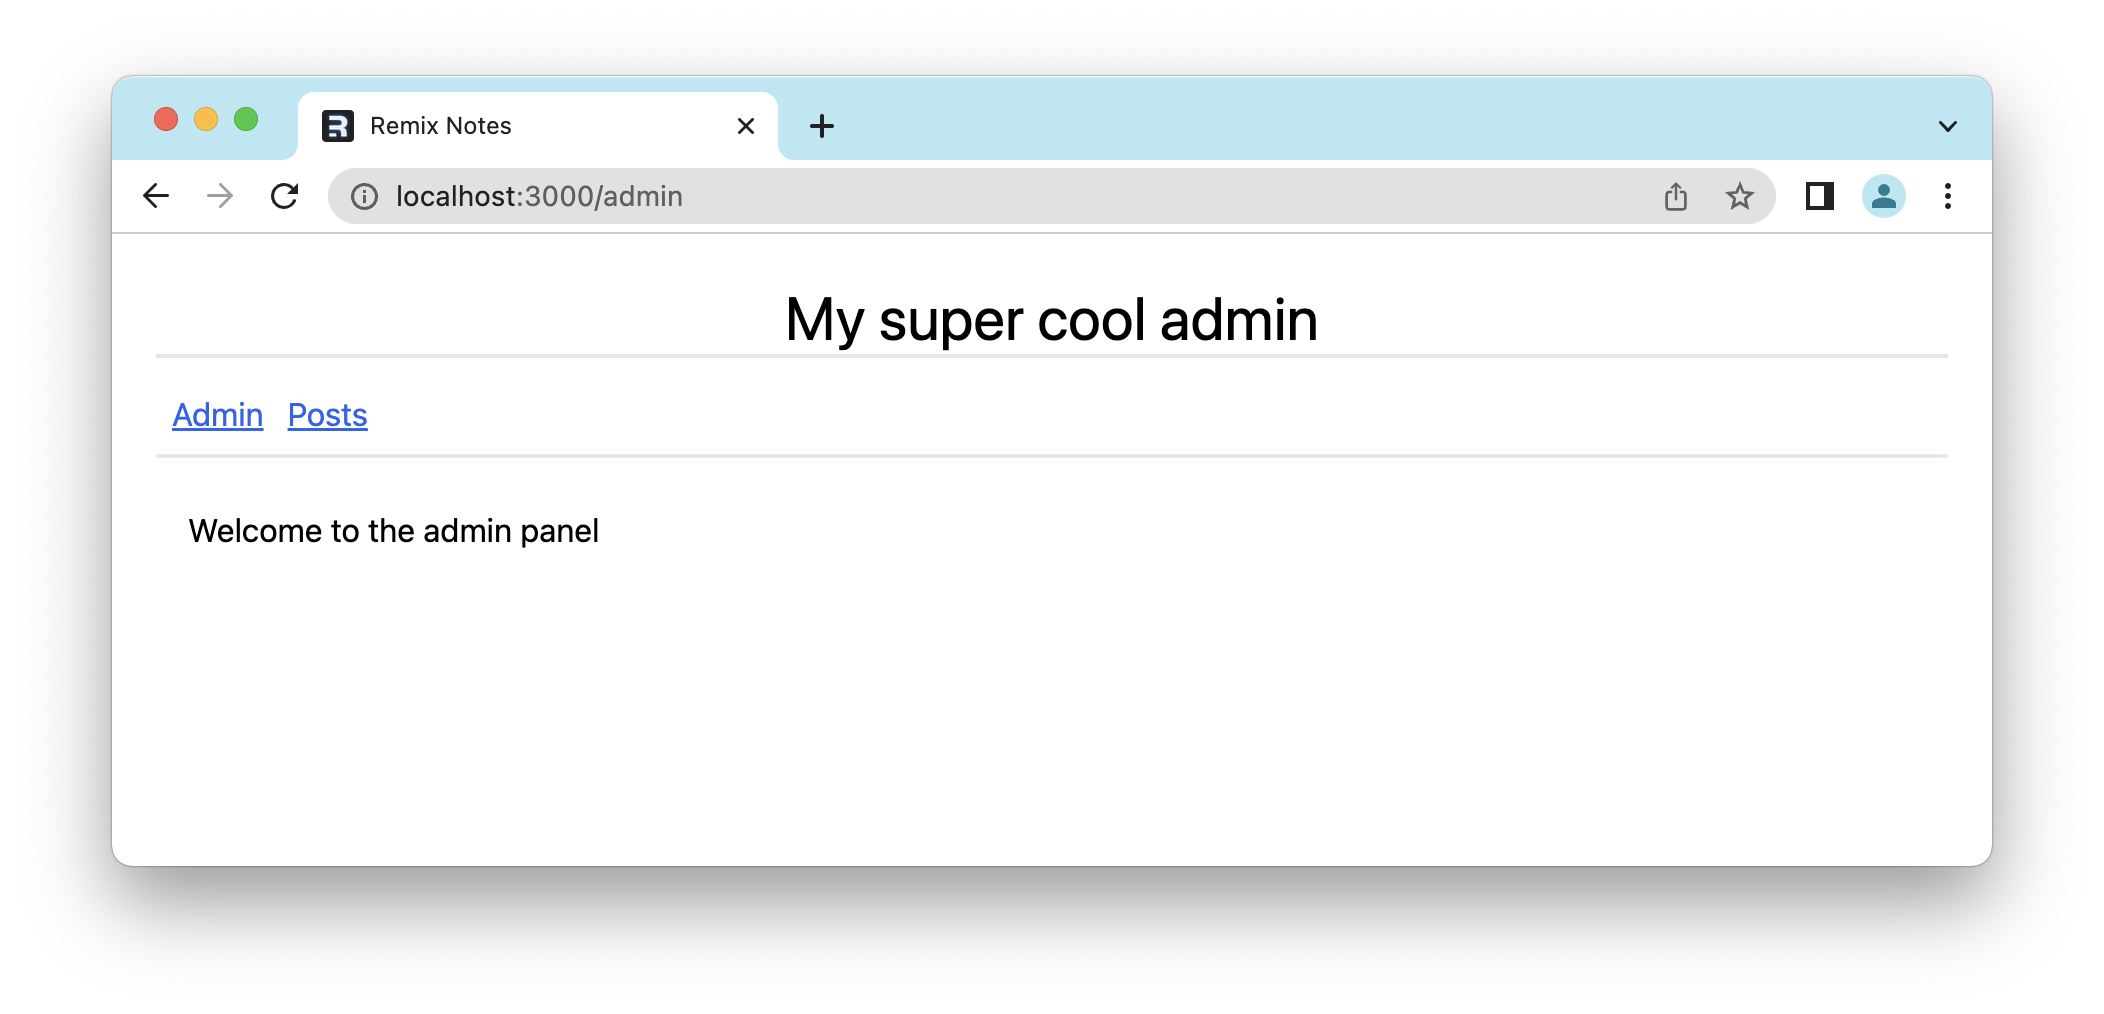
The image rendered the big header, the menu with the two links, and the index file inside the outlet.
Creating the admin post section
Now we can create a posts folder inside our admin folder. This will be the home for our existing post admin.
And again, we can leverage the specific layout methods to create a posts.tsx file in our admin folder. (So one level up from the admin/posts/ folder)
This will be our layout again.
If you are following along, you already have this layout as it was previously the posts/admin.tsx file.
Move and rename this file, or copy-paste the below code.
import { json } from "@remix-run/node";
import { Link, Outlet, useLoaderData } from "@remix-run/react";
import { getPosts } from "~/models/post.server";
import { LoaderFunction } from "@remix-run/node";

type LoaderData = {
  posts: Awaited<ReturnType<typeof getPosts>>;
};

export const loader: LoaderFunction = async () => {
  return json({ posts: await getPosts() });
};

export default function PostAdmin() {
  const { posts } = useLoaderData() as LoaderData;

  return (
      <div className="grid grid-cols-4 gap-6">
        <nav className="col-span-4 md:col-span-1">
          <ul>
            {posts.map((post) => (
              <li key={post.slug}>
                <Link
                  to={`/posts/${post.slug}`}
                  className="text-blue-600 underline"
                >
                  {post.title}
                </Link>
              </li>
            ))}
          </ul>
        </nav>
        <main className="col-span-4 md:col-span-3">
          <Outlet />
        </main>
      </div>
  );
}
Inside the admin/posts folder, create the index.tsx file, our welcome screen for the post section.
import { Link } from '@remix-run/react';

export default function AdminIndex() {
  return (
    <p>
      <Link to='new' className='text-blue-600 underline'>
        Create a New Post
      </Link>
    </p>
  );
}
And then we also want to use the new post page, which we also created, you can simply move the new.tsx file to this admin/posts folder or create a new one with this content:
import { Form } from '@remix-run/react';
import { redirect } from '@remix-run/node';
import { createPost } from '~/models/post.server';

const inputClassName = `w-full rounded border border-gray-500 px-2 py-1 text-lg`;

export const action = async ({ request }) => {
  const formData = await request.formData();

  const title = formData.get('title');
  const slug = formData.get('slug');
  const content = formData.get('content');

  await createPost({ title, slug, content });
  return redirect('/posts/admin');
};

export default function NewPost() {
  return (
    <Form method='post'>
      <p>
        <label>
          Post Title:{' '}
          <input type='text' name='title' className={inputClassName} />
        </label>
      </p>
      <p>
        <label>
          Post Slug:{' '}
          <input type='text' name='slug' className={inputClassName} />
        </label>
      </p>
      <p>
        <label>
          Content:{' '}
          <input type='text' name='content' className={inputClassName} />
        </label>
      </p>
      <p className='text-right'>
        <button
          type='submit'
          className='rounded bg-blue-500 py-2 px-4 text-white hover:bg-blue-600 focus:bg-blue-400 disabled:bg-blue-300'
        >
          Create Post
        </button>
      </p>
    </Form>
  );
}
And that's it. We now migrated our post admin section to a global admin section.
This makes it easier to add some more admin options at a later stage.
You can find the completed code on GitHub.
Thank you for reading, and let's connect!
Thank you for reading my blog. Feel free to subscribe to my email newsletter and connect on Facebook or Twitter
About the author
I'm a full-stack developer from South Africa 🇿🇦. I love writing about JavaScript, HTML and CSS.
Comments
Join the discussionNo comments yet. Be the first to comment.



