# Rethinking our Remix admin routes

In the previous article, we first looked at [shared layouts in Remix](https://daily-dev-tips.com/posts/remix-shared-layouts-a-first-look/).

But let's take a deeper look at how we can refactor this a little bit.

The previous example used a `/posts/admin` structure, which is fine if we only have posts in our admin section.
But what happens if we add categories? Now we have to replicate the whole admin structure there.

What I want to achieve is a separate `/admin/{something}` structure.

> Note: You would fully split your admin from the front-end part in most projects.

In our case, we will mix the front-end with the admin part to ease our showcase example.

## Creating the admin routes

The first thing we want to change is to have a basic admin folder.
Create this admin folder inside your routes directory.

We have learned from the previous article that we will need to create an `admin.tsx` file in our routes directory. This file will serve as the main layout for the admin part.

Go ahead and create this file and use the following markup.

```js
import { Link, Outlet } from '@remix-run/react';

export default function PostAdmin() {
  return (
    <div className='mx-auto max-w-4xl'>
      <h1 className='my-6 mb-2 border-b-2 text-center text-3xl'>
        My super cool admin
      </h1>
      <header className='border-b-2 mb-2 p-2'>
        <ul className='flex gap-3'>
          <li>
            <Link to={'/admin'} className='text-blue-600 underline'>
              Admin
            </Link>
          </li>
          <li>
            <Link to={'posts'} className='text-blue-600 underline'>
              Posts
            </Link>
          </li>
        </ul>
      </header>
      <main className='p-4'>
        <Outlet />
      </main>
    </div>
  );
}
```

This will render a basic header that can link to our admin dashboard and our admin post section.

If we now create a super simple `index.tsx` inside our `admin` folder, we can see if this router outlet works.

```js
export default function AdminIndex() {
  return <p>Welcome to the admin panel</p>;
}
```

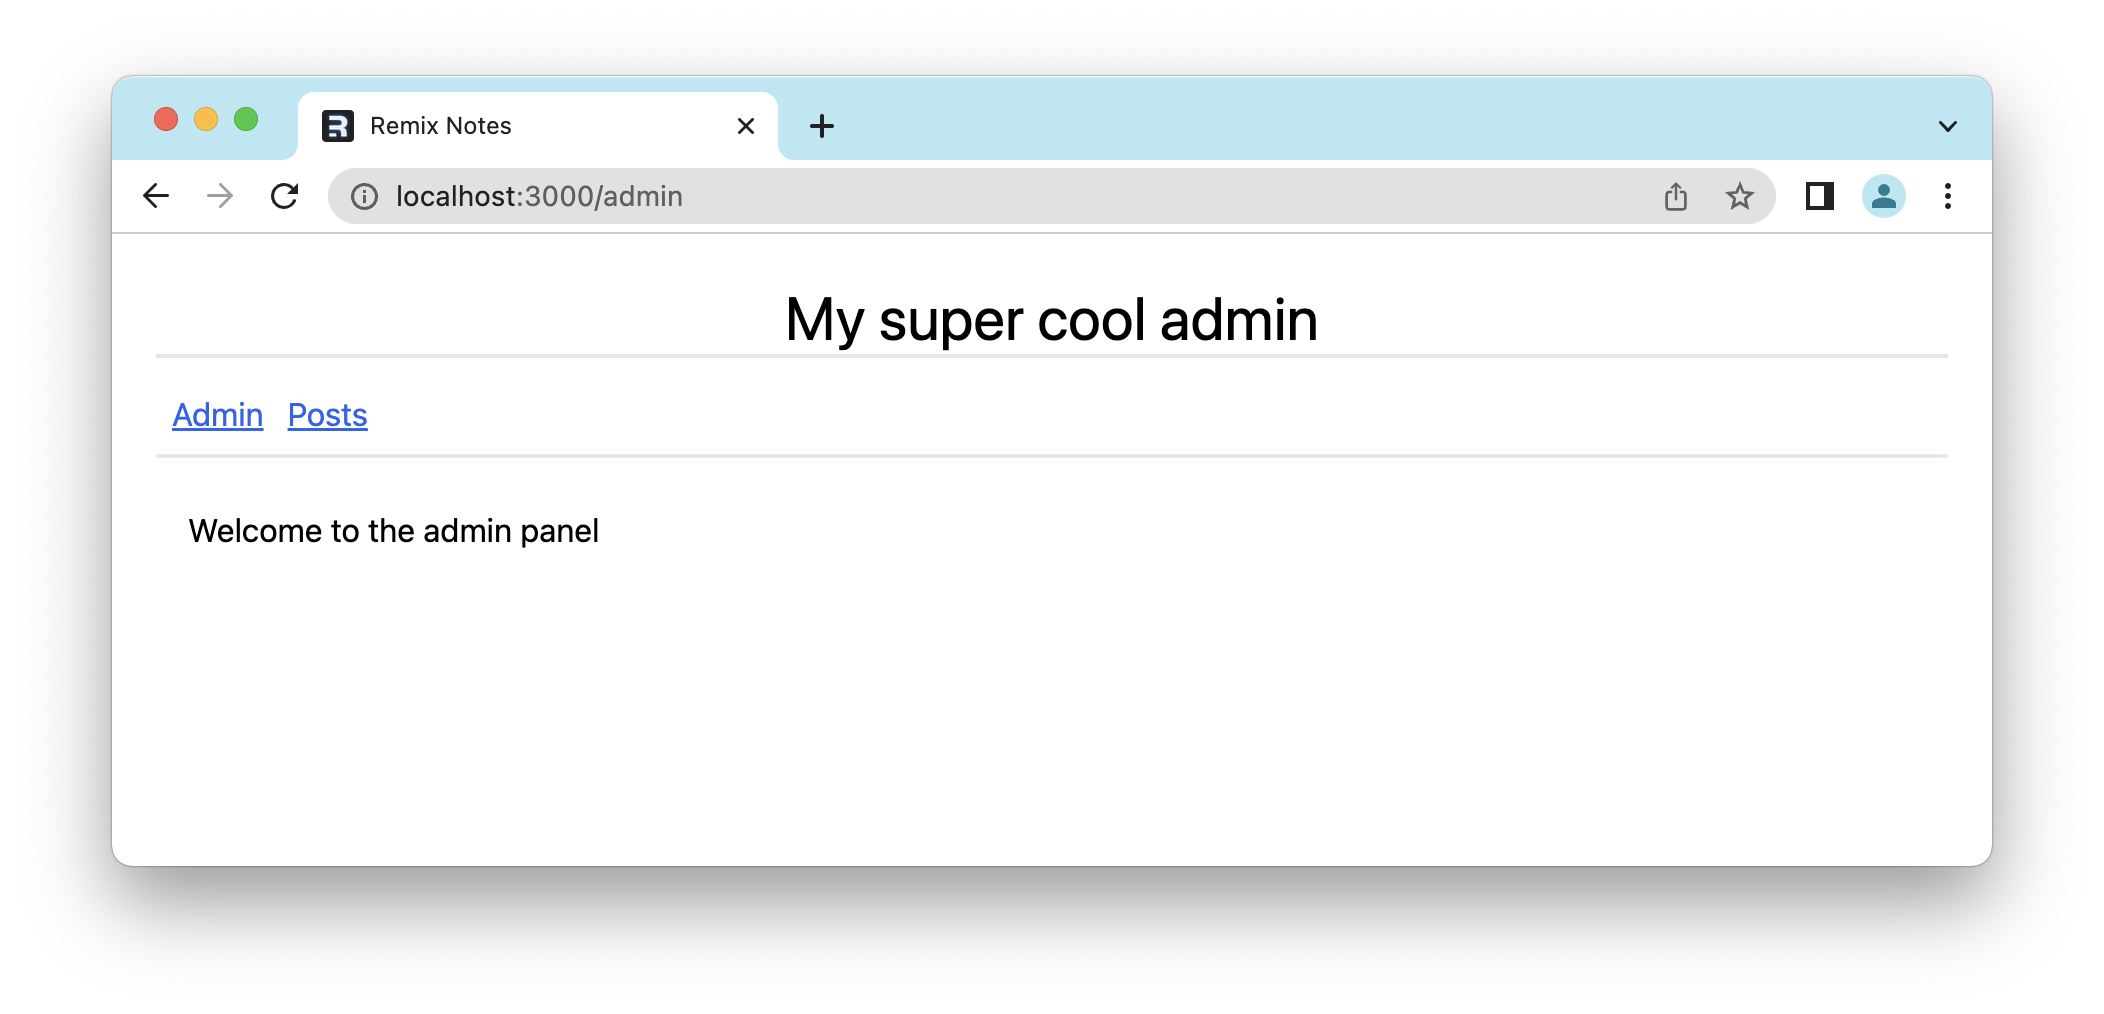
Go ahead and run your app. At this point, you should see the following result.
![Basic Remix admin panel](https://cdn.hashnode.com/res/hashnode/image/upload/v1650350312984/q37StzMSh.png)

The image rendered the big header, the menu with the two links, and the index file inside the outlet.

## Creating the admin post section

Now we can create a `posts` folder inside our admin folder. This will be the home for our existing post admin.

And again, we can leverage the specific layout methods to create a `posts.tsx` file in our admin folder. (So one level up from the `admin/posts/` folder)

This will be our layout again.

If you are following along, you already have this layout as it was previously the `posts/admin.tsx` file.

Move and rename this file, or copy-paste the below code.

```js
import { json } from "@remix-run/node";
import { Link, Outlet, useLoaderData } from "@remix-run/react";
import { getPosts } from "~/models/post.server";
import { LoaderFunction } from "@remix-run/node";

type LoaderData = {
  posts: Awaited<ReturnType<typeof getPosts>>;
};

export const loader: LoaderFunction = async () => {
  return json({ posts: await getPosts() });
};

export default function PostAdmin() {
  const { posts } = useLoaderData() as LoaderData;

  return (
      <div className="grid grid-cols-4 gap-6">
        <nav className="col-span-4 md:col-span-1">
          <ul>
            {posts.map((post) => (
              <li key={post.slug}>
                <Link
                  to={`/posts/${post.slug}`}
                  className="text-blue-600 underline"
                >
                  {post.title}
                </Link>
              </li>
            ))}
          </ul>
        </nav>
        <main className="col-span-4 md:col-span-3">
          <Outlet />
        </main>
      </div>
  );
}
```

Inside the `admin/posts` folder, create the `index.tsx` file, our welcome screen for the post section.

```js
import { Link } from '@remix-run/react';

export default function AdminIndex() {
  return (
    <p>
      <Link to='new' className='text-blue-600 underline'>
        Create a New Post
      </Link>
    </p>
  );
}
```

And then we also want to use the new post page, which we also created, you can simply move the `new.tsx` file to this `admin/posts` folder or create a new one with this content:

```js
import { Form } from '@remix-run/react';
import { redirect } from '@remix-run/node';
import { createPost } from '~/models/post.server';

const inputClassName = `w-full rounded border border-gray-500 px-2 py-1 text-lg`;

export const action = async ({ request }) => {
  const formData = await request.formData();

  const title = formData.get('title');
  const slug = formData.get('slug');
  const content = formData.get('content');

  await createPost({ title, slug, content });
  return redirect('/posts/admin');
};

export default function NewPost() {
  return (
    <Form method='post'>
      <p>
        <label>
          Post Title:{' '}
          <input type='text' name='title' className={inputClassName} />
        </label>
      </p>
      <p>
        <label>
          Post Slug:{' '}
          <input type='text' name='slug' className={inputClassName} />
        </label>
      </p>
      <p>
        <label>
          Content:{' '}
          <input type='text' name='content' className={inputClassName} />
        </label>
      </p>
      <p className='text-right'>
        <button
          type='submit'
          className='rounded bg-blue-500 py-2 px-4 text-white hover:bg-blue-600 focus:bg-blue-400 disabled:bg-blue-300'
        >
          Create Post
        </button>
      </p>
    </Form>
  );
}
```

And that's it. We now migrated our post admin section to a global admin section.

This makes it easier to add some more admin options at a later stage.

You can find the completed code on [GitHub](https://github.com/rebelchris/remix-starter/tree/admin-layout).

### Thank you for reading, and let's connect!

Thank you for reading my blog. Feel free to subscribe to my email newsletter and connect on [Facebook](https://www.facebook.com/DailyDevTipsBlog) or [Twitter](https://twitter.com/DailyDevTips1)
