
NextAuth the easiest authentication for Next.js

I'm a full-stack developer from South Africa 🇿🇦. I love writing about JavaScript, HTML and CSS.
Adding authentication to any application can be a bit of a mission. However, with NextAuth, it's a breeze for Next.js applications.
In this article, we'll explore a social login, using Twitter as our authentication layer.
We'll build this whole app from scratch so you can follow along.
Adding NextAuth to our application
Before adding it, let's quickly scaffold a new Next.js app.
npx create-next-app
Give the project a cool name on the prompt, and that's it. We have a basic Next.js app now.
To run your app enter the folder and execute the following command:
npm run dev
To add NextAuth to our project, we need to install the following package:
npm i next-auth@beta
Adding the server-side layer
The first step is to add the server-side layer. This comes with the callback for the providers and more.
To add this, we need to create an auth folder inside our pages/api folder.
Inside this auth folder create a file called [...nextauth].js.
Inside of it, place the following code.
import NextAuth from 'next-auth'

export default NextAuth({
  providers: [
    // We'll come back here
  ]
})
Adding the session to our app
The next part we need is a session provider. This is already given to us by NextAuth. We just need to enable it in our pages/_app.js file.
import { SessionProvider } from 'next-auth/react';

function MyApp({ Component, pageProps: { session, ...pageProps } }) {
  return (
    <SessionProvider session={session}>
      <Component {...pageProps} />
    </SessionProvider>
  );
}

export default MyApp;
This will make sure our complete app is wrapped in a session provider to access the session throughout our app.
Adding the Twitter provider to NextAuth
So far, we don't have any providers set up yet, so our app can't authenticate with anything.
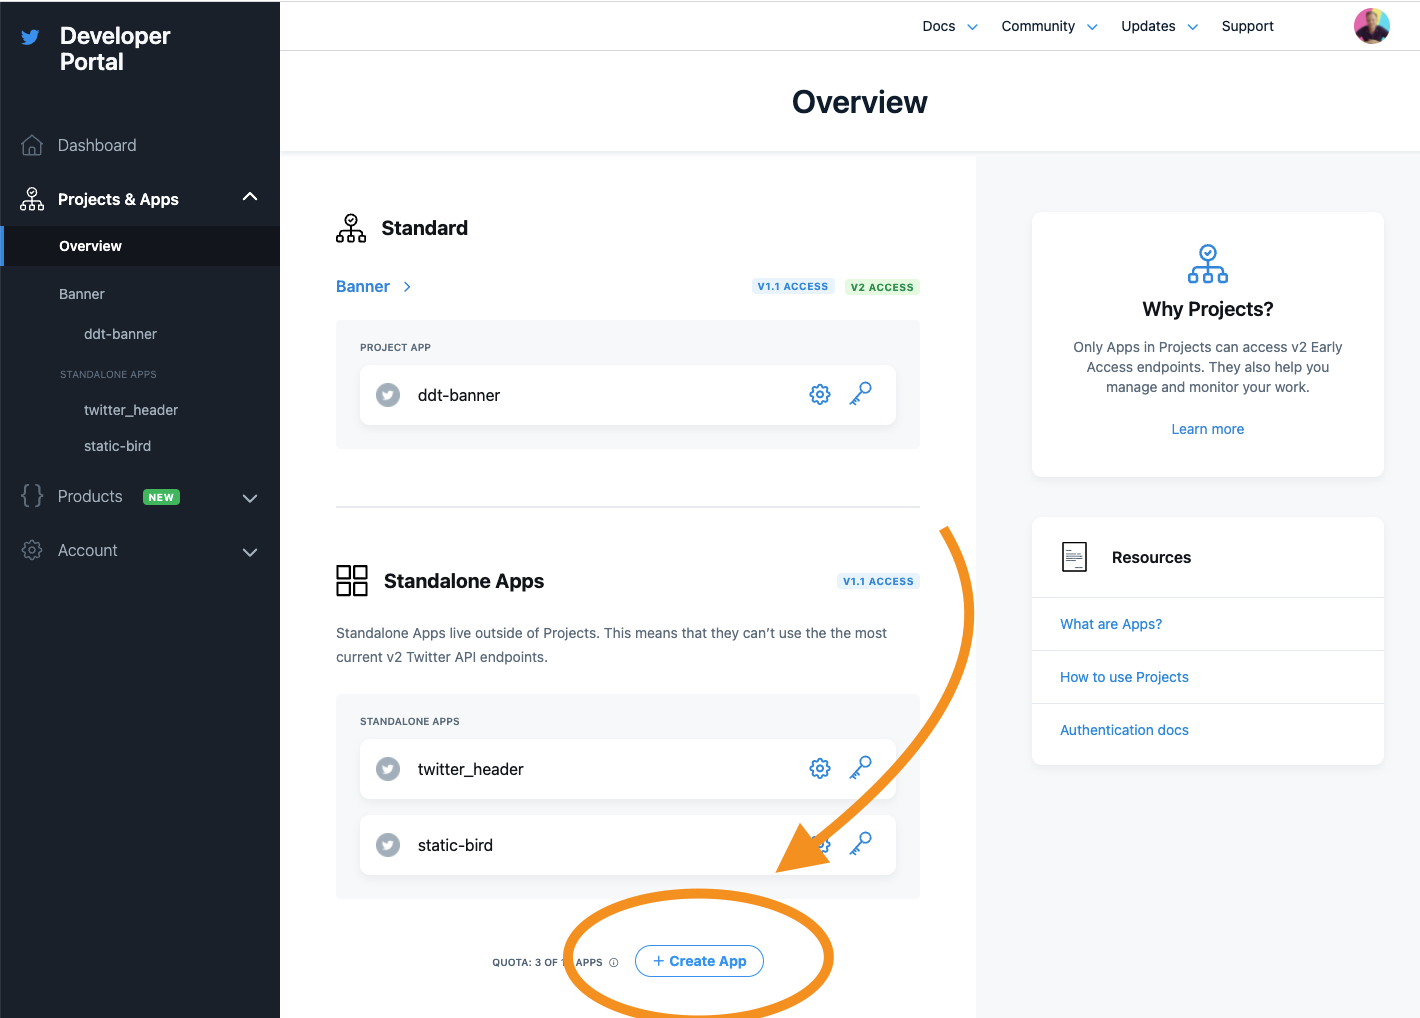
To change this, we must first register a new app in the Twitter Developer console.
Create a new app here.
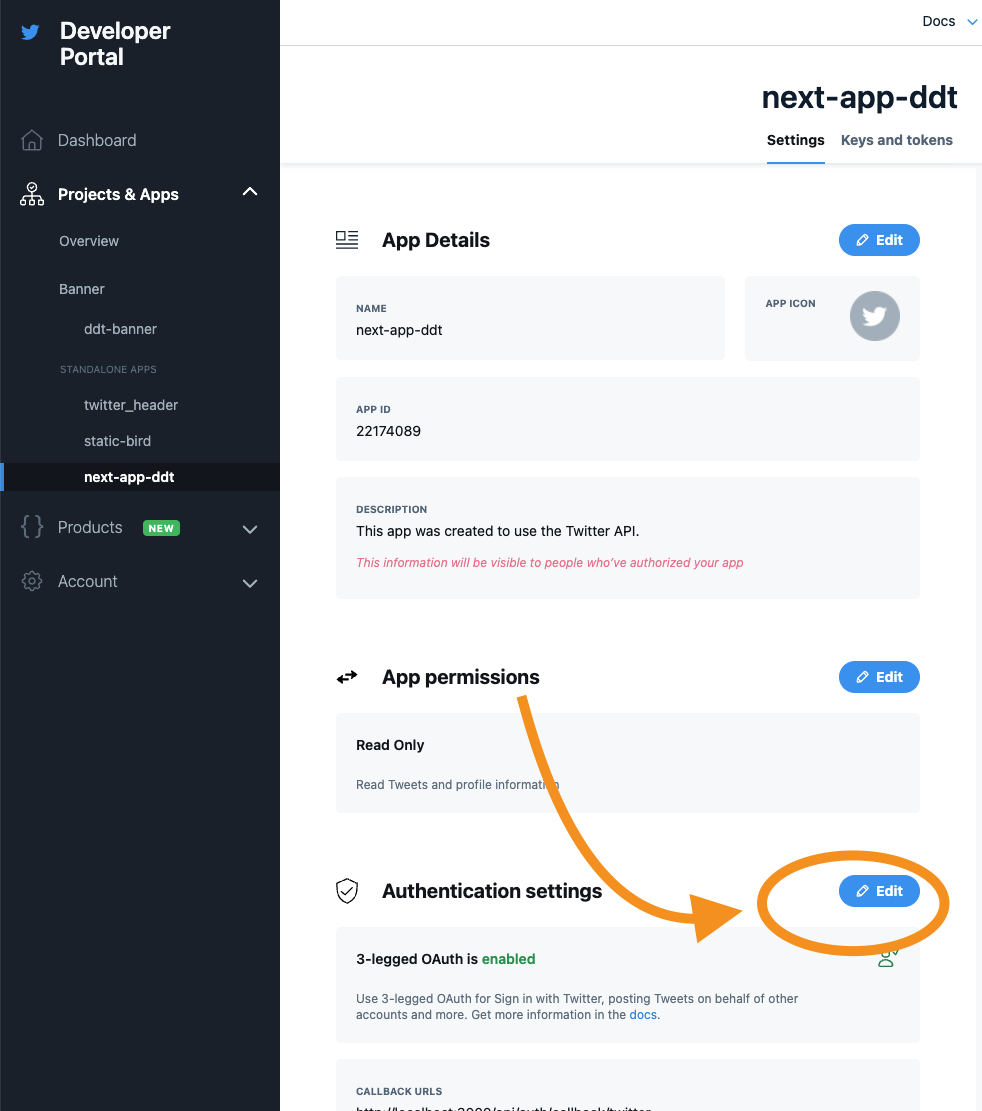
Add this point go back to your application, and create a .env file in the root of your project.
Inside this file, add the following two details from your Twitter app.
TWITTER_CLIENT_ID=xxx
TWITTER_CLIENT_SECRET=xxx
Then click the authentication settings.
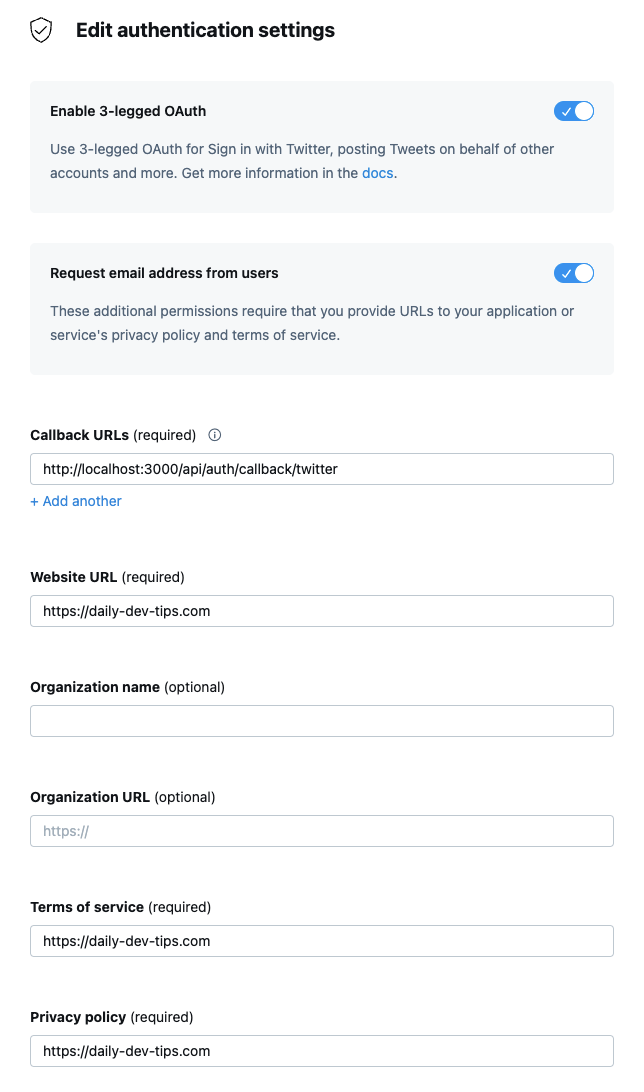
On this screen, fill out the following options:
- Enable 3-legged Oauth (ON)
- Request email addresses from users (ON)
- Callback URLs (http://localhost:3000/api/auth/callback/twitter)
- Website URL (your website)
- Terms of service (your website)
- Privacy policy (your website)
The last thing we need to do is edit our pages/api/auth/[...nextauth].js file and include the Provider:
import NextAuth from 'next-auth';
import TwitterProvider from 'next-auth/providers/twitter';

export default NextAuth({
  providers: [
    TwitterProvider({
      clientId: process.env.TWITTER_CLIENT_ID,
      clientSecret: process.env.TWITTER_CLIENT_SECRET,
    }),
  ],
});
Adding the frontend authentication steps
Now that we have everything in place, let's add the login button to our app and test everything out.
Change your index.js file to look like this:
import { useSession, signIn, signOut } from 'next-auth/react';

export default function Component() {
  const { data: session } = useSession();
  if (session) {
    return (
      <>
        Signed in as {session.user.email} <br />
        <button onClick={() => signOut()}>Sign out</button>
      </>
    );
  }
  return (
    <>
      Not signed in <br />
      <button onClick={() => signIn()}>Sign in</button>
    </>
  );
}
And if we now run our app, the flow looks like this:

You can also find the complete code on GitHub.
Thank you for reading, and let's connect!
Thank you for reading my blog. Feel free to subscribe to my email newsletter and connect on Facebook or Twitter


