

Now that we have the homepage ready let's tackle the blog page. A reminder of what the blog page looks like in the design:
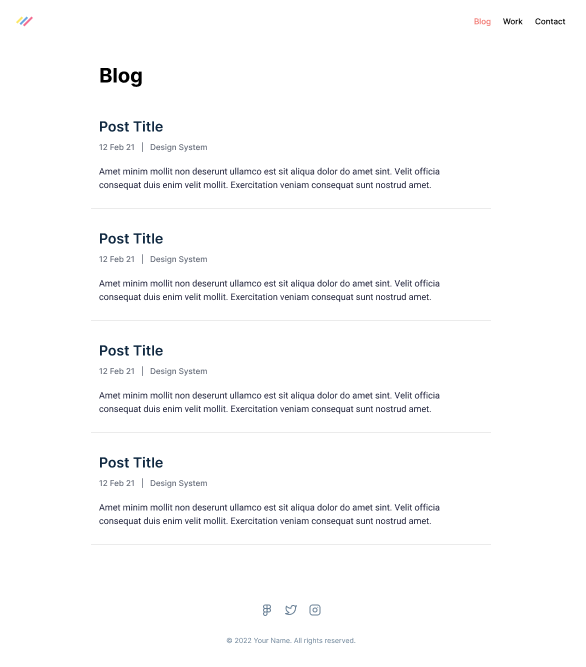
Hopefully, we can reuse the blog elements we created for the homepage.
That is the beautiful world of reusing components in different areas.
Let's get started!
Creating the blog page
The first thing we'll want to do is ensure the page exists.
Create a new file called blog.js in the pages directory and use the following markup.
import Head from 'next/head';

export default function Blog() {
  return (
    <div>
      <Head>
        <title>NextJS Blog</title>
        <meta name='description' content='Generated by create next app' />
        <link rel='icon' href='/favicon.ico' />
      </Head>
      <h1>Blog</h1>
    </div>
  );
}
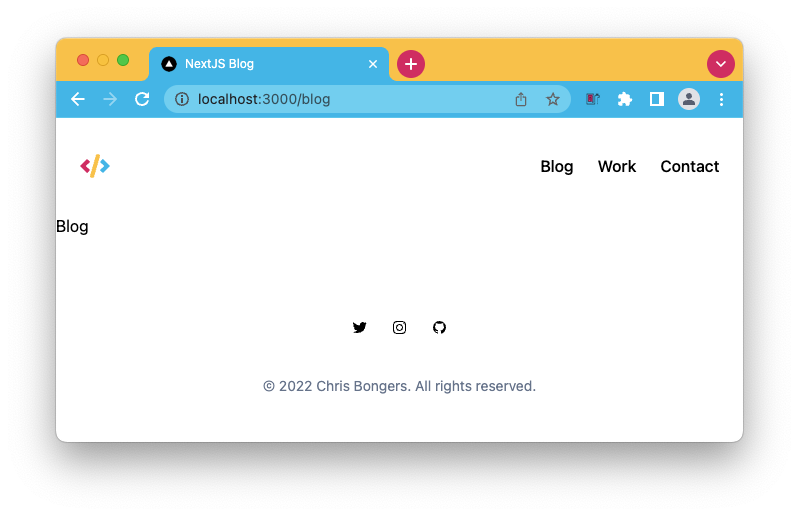
Because we created a layout, the header and footer should already be there. Now we have to start styling the inside part, where we rendered the heading that states the blog.
The first thing we want to tackle is for the element to be inside the container and have padding for the smaller screens. Unfurtionally we have to use two elements with the layout style we choose. (You can opt for one, but it will make the elements smaller and not pixel perfect)
<section className="px-6">
  <div className="max-w-4xl mx-auto">
    <h1>Blog</h1>
  </div>
</section>
Then let's add some styling to this heading element.
<h1 className="text-3xl font-bold mb-6 p-4">Blog</h1>
Let's take a look at how it looks so far.
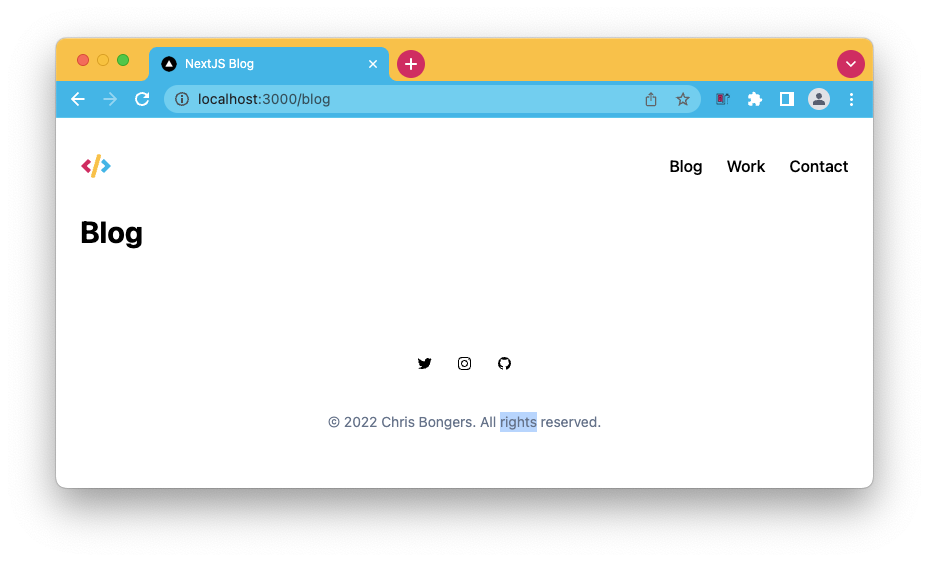
That's pretty much what we are looking for. As dummy data, let's add some of the articles we created before.
import Head from 'next/head';
import Article from '../components/article';

export default function Blog() {
  return (
    <div>
      <Head>
        <title>NextJS Blog</title>
        <meta name='description' content='Generated by create next app' />
        <link rel='icon' href='/favicon.ico' />
      </Head>
      <section className='px-6'>
        <div className='max-w-4xl mx-auto'>
          <h1 className='text-3xl font-bold mb-6'>Blog</h1>
          <Article />
          <Article />
          <Article />
          <Article />
        </div>
      </section>
    </div>
  );
}
Let's see how it looks without any changes.

That's already nearly there, right? The only issue I'm seeing is that we don't render the bottom border part for these items as it was not needed on the homepage.
We have two options here. We could simply pass a className and inherit it or set it as an option. The className approach is generally better as we can perhaps use it later on for other things.
Open up your article.js file, and let's add a prop for the className.
export default function Article({className = 'rounded-lg'}) {

});
Here we assign a new prop called className by default. I put the rounded-lg class in there as we don't want to use it for the detailed page.
Now we can use this className in this component like such:
<article className="{`bg-white" p-4 ${className}`}></article>
Let's return to our blog.js file and modify it to include the border.
<Article className='border-b-2' />
<Article className='border-b-2' />
<Article className='border-b-2' />
<Article className='border-b-2' />
Yep, that's it! Let's check what we got and see if it matches the design.
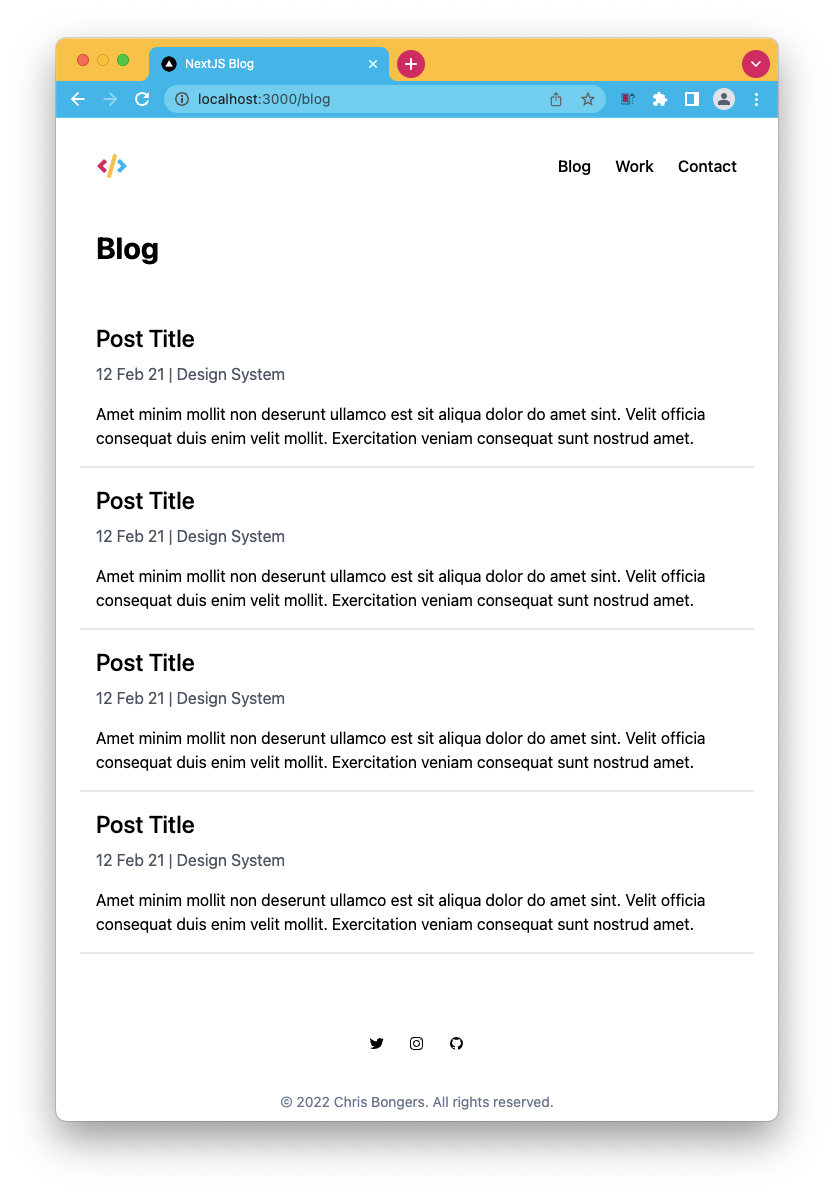
Pretty happy with that!
You can also find the completed code on GitHub.
Thank you for reading, and let's connect!
Thank you for reading my blog. Feel free to subscribe to my email newsletter and connect on Facebook or Twitter
About the author
I'm a full-stack developer from South Africa 🇿🇦. I love writing about JavaScript, HTML and CSS.
Comments
Join the discussionNo comments yet. Be the first to comment.



