
Creating our first Angular project

I'm a full-stack developer from South Africa 🇿🇦. I love writing about JavaScript, HTML and CSS.
Over time I did quite a few first of applications like Ionic and React.
Today we'll be looking at starting our first Angular project.
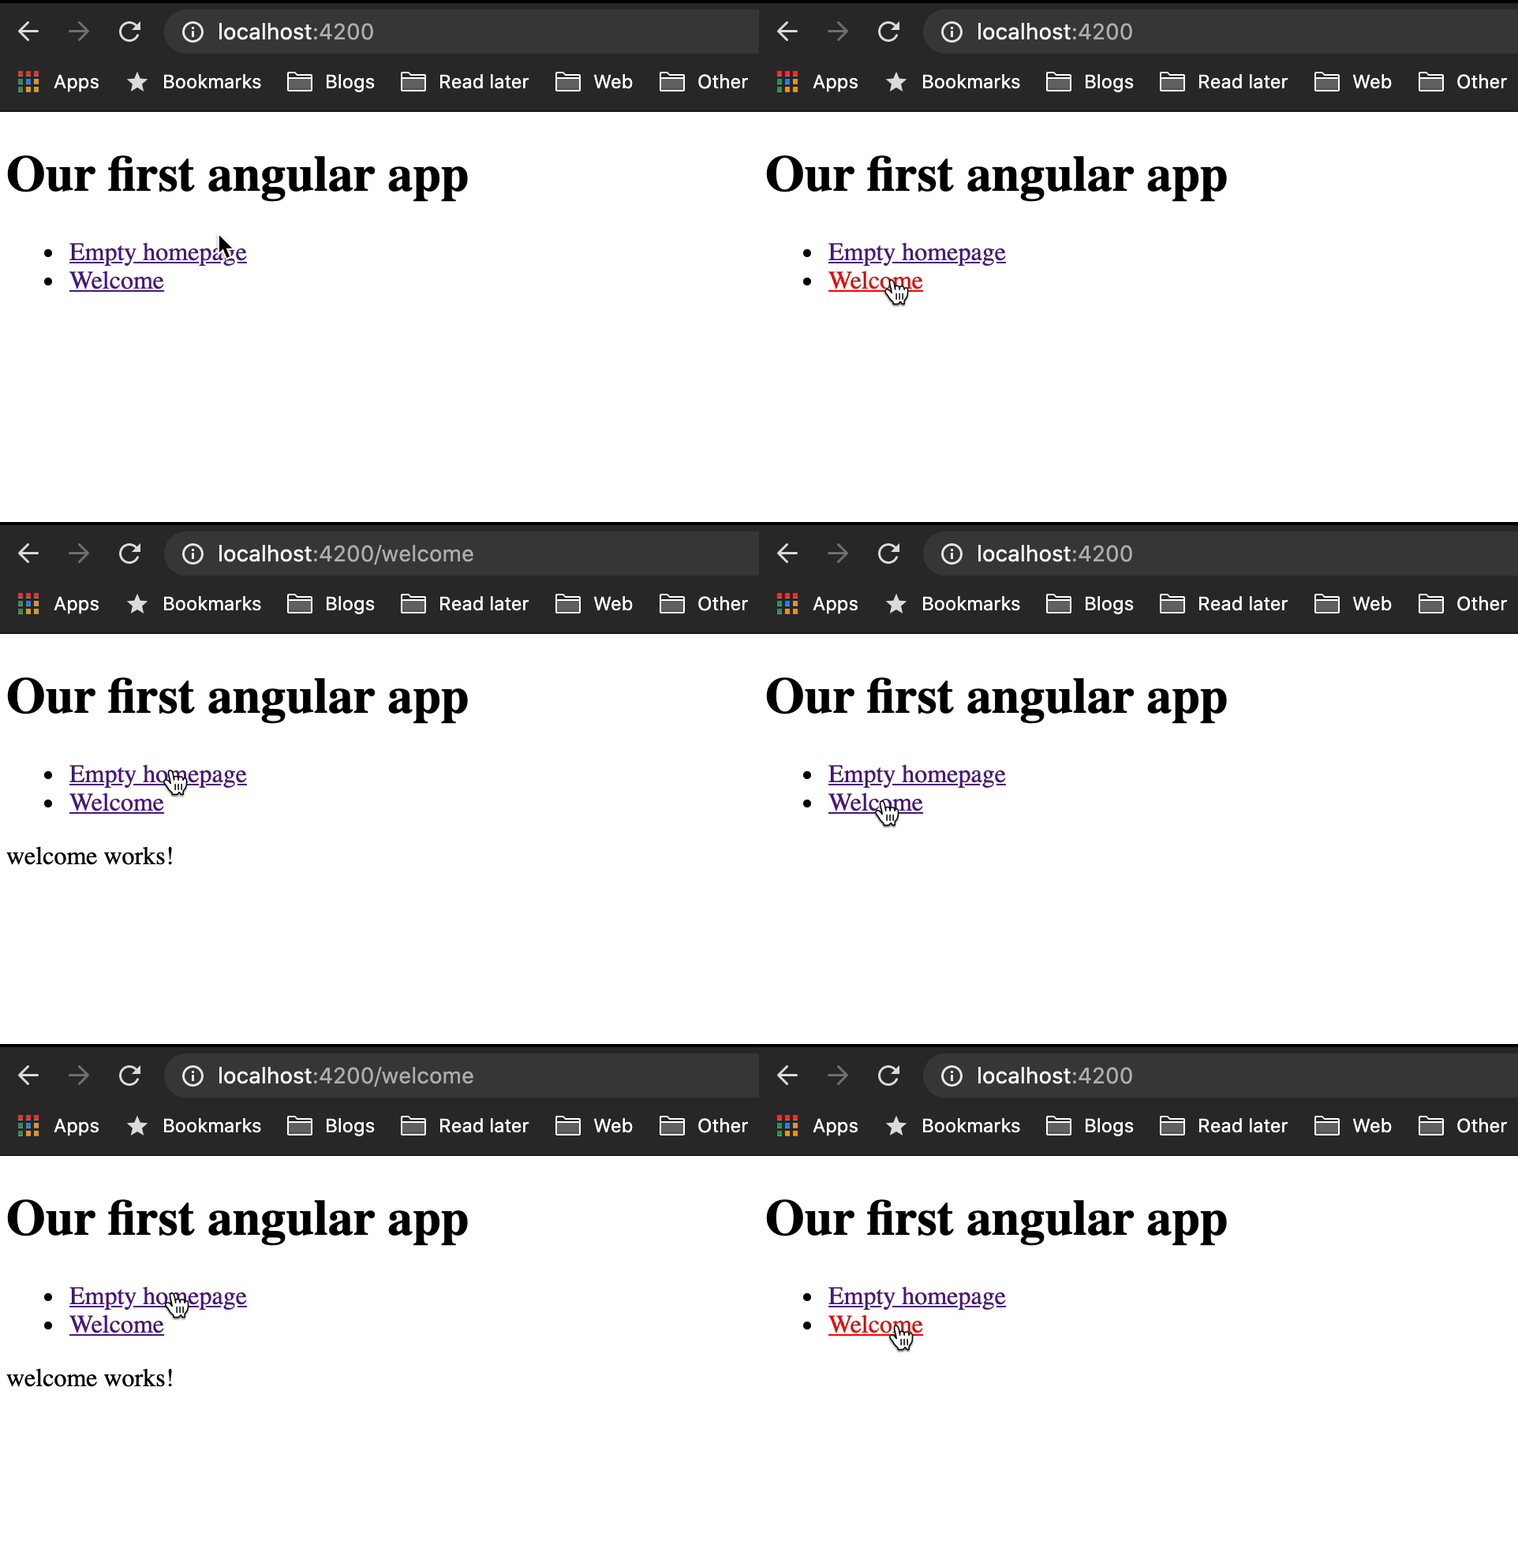
We will be creating a very basic application that looks like this:
What is Angular?
Angular is a framework that can be used to create single-page applications. It can also be used in mobile applications like Ionic.
Angular is a component-driven framework like we see in React as well.
It's written in Typescript, making our lives easier and using HTML as it's main frontend.
Installing the Angular CLI
To get started, we first need to set-up the Angular CLI (Command Line Interface). This is a tool we can run in our terminal and can be used to generate certain components for us.
Open your favourite terminal (iTerm2 is mine) and run the following command.
npm install -g @angular/cli
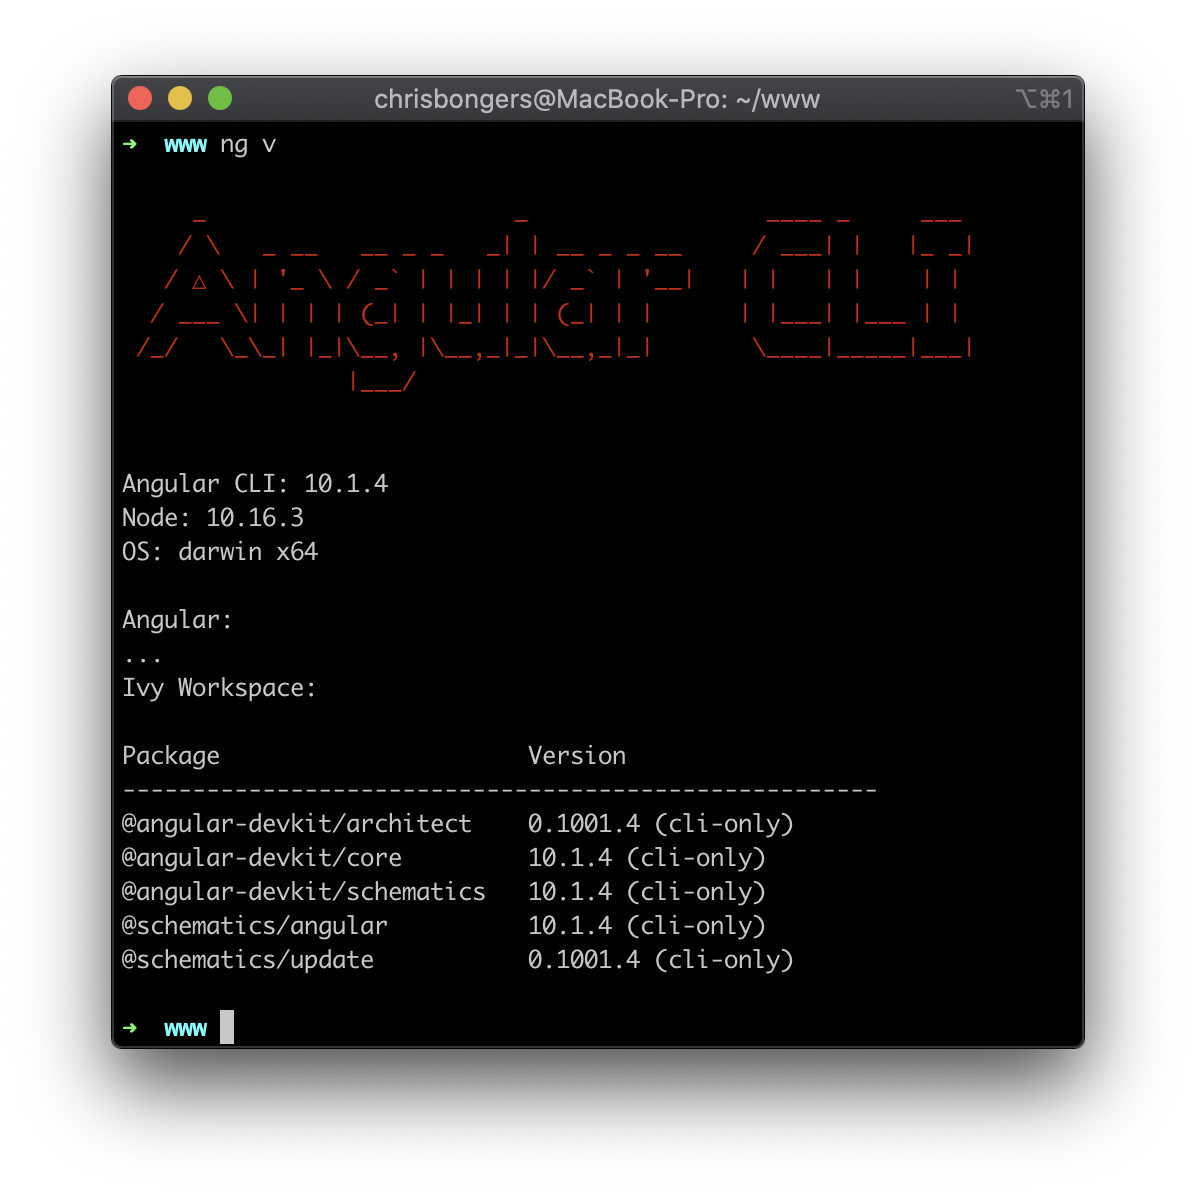
Now that we have our Angular CLI installed, we can verify it works by running the following command.
ng v
We should then see a response close to this. (Versions may differ)
Starting our first Angular project
Once we have the Angular CLI installed, we can use the following command to generate our first app.
ng new angular-app
This will ask you if you want to use Routing and which stylesheet pre-processor you want to use.
I choose Yes for Routing and SCSS for the stylesheet.
Now we can navigate to our application and run the ng serve command to start our app up.
cd angular-app
ng serve
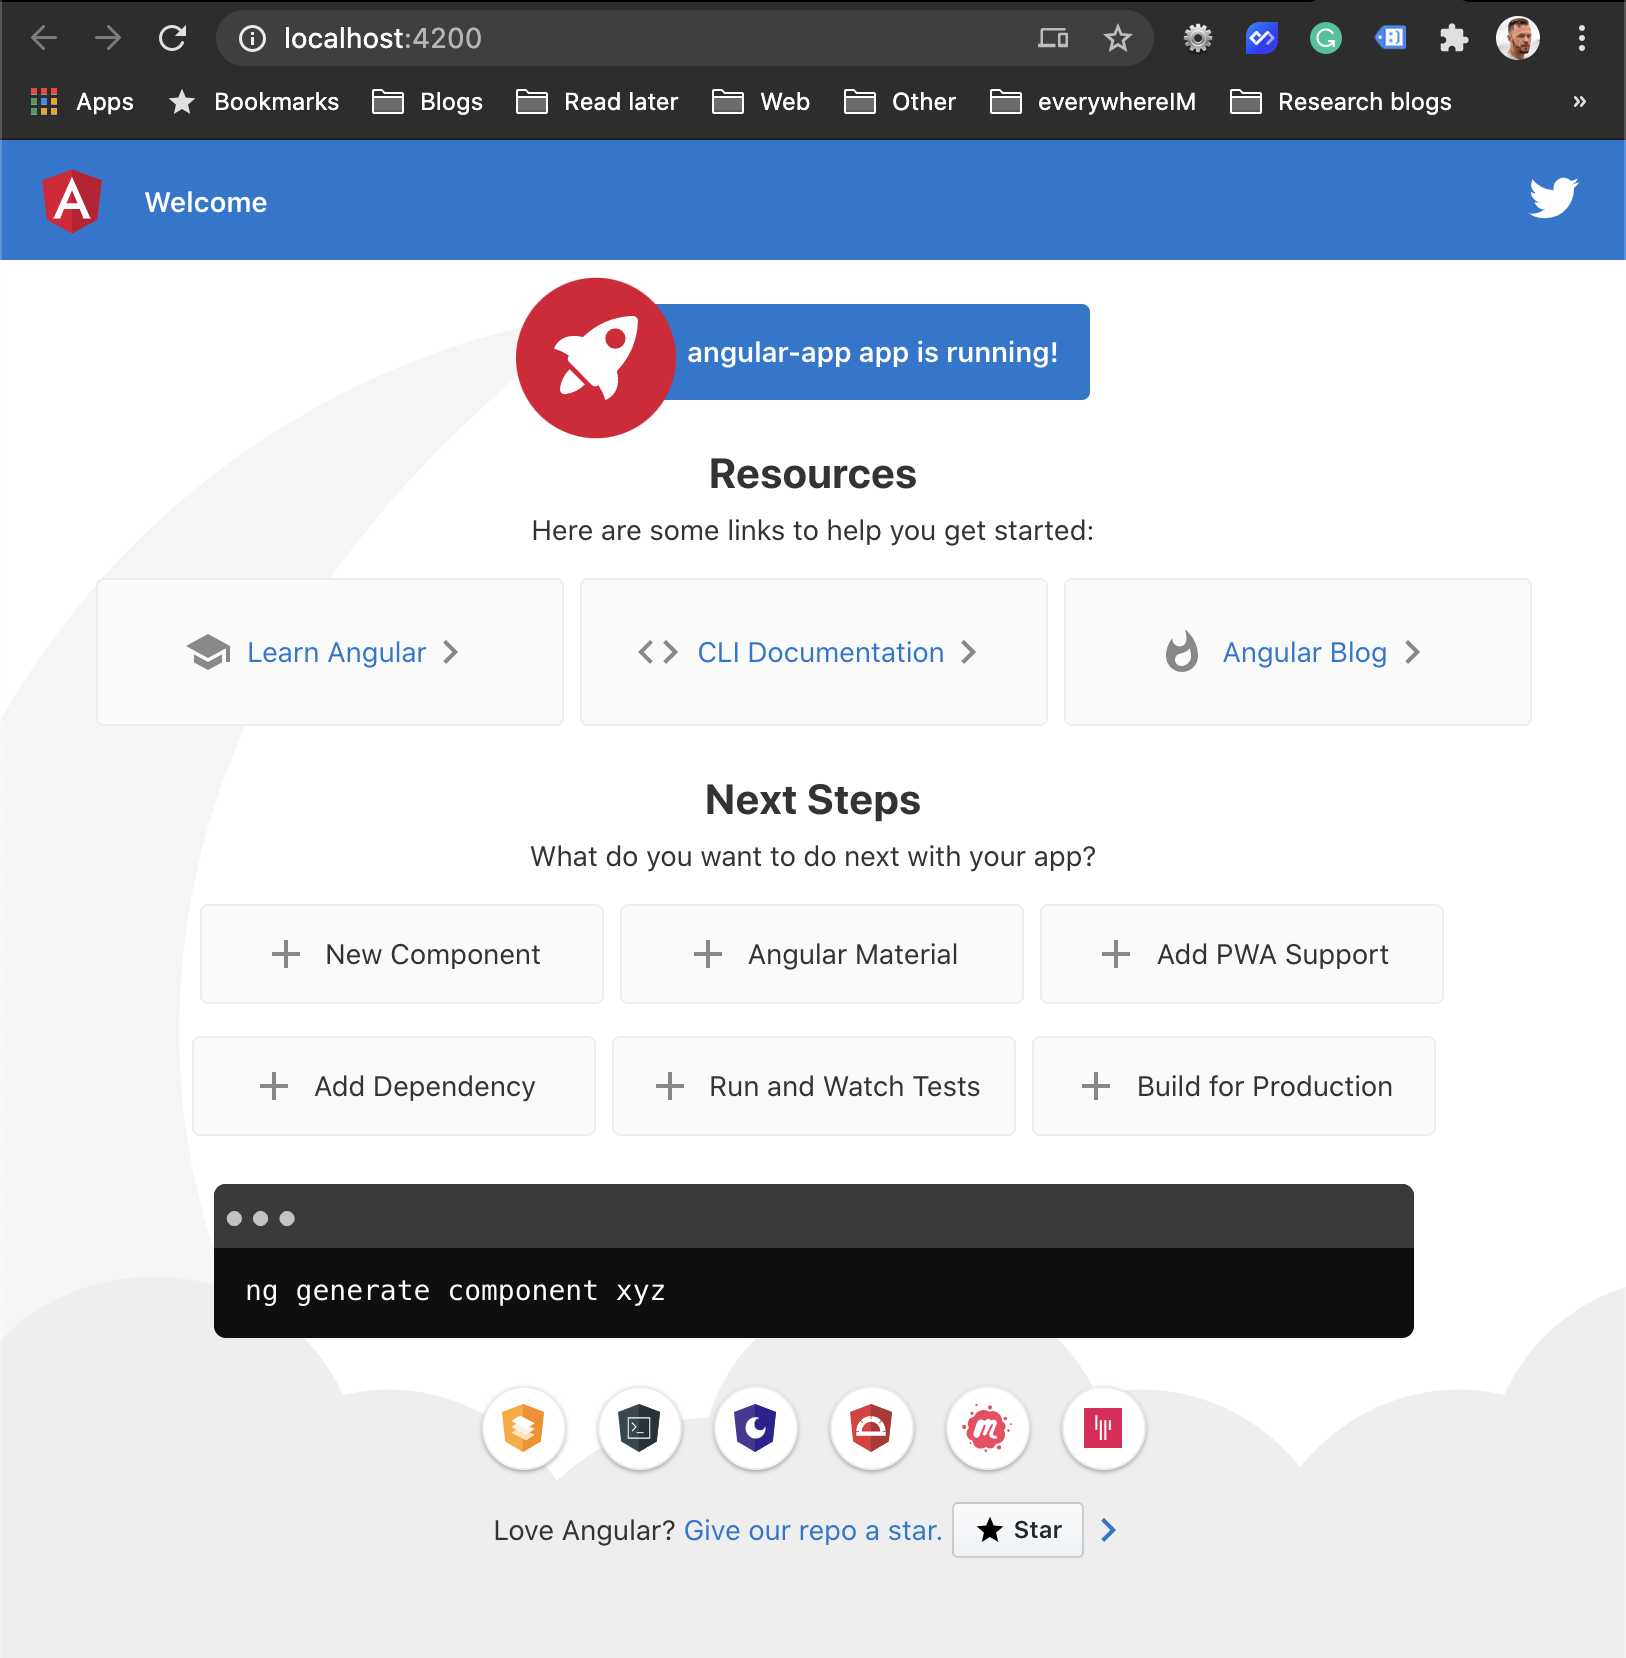
We can then open a browser at localhost:4200 and see our first application.
Adding components
As mentioned, Angular a component-based framework, so let's add a new component.
We can use the Angular CLI to generate this for us.
ng generate component welcome
This will generate our welcome component, but we won't be able to do anything with it just yet.
Let's first add a new route for this component.
Open your editor and find the following file: src/app/app-routing.module.ts.
Add the import for the welcome component up top and change the routes.
import { WelcomeComponent } from './welcome/welcome.component';
const routes: Routes = [
  { path: 'welcome', component: WelcomeComponent }
];
Now let's edit our app.component.html to look like this.
<h1>Our first angular app</h1>
<nav>
  <ul>
    <li><a routerLink="/" routerLinkActive="active">Empty homepage</a></li>
    <li><a routerLink="/welcome" routerLinkActive="active">Welcome</a></li>
  </ul>
</nav>
<router-outlet></router-outlet>
Here we create our navigation which will link to the homepage which is empty and the welcome page.
Then at the bottom, we have our router-outlet, which will actually show the router output.
This will result in the following.
There we go, we created our basic Angular app and added a custom component where we can route to.
From here, we can build many more pages and created a fully functional website!
You can find more information on the Angular website or download this project from GitHub.
Thank you for reading, and let's connect!
Thank you for reading my blog. Feel free to subscribe to my email newsletter and connect on Facebook or Twitter



