# Creating our first Angular project
Over time I did quite a few first of applications like [Ionic](https://daily-dev-tips.com/posts/our-first-ionic-app/) and [React](https://daily-dev-tips.com/posts/our-first-react-application/).
Today we'll be looking at starting our first Angular project.
We will be creating a very basic application that looks like this:
## What is Angular?
Angular is a framework that can be used to create single-page applications.
It can also be used in mobile applications like Ionic.
Angular is a component-driven framework like we see in React as well.
It's written in Typescript, making our lives easier and using HTML as it's main frontend.
## Installing the Angular CLI
To get started, we first need to set-up the Angular CLI (Command Line Interface). This is a tool we can run in our terminal and can be used to generate certain components for us.
Open your favourite terminal ([iTerm2 is mine]()) and run the following command.
```bash
npm install -g @angular/cli
```
Now that we have our Angular CLI installed, we can verify it works by running the following command.
```bash
ng v
```
We should then see a response close to this. (Versions may differ)

## Starting our first Angular project
Once we have the Angular CLI installed, we can use the following command to generate our first app.
```bash
ng new angular-app
```
This will ask you if you want to use Routing and which stylesheet pre-processor you want to use.
I choose Yes for Routing and `SCSS` for the stylesheet.
Now we can navigate to our application and run the `ng serve` command to start our app up.
```bash
cd angular-app
ng serve
```
We can then open a browser at `localhost:4200` and see our first application.

## Adding components
As mentioned, Angular a component-based framework, so let's add a new component.
We can use the Angular CLI to generate this for us.
```bash
ng generate component welcome
```
This will generate our welcome component, but we won't be able to do anything with it just yet.
Let's first add a new route for this component.
Open your editor and find the following file: `src/app/app-routing.module.ts`.
Add the import for the welcome component up top and change the routes.
```js
import { WelcomeComponent } from './welcome/welcome.component';
const routes: Routes = [
{ path: 'welcome', component: WelcomeComponent }
];
```
Now let's edit our `app.component.html` to look like this.
```html
Our first angular app
```
Here we create our navigation which will link to the homepage which is empty and the welcome page.
Then at the bottom, we have our `router-outlet`, which will actually show the router output.
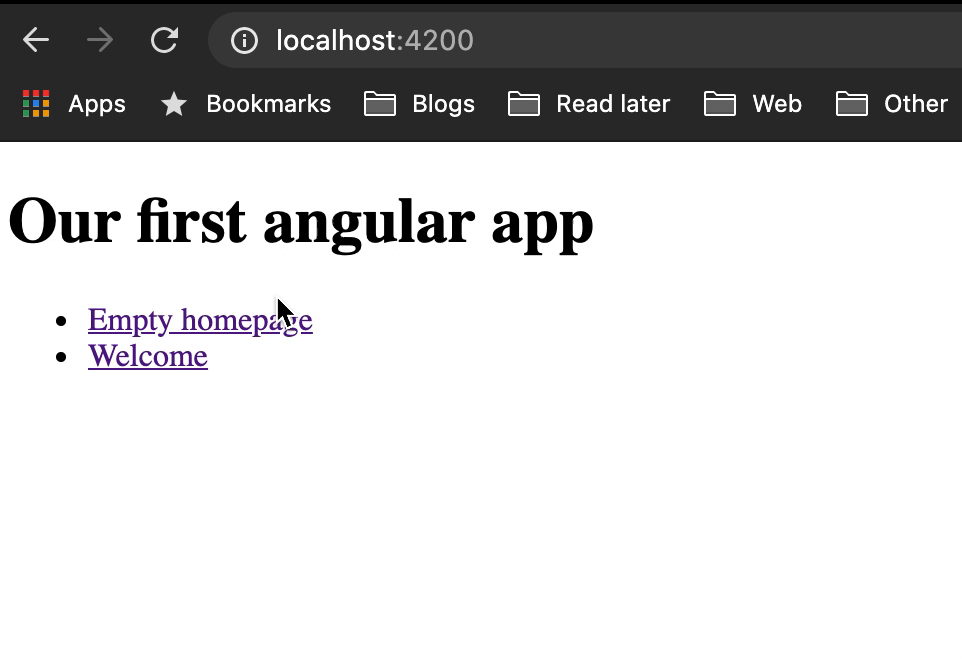
This will result in the following.

There we go, we created our basic Angular app and added a custom component where we can route to.
From here, we can build many more pages and created a fully functional website!
You can find more information on the [Angular website](https://angular.io/) or download this project from [GitHub](https://github.com/rebelchris/angular-starter-demo).
### Thank you for reading, and let's connect!
Thank you for reading my blog. Feel free to subscribe to my email newsletter and connect on [Facebook](https://www.facebook.com/DailyDevTipsBlog) or [Twitter](https://twitter.com/DailyDevTips1)