
Using alerts in Ionic

So far, we have seen Modals in Ionic, Toast messages for Ionic, so let's look at alerts messages today.
Alerts are a great way to have a bit more in your face toast message. They require user action to be dismissed, and they can even prompt to ask for data!
A typical alert in Ionic will look like this:

Adding alerts in Ionic
Let's start by using our default ionic starter app again.
We'll start by adding a button in our tab1.page.html first.
<div class="ion-padding">
  <ion-button expand="block" (click)="showAlert()">Show alert</ion-button>
  <ion-button expand="block" (click)="showPrompt()">Show prompt</ion-button>
</div>
This will create two buttons. They both have their own actions, which we'll make separately.
First, we have to load the alertController into our tab1.page.ts file.
import { AlertController } from "@ionic/angular";

export class Tab1Page {
  constructor(public alertController: AlertController) {}
}
Let's start by adding the default showAlert function. This will just show an alert with one button.
async showAlert() {
    const alert = await this.alertController.create({
      header: "Alert",
      subHeader: "Subtitle",
      message: "This is an alert message.",
      buttons: ["OK"],
    });

    await alert.present();
}
This will result in the following:
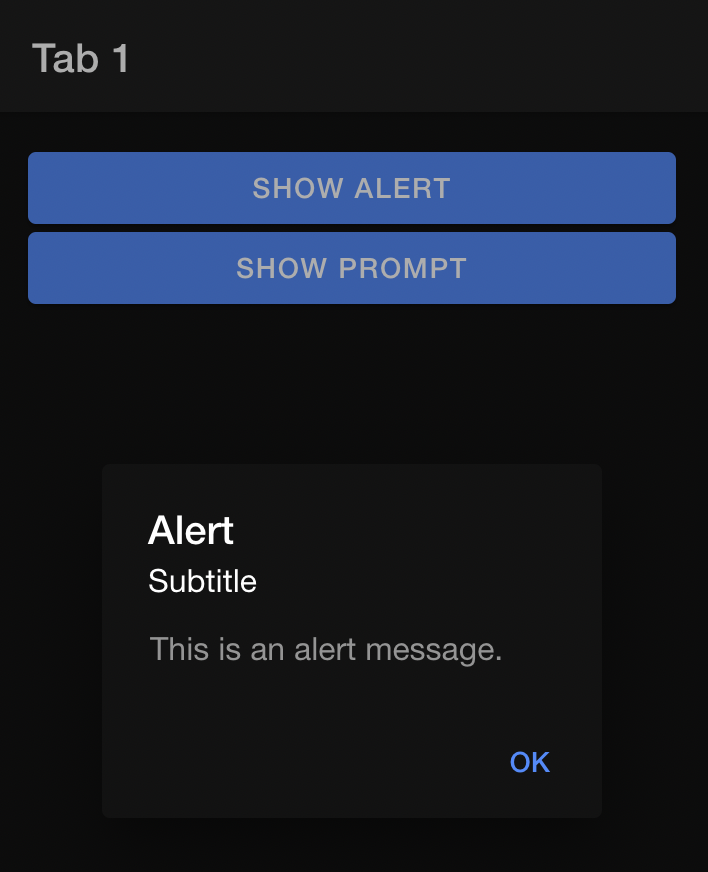
As you can see, the user will have to click the button to continue. This is perfect if you want the user to be aware of something that happened.
Capturing button clicks on Ionic alerts
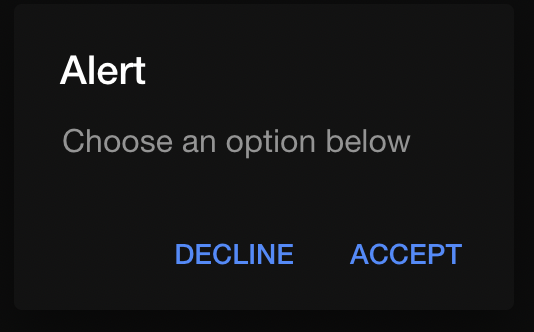
In many cases, you might want to render multiple buttons and capture which buttons were clicked. Imagine an accept/decline option and how we can capture that?
async showOptions() {
    const alert = await this.alertController.create({
      header: "Alert",
      message: "Choose an option below",
      buttons: [
        {
          text: "Decline",
          role: "cancel",
          handler: () => {
            console.log("Declined the offer");
          },
        },
        {
          text: "Accept",
          handler: () => {
            console.log("Accepted the offer");
          },
        },
      ],
    });

    await alert.present();
}
This function will also show an alert, but in this case, it will have two buttons.
As you might see, I've added the role: cancel to one. This is the callback that's called when someone clicks the backdrop to close the alert.
If we run this code, we can see in the console which button was clicked.
Adding input options to Ionic alerts
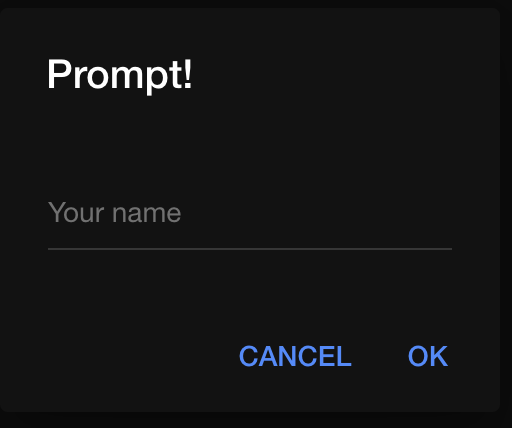
Another thing we can use alerts for is showing prompts to the user. Let's say we want to capture a specific name inside an alert.
async showPrompt() {
    const alert = await this.alertController.create({
      header: "Prompt!",
      inputs: [
        {
          name: "name",
          type: "text",
          placeholder: "Your name",
        },
      ],
      buttons: [
        {
          text: "Cancel",
          role: "cancel",
          handler: () => {
            console.log("Confirm Cancel");
          },
        },
        {
          text: "Ok",
          handler: (data) => {
            console.log(`The name is ${data.name}`);
          },
        },
      ],
    });

    await alert.present();
}
This will prompt an alert with an input field. Once we fill the field and click the Ok button, we see the name logged in our console. If we click the Cancel button, we won't read the name.
You can find today's code on GitHub.
Thank you for reading, and let's connect!
Thank you for reading my blog. Feel free to subscribe to my email newsletter and connect on Facebook or Twitter
About the author
I'm a full-stack developer from South Africa 🇿🇦. I love writing about JavaScript, HTML and CSS.
Comments
Join the discussionYou're on a roll! How do you come up with ideas to write so many articles consistently?
You rock! 👏
Thanks, Catalin!
It's mainly stuff I've had to use in a project, so as you can see working on an Ionic app decided to write some struggles down ✨



