
Step by step guide to minting your Git commit as an NFT

This will be my first article around NFT's and anything related to Web3. Not because I'm not interested, but because it's all new to me as well.
If you found this article, it most likely means you are interested in it, so no need to discuss if it's good or wrong here.
By the end of this article, you will have converted a Git commit you made into an NFT! This NFT will define such memorable moments in a code project's history, which is super exciting.
Think about GitHub's artic vault, a collection of remarkable contributions that will live on long after the code is gone.
And this is precisely what our NFT will do. Small note, it only works with public repo's.
The one I made looks like this:
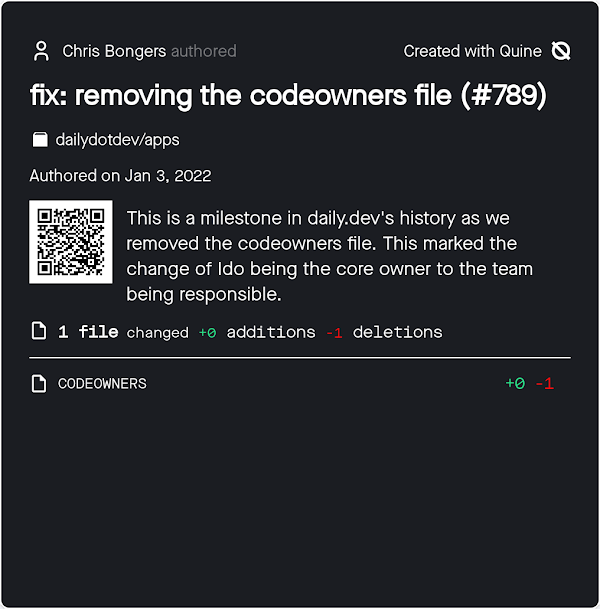
Using MetaMask
Visit the MetaMask website and follow the install instructions for your browser.
After installing the extension, it automatically pops up on this landing page.
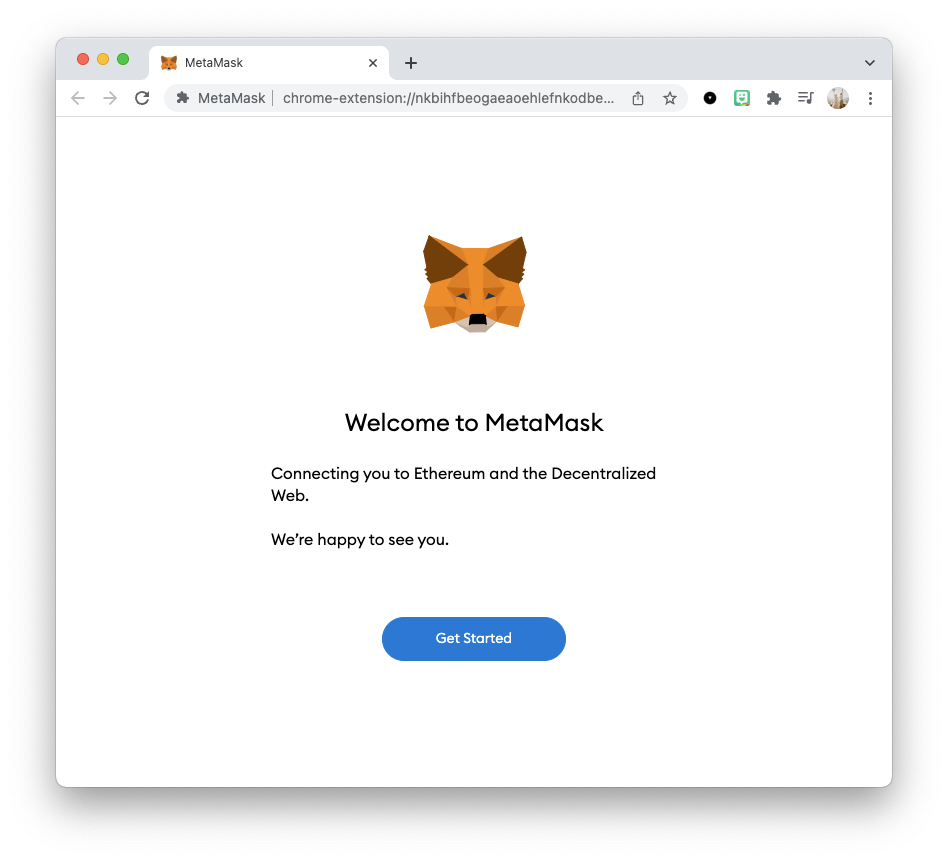
Note: Take 5 minutes to play with this fox. It's adorable and follows your mouse around. 🦊
On the next screen, you will import an existing wallet or create a new one.
If you have an existing one, you'll know what to do, so let's make a new one.
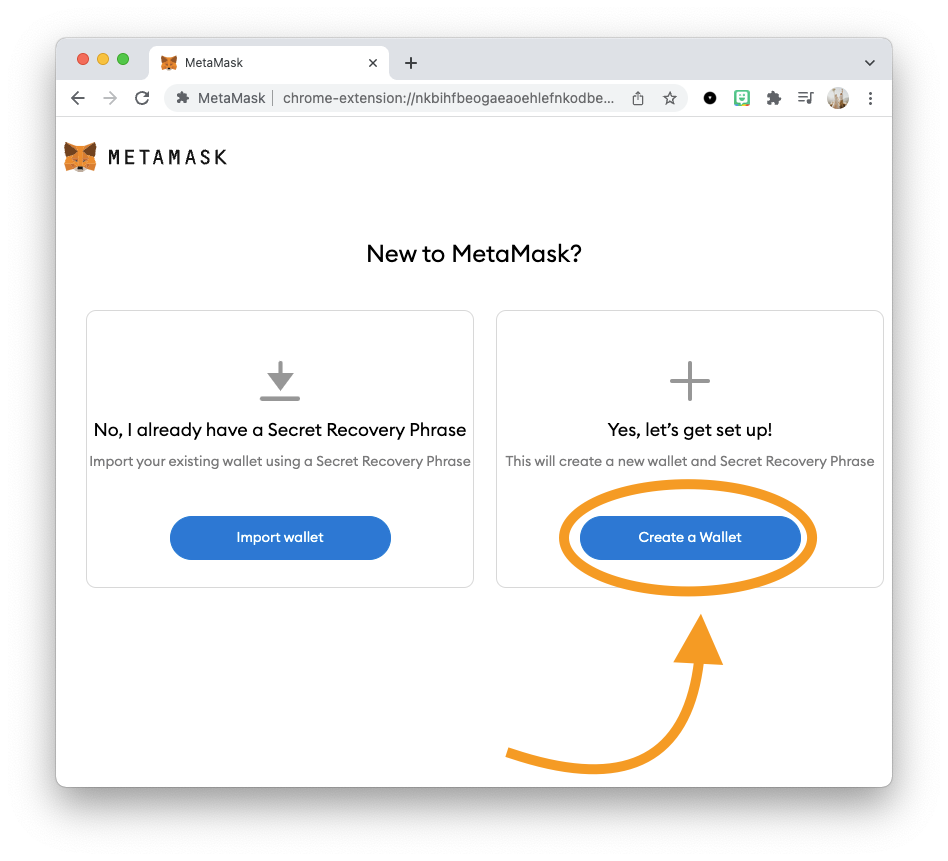
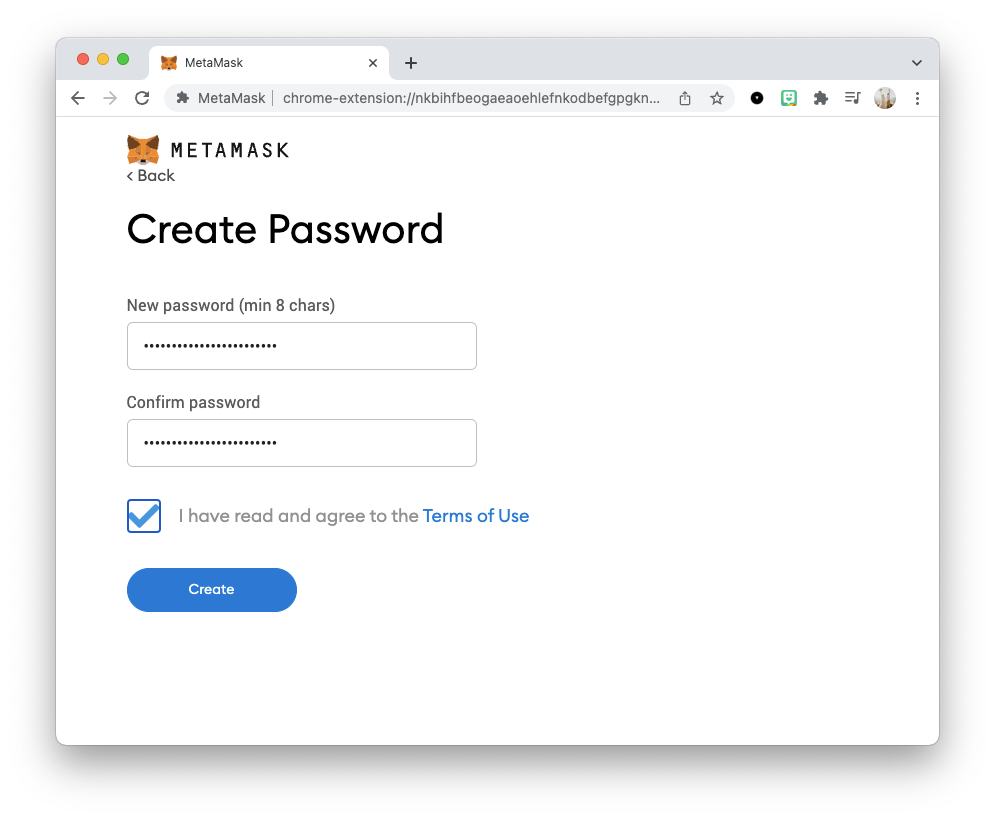
You'll have to agree to their terms and conditions, and in the step after that, you'll have to create a secure password. Preferably use a password manager for this.
The step will show you a video and the importance of the secret recovery phrase. Take good note of what is explained here. It's super important.
Note: Never share this secret phrase, and don't lose it! It's the only way to enter your wallet! 🆘
Click the lock, and write down the phrase here. It's super important you write this down or save it in a super-secure location before going on.
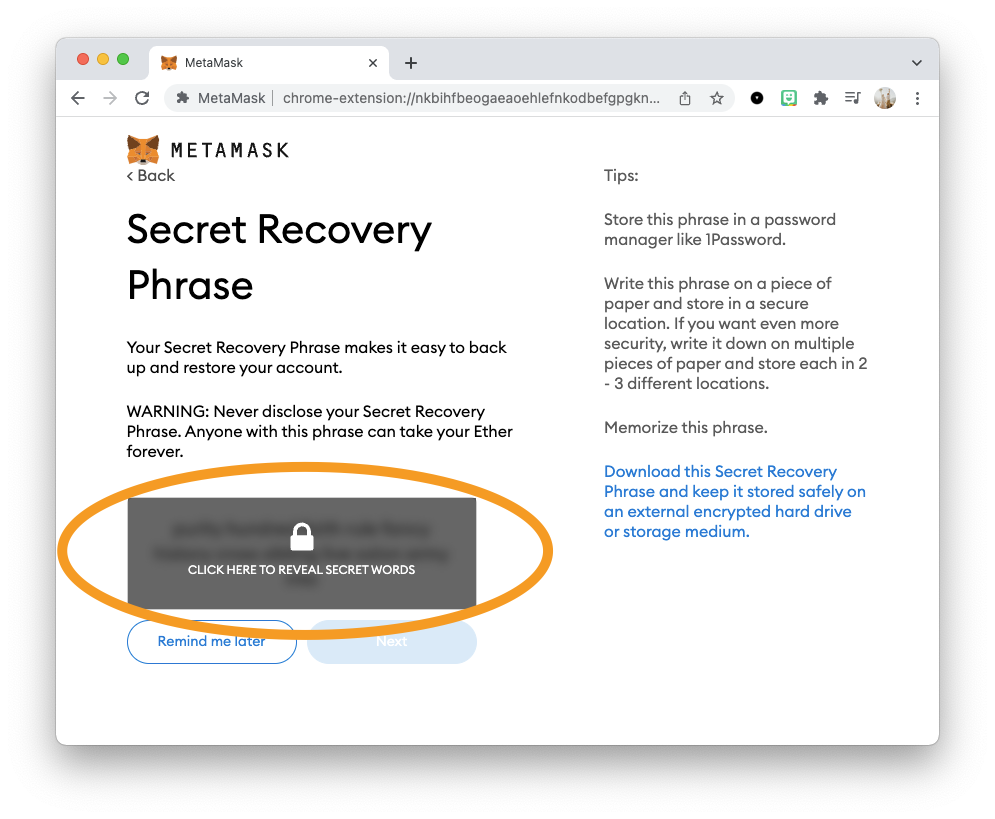
On the screen after this one, you'll have to type the phrase by choosing from random words. Make sure this matches the phrase you just noted down.
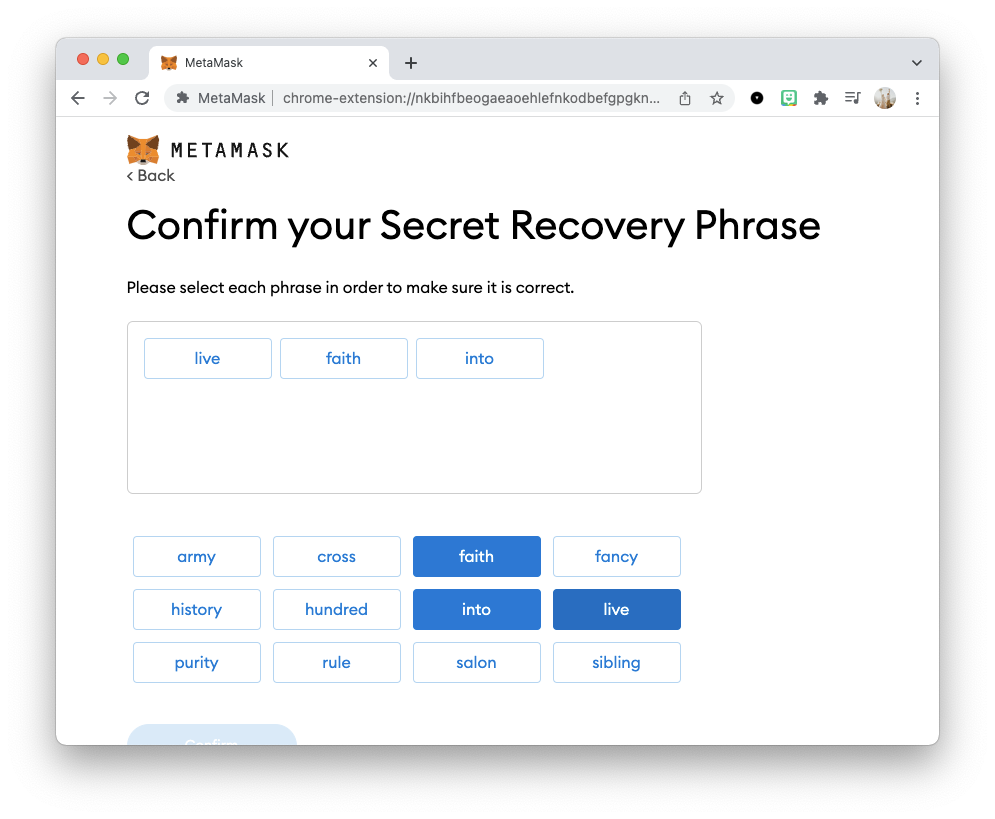
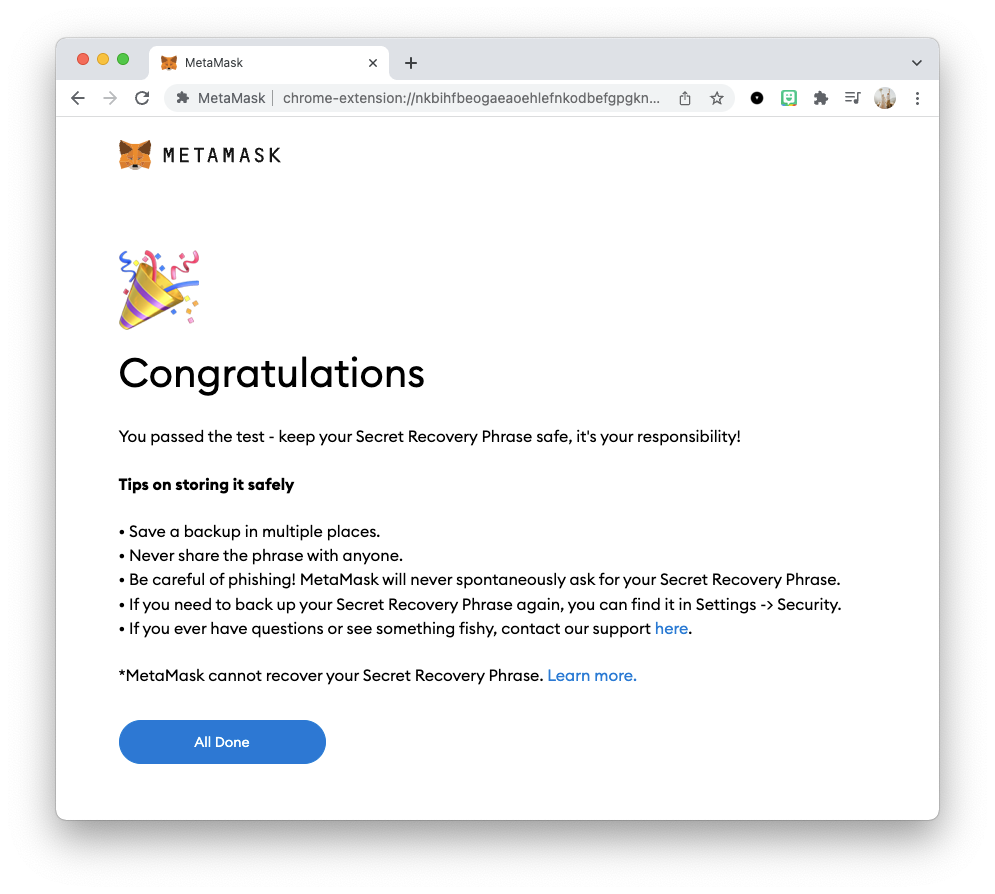
Once you fill out the phrase, click next, and you'll be done with the MetaMask setup.
How to mint the commit NFT
Luckily for us, there is already a fantastic website that will do the heavy lifting.
So step one, go to the GitNFT website.
Now you can press the Login button on the top right and login with your GitHub account.
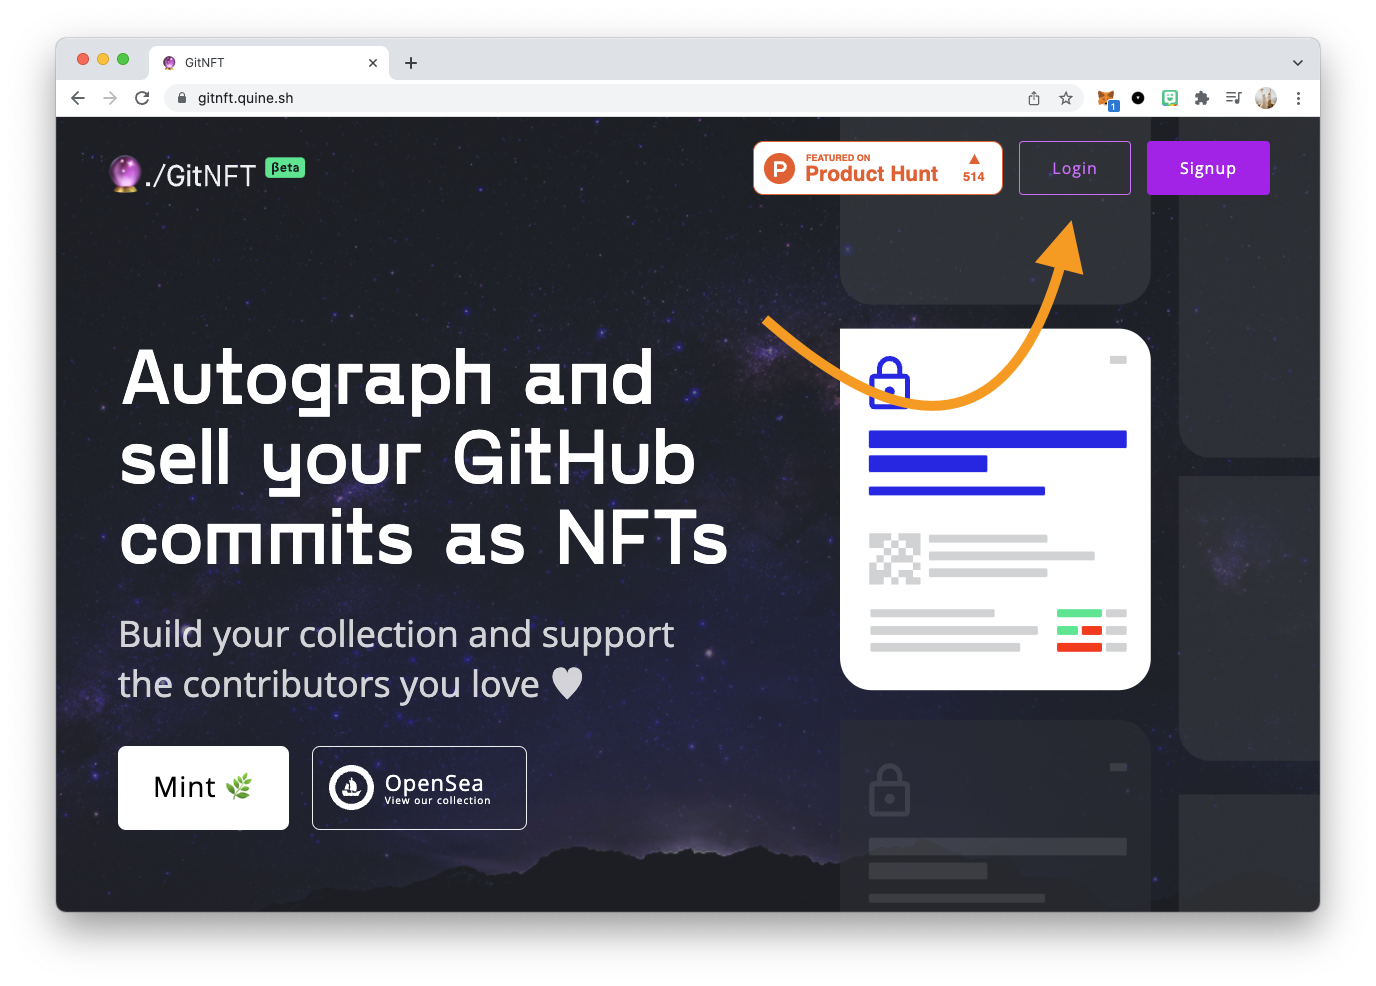
Once logged in, you can click on the "Suggest or Mint" button or view your recent commits by clicking "My commits".
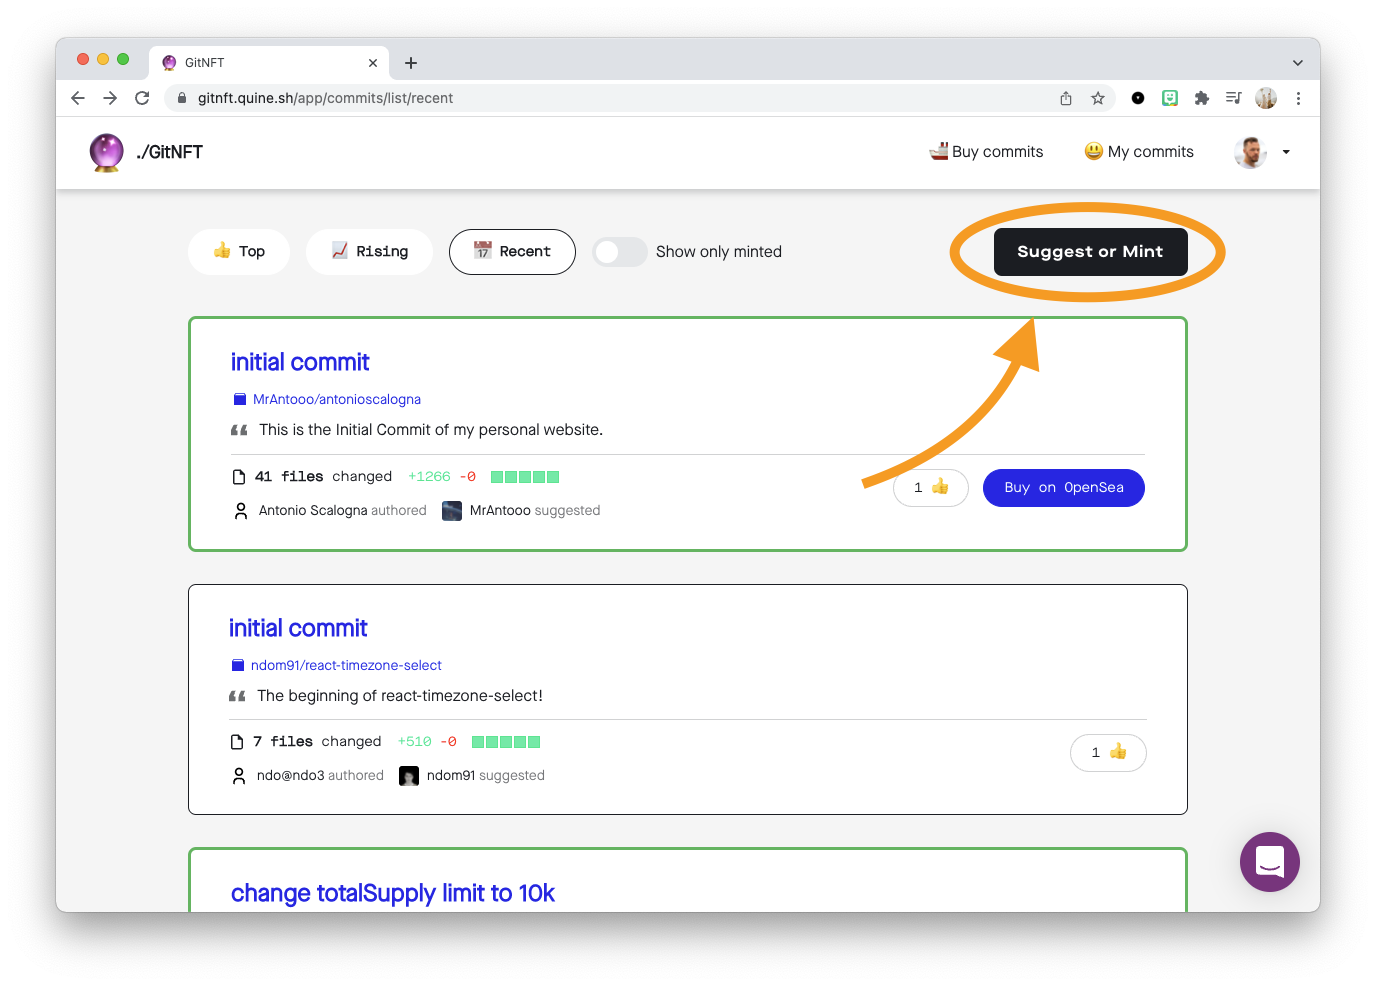
Now head over to GitHub to find the commit you want to turn into an NFT. For me, it's the first commit for daily.dev, where I introduced the settings dropdown menu! 🤯
Copy the URL, and paste it on the GitNFT website.
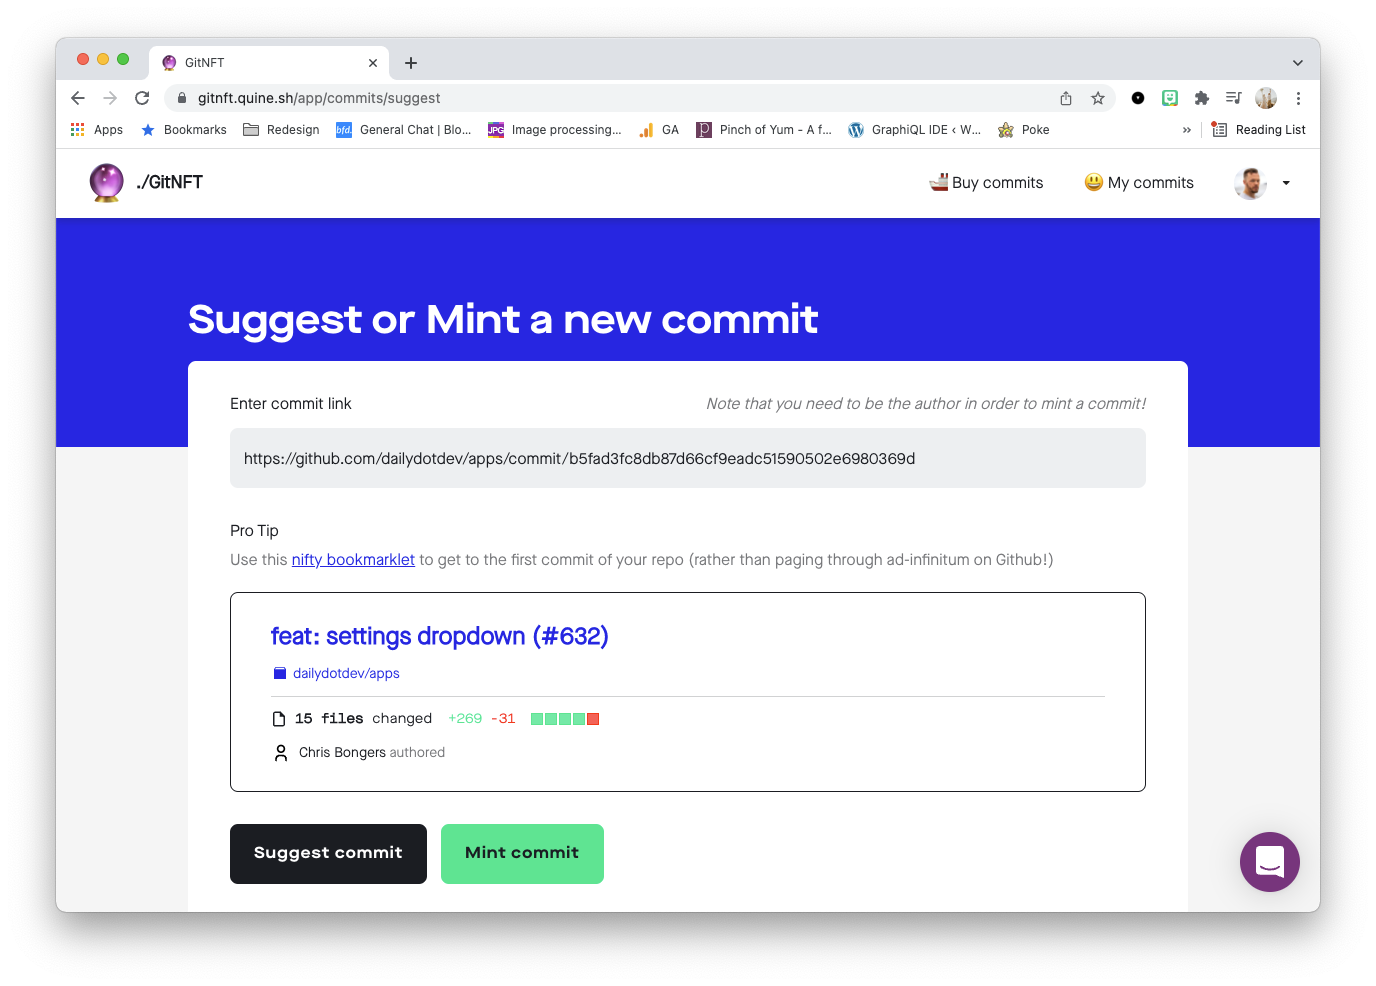
Once it's loaded, click the "Mint commit" button at the bottom.
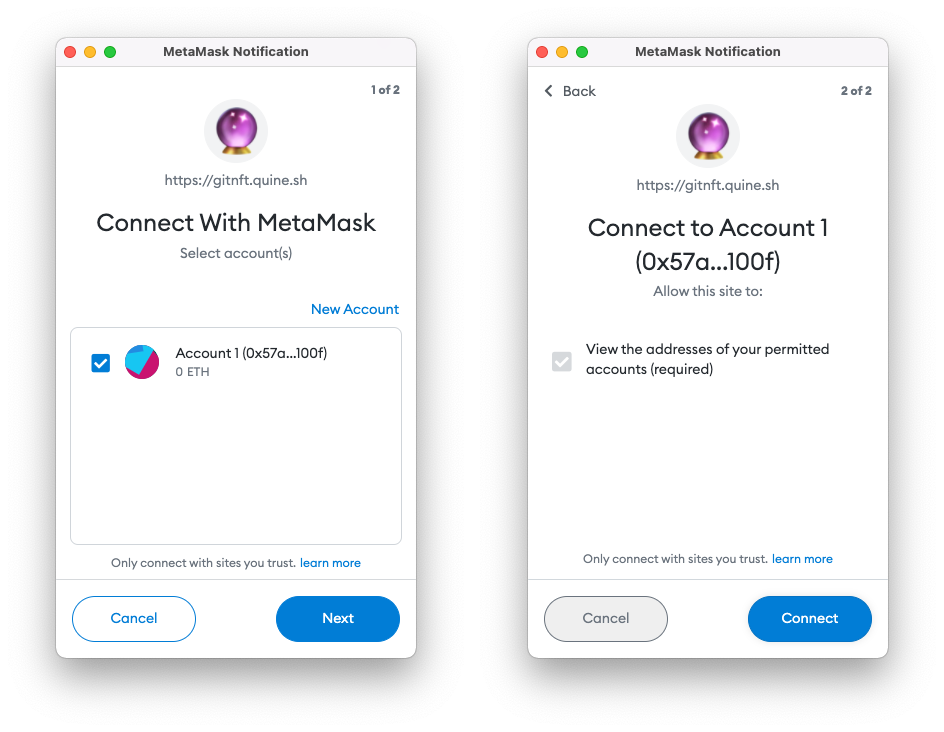
This will automatically pop-up MetaMask to connect to GitNFT. You can click next there.
You can enter a description that can say something about the commit on the page itself. And you can toggle between Dark and Light mode.
Needless to say, I love dark mode 🖤
Once you are happy, click the "Mint commit" button.
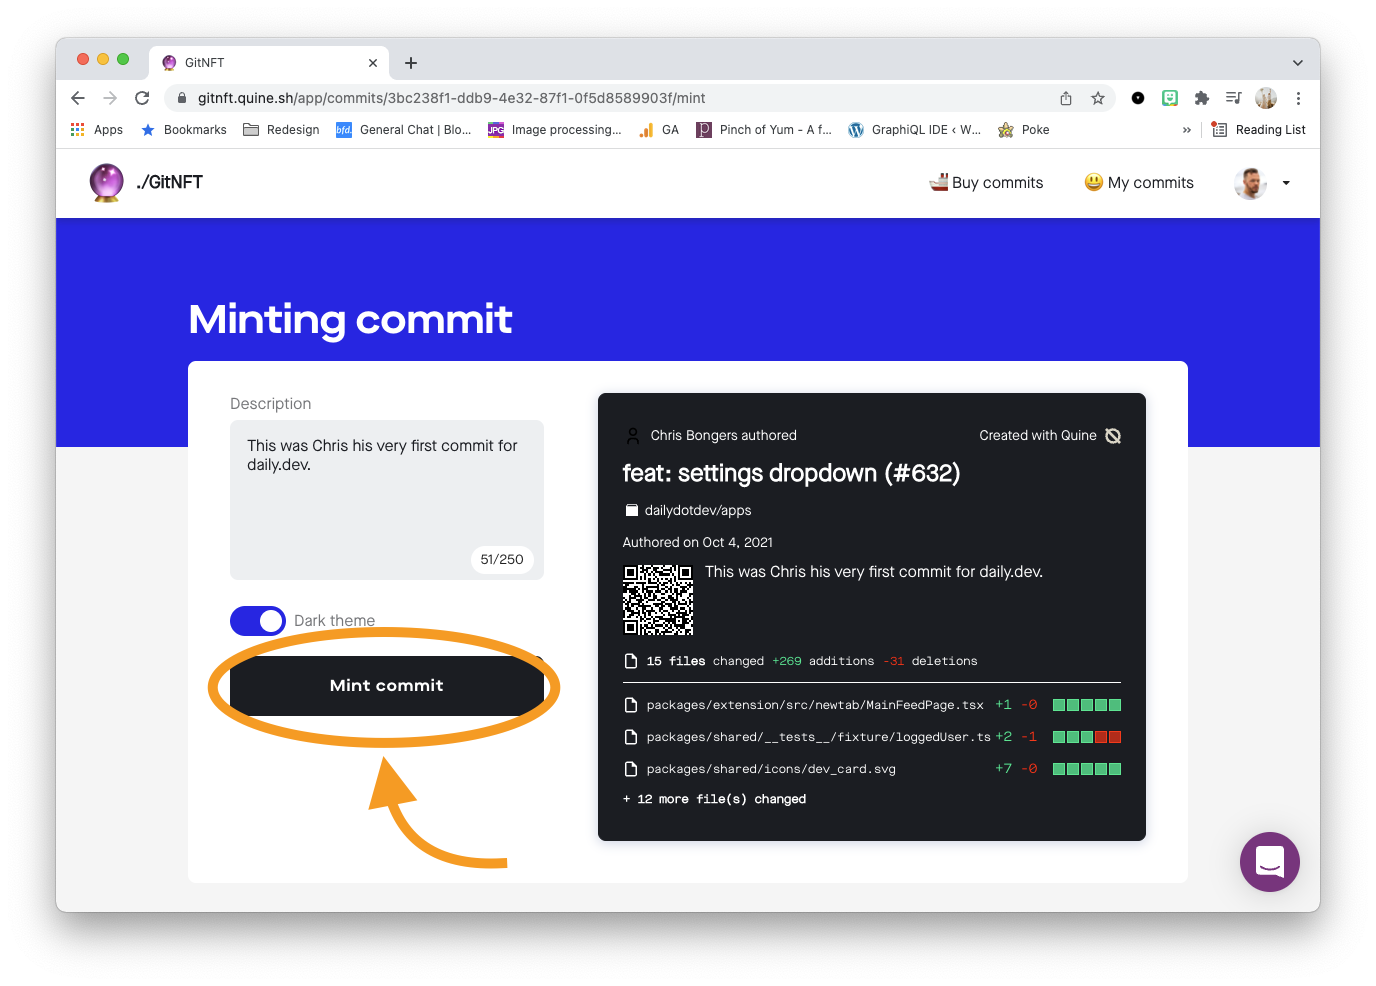
Once you click this button, it should pop up MetaMask again, where you're asked to sign the minting.
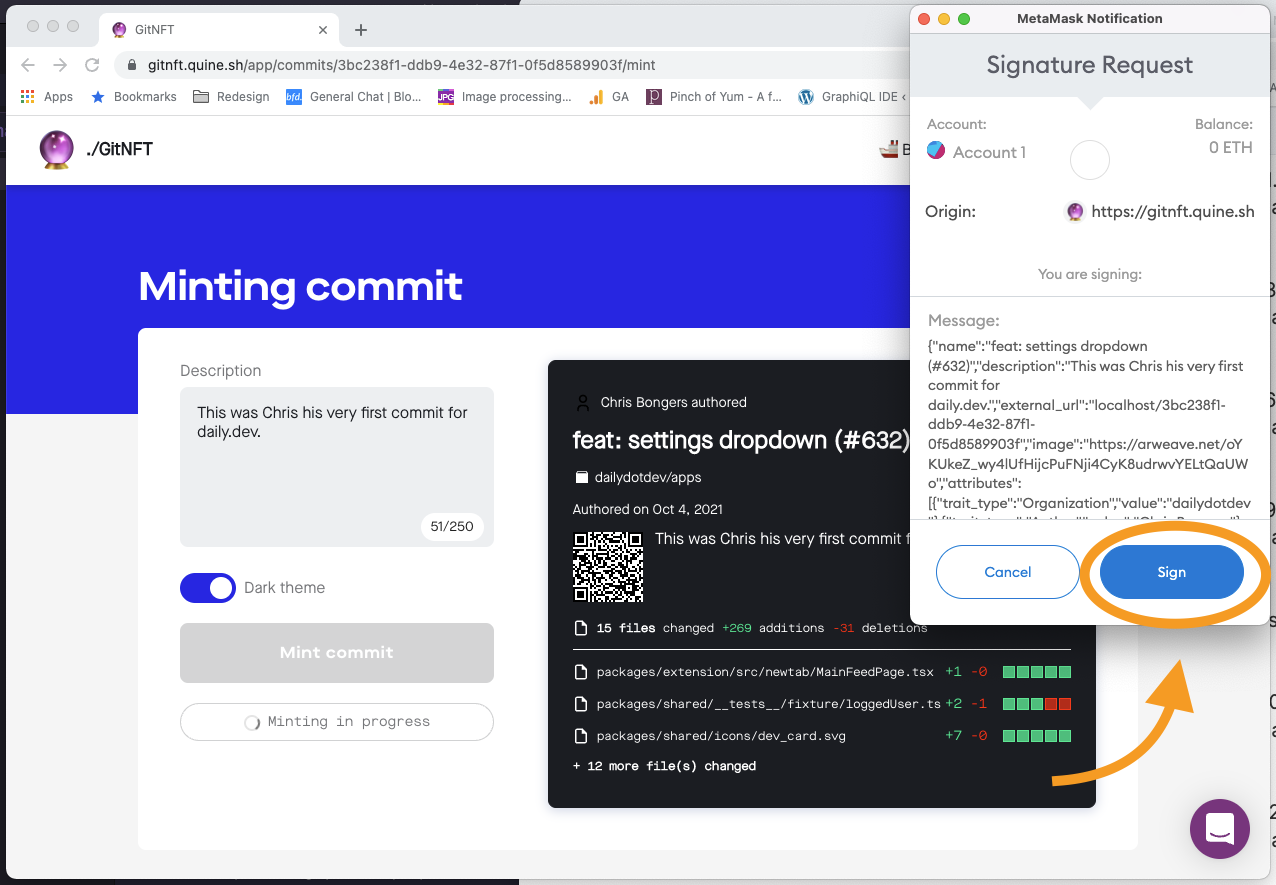
It will then load for a couple of seconds and eventually redirect you to the minted NFT. (Have some patience here, it can take some time)
Once done, you'll see your NFT! You can also open it on OpenSea, and see the progress on EtherScan.
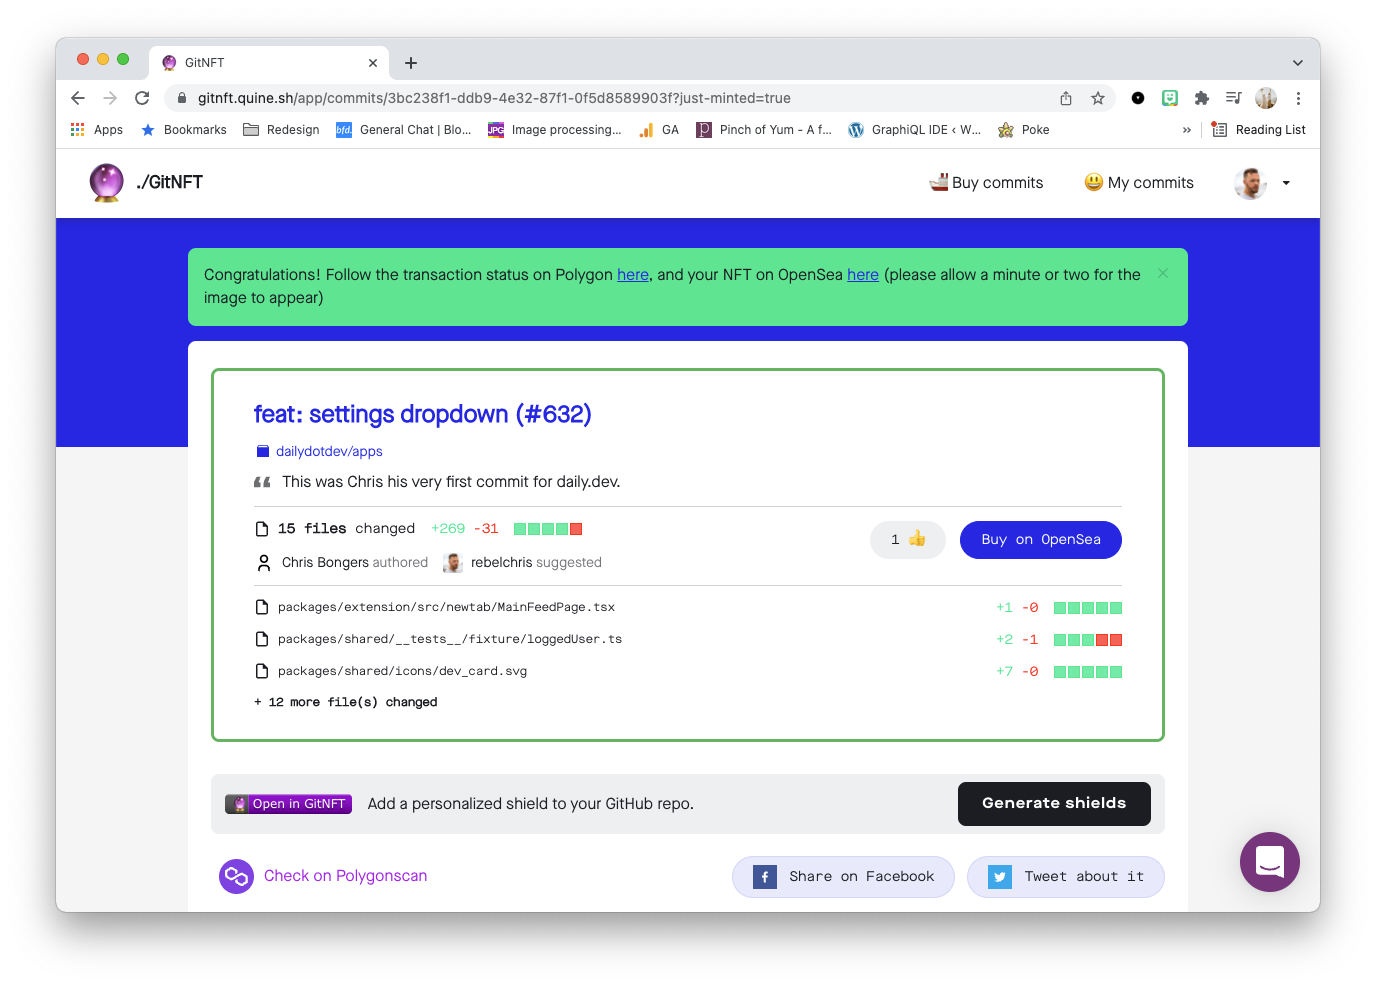
And that's it! We turned a Git commit into an NFT.
Hoped you enjoyed it and looking forward to seeing some cool NFT's show up.
Thank you for reading, and let's connect!
Thank you for reading my blog. Feel free to subscribe to my email newsletter and connect on Facebook or Twitter
About the author
I'm a full-stack developer from South Africa 🇿🇦. I love writing about JavaScript, HTML and CSS.
Comments
Join the discussionThat was an excellent idea! I'm still very new to this world but hopefully, soon I'll have some more free time to start researching and learning!
Really fun to try this one out. It's a great way of grasping all the concepts 💖



