
Setting up the medusa server

Regarding medusa, the project is made up of different building blocks.
For instance, you can run a server and separate admin panels or storefronts. When it comes to all of these, the server is the heart of everything. It maintains the database and all the available actions.
Let's dive into that part, and I'll show you how we can set up the server and interact with it directly.
Setting up the medusa server
The first step is to install the medusa-cli. This will help us set up the project quickly.
Run the following command in your terminal.
npm install @medusajs/medusa-cli -g
With this installed, we can create the server project. You can even go ahead and seed the database with dummy data.
medusa new medusa-server --seed
The project will be created in the medusa-server folder, and you can change this name in the command above to whatever you use.
It will take a while to install everything and seed the database. Once it's done, you can navigate to the folder.
cd medusa-server
And from there, we can start the server with the following command.
medusa develop
This should spool up the product, and you should eventually see it stating the server is available on port 9000.
Connecting to the database
The default medusa server will work based on an SQLite database, and we can super easily connect to the actual file with any database client.
In this example, I'm using TablePlus to connect to the SQLite file at the root of the project.
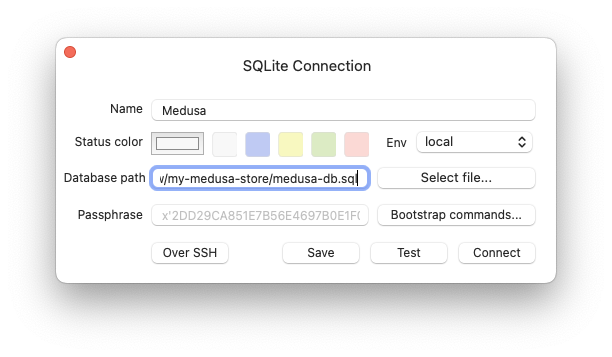
Once you're connected, you should see the seeded data available.
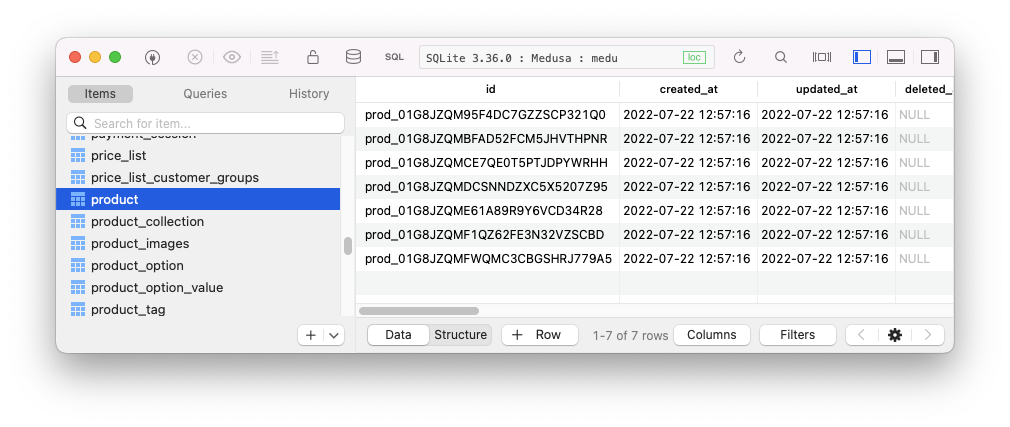
Viewing products
Another thing we can try out now is to test the actual API endpoints.
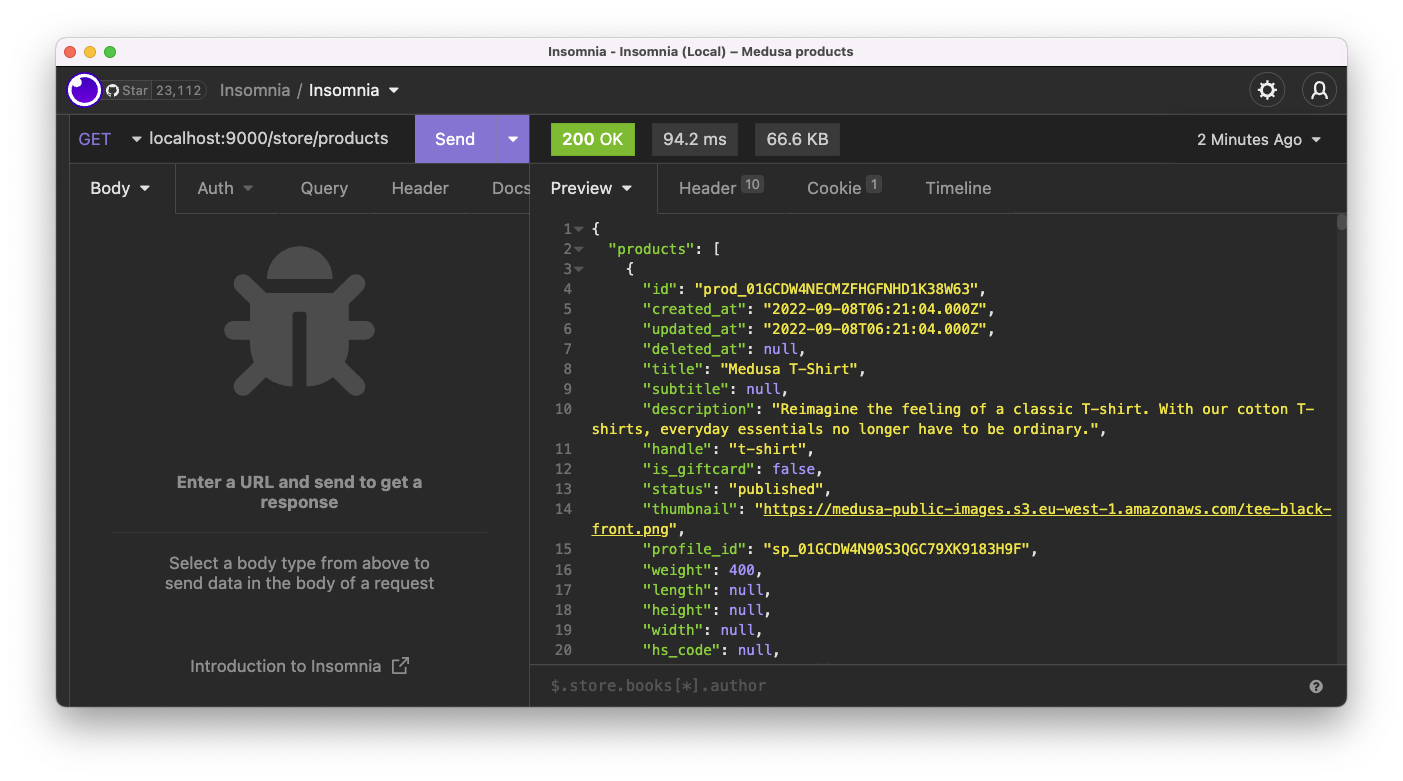
For instance, we can try and retrieve a list of all products.
This endpoint is available under: localhost:9000/store/products.
For example, when querying it with Insomnia, we can see all our products neatly listed.
Thank you for reading, and let's connect!
Thank you for reading my blog. Feel free to subscribe to my email newsletter and connect on Facebook or Twitter
About the author
I'm a full-stack developer from South Africa 🇿🇦. I love writing about JavaScript, HTML and CSS.
Comments
Join the discussionNo comments yet. Be the first to comment.



