
Set up a local Prisma instance

In this article, I'll guide you through the process of setting up a local Prisma server. We will connect it with our local setup Postgres database.
Previously we already used Prisma in a Next.js application.
The main goal here is to have a basic node application to manage our database. I mean, it can create the schema and even query it with manage.
Let's set this up.
Creating the basic project
Let's start by setting up a new folder to initialize a new node project.
mkdir prisma-local && cd prisma-local
npm init -y
Then we can install all the dev dependencies we need. In our case, this is Typescript and Prisma.
npm install prisma typescript ts-node @types/node --save-dev
Then we also want to add the Prisma client to query the database. This is a regular dependency.
npm install @prisma/client
Right, then let's also set up a tsconfig.json file for our Typescript configuration.
{
  "compilerOptions": {
    "sourceMap": true,
    "outDir": "dist",
    "strict": true,
    "lib": ["esnext"],
    "esModuleInterop": true
  }
}
The next thing we need to do is initialize Prisma. This will set up everything we need to use Prisma.
- A Prisma directory with the
schema.prismafile. - A
.envfile to keep our database schema.
npx prisma init
Connecting to our database
To connect to our database, we have to edit the .env file and set the DATABASE_URL value.
Note: You can also use a Heroku hosted Postgres database if you prefer.
But we'll connect to our locally hosted Postgres database.
The schema for connecting to a PostgreSQL database looks like this:
postgresql://USER:PASSWORD@HOST:PORT/DATABASE?schema=SCHEMA
And in our locally hosted one, we need the following information:
USER: The user we created if you followed along, I usedchrisPASSWORD: The password we set, I've usedpasswordin my exampleHOST: Your host, in our caselocalhostPORT: The default port usually is5432DATABASE: The name of the database, in my casepostgresSCHEMA: The schema name we usepublicfor this
The full URL will look like this:
postgresql://chris:password@localhost:5432/postgres?schema=public
Creating and migrating our first schema
Now that we are connected to our database, we want this new application to manage our database.
In our case, we want to create tables automatically and have our code be the generated and maintainer of it.
When we initialized Prisma, we got a prisma/prisma.schema file. This file is used to maintain your database schemas.
For now, this is empty, so let's create our very first models.
model Hobby {
  id      Int     @id @default(autoincrement())
  title   String  @db.VarChar(255)
  user    User    @relation(fields: [userId], references: [id])
  userId  Int
}

model User {
  id      Int      @id @default(autoincrement())
  name    String?
  hobbies Hobby[]
}
This should create a User table and a Hobby table. We want to be able to have a user, that can have multiple hobbies.
We have to run the migrate command to create the migration and add these columns to our database.
npx prisma migrate dev --name init
You can specify the name which will be the name for this migration.
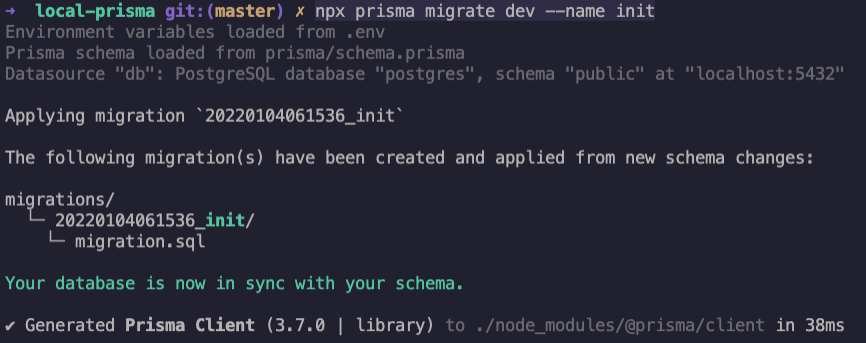
After you see the above output, the migration is done, and you should be able to see the columns in your database.
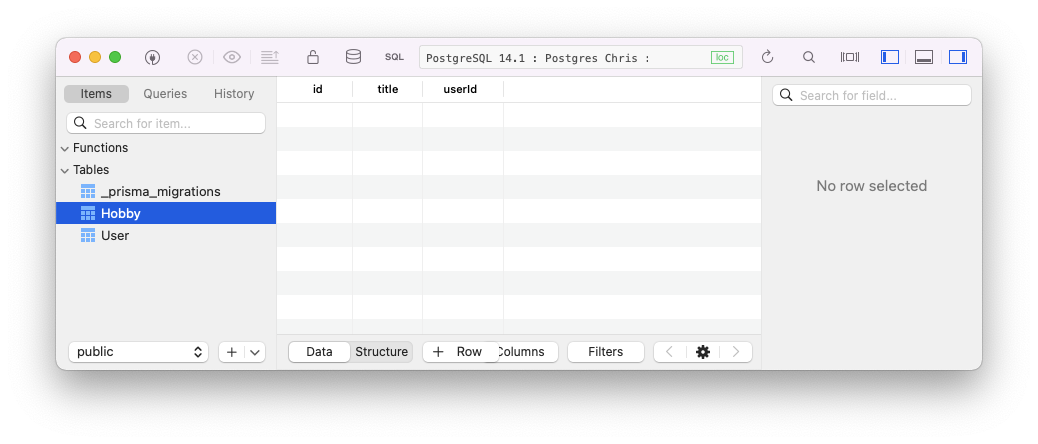
Generating and querying data
So now we have a database but no data yet. You can create the entries manually in the database or use the Prisma client to add data.
First, let's create an index.ts file which will be our main file to work with the database.
The template for this file will look like this.
import {PrismaClient} from '@prisma/client';

const prisma = new PrismaClient();

async function main() {
  // Todo the main function
}

main()
  .catch((e) => {
    throw e;
  })
  .finally(async () => {
    await prisma.$disconnect();
  });
We load the Prisma client, then define a new main function that can run async.
Then we execute this main function and throw an error if there is any. We disconnect the database on the final callback *(close, for instance).
Let's fill this main function with some code to fill our database tables.
async function main() {
  await prisma.user.create({
    data: {
      name: 'Chris',
      hobbies: {
        create: [
          {title: 'Writing code'},
          {title: 'Going our for dinners'},
          {title: 'Watching movies'},
        ],
      },
    },
  });
}
This will create a new user called Chris and add these three hobbies connected to this user.
To execute this code, we can run the following command.
npx ts-node index.ts
And if we go and look at our database, we should see the data populated.
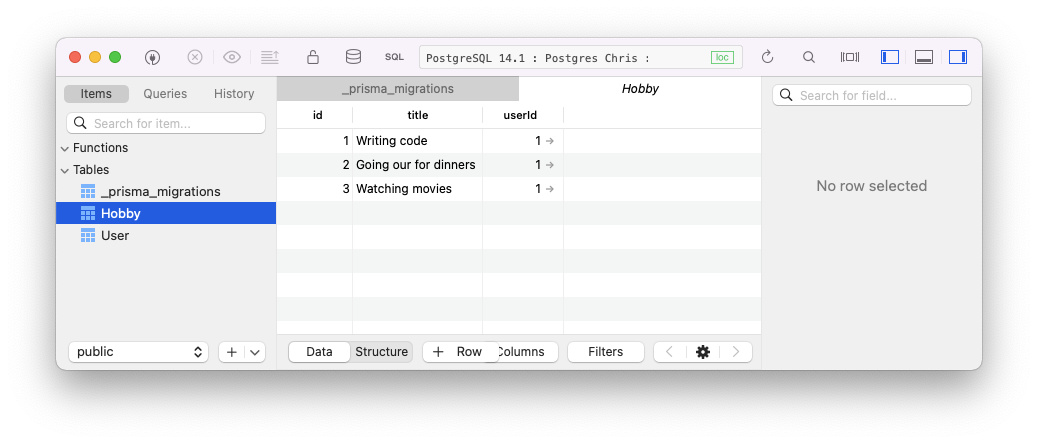
Now let's remove that code and change it into code that will showcase what we have in our database.
async function main() {
  const allUsersAndHobbies = await prisma.user.findMany({
    include: {
      hobbies: true,
    },
  });
  console.dir(allUsersAndHobbies, {depth: null});
}
If we rerun the code, we should get a nice output of all our data in the console.
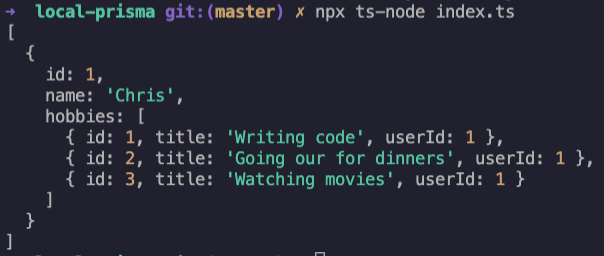
And that's it for this article.
What we learned in this article:
- Connecting Prisma to our local Postgres database
- Creating our very first Prisma migration
- Querying the database through the Prisma client
If you want to see the finished result, I've created this GitHub repo where you can check out the completed code.
Thank you for reading, and let's connect!
Thank you for reading my blog. Feel free to subscribe to my email newsletter and connect on Facebook or Twitter
About the author
I'm a full-stack developer from South Africa 🇿🇦. I love writing about JavaScript, HTML and CSS.
Comments
Join the discussionNo comments yet. Be the first to comment.



