
Remix and creating new posts

I'm a full-stack developer from South Africa 🇿🇦. I love writing about JavaScript, HTML and CSS.
Cool, so we just added Postgres to our Remix app. Let's see how we can add new posts to our database via the web interface.
The result of this article will be an excellent web form through which we can add a new post to our Postgres database.
Creating the form
First, create a super simple route called routes/posts/new.tsx.
Inside create the form for now.
import { Form } from '@remix-run/react';

const inputClassName = `w-full rounded border border-gray-500 px-2 py-1 text-lg`;

export default function NewPost() {
  return (
    <Form method='post'>
      <p>
        <label>
          Post Title:{' '}
          <input type='text' name='title' className={inputClassName} />
        </label>
      </p>
      <p>
        <label>
          Post Slug:{' '}
          <input type='text' name='slug' className={inputClassName} />
        </label>
      </p>
      <p className='text-right'>
        <button
          type='submit'
          className='rounded bg-blue-500 py-2 px-4 text-white hover:bg-blue-600 focus:bg-blue-400 disabled:bg-blue-300'
        >
          Create Post
        </button>
      </p>
      <p>
        <label>
          Content:{' '}
          <input type='text' name='content' className={inputClassName} />
        </label>
      </p>
    </Form>
  );
}
Note how the
<Form>tag is a remix module?
Let's run the app to see how it looks.
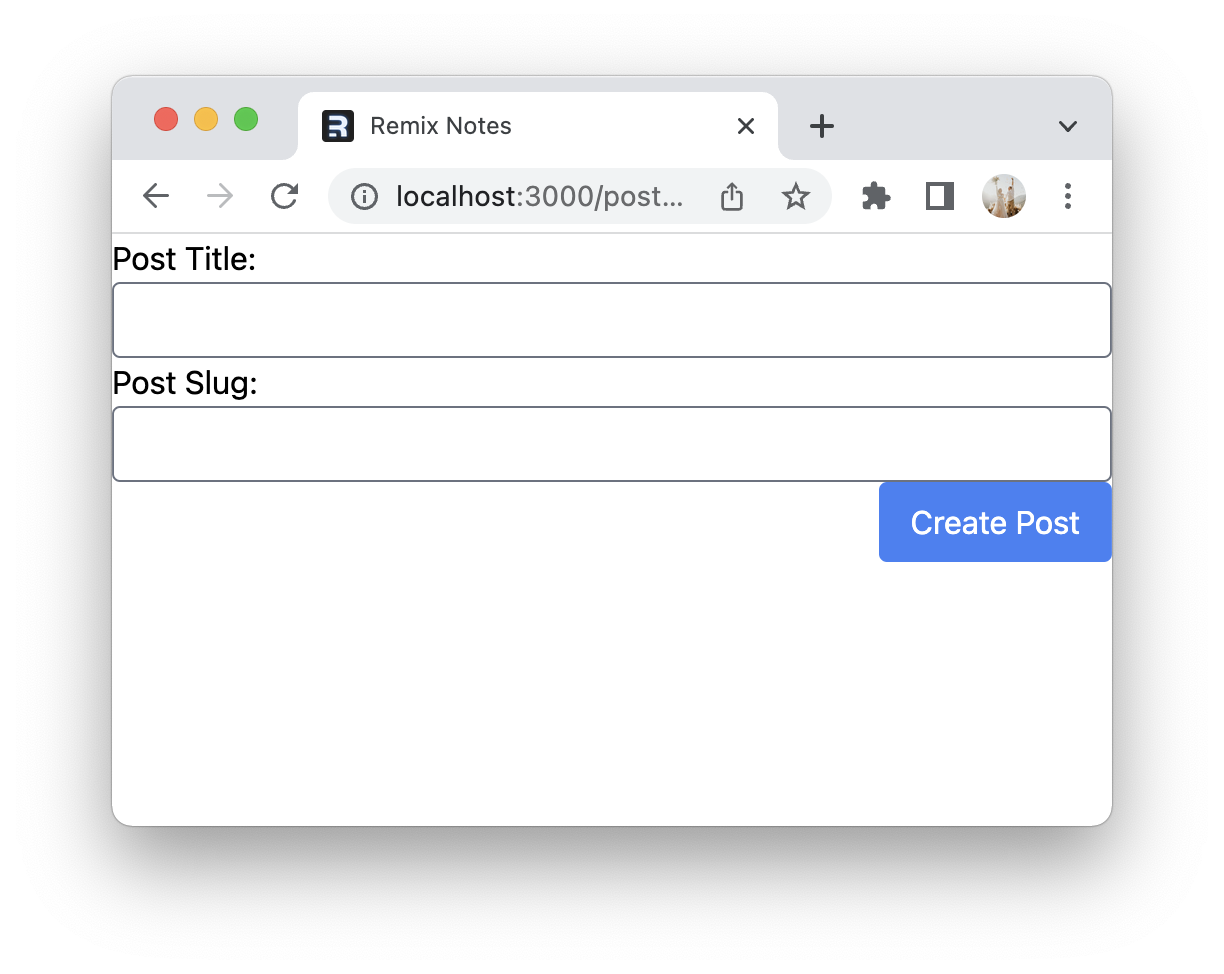
Nice, the form is there!
Handling the data
And the cool part about using the Remix form is that it automatically comes with an action we can hook.
It would look like this:
export const action = async ({ request }) => {
  // Do a action
};
In our case, this action is to create the post, for which we can leverage the post.server.ts file we already created.
export const action = async ({ request }) => {
  const formData = await request.formData();

  const title = formData.get('title');
  const slug = formData.get('slug');
  const content = formData.get('content');

  await createPost({ title, slug, content });
  return redirect('/posts');
};
Here we get all the specific fields from the form and invoke the createPost method by setting all the props.
The function itself can look like this:
export async function createPost(post) {
  return prisma.post.create({ data: post });
}
And yes, that will be all you need!
Rerun your app, fill out the form and see the magic happen.
Note: It won't catch any error; I'll leave that to you to add.
You can find the completed code on GitHub.
Thank you for reading, and let's connect!
Thank you for reading my blog. Feel free to subscribe to my email newsletter and connect on Facebook or Twitter



