
React basics: Creating our first React app

I'm a firm believer in learning by doing. For this series, we'll be going through React step by step.
In this part, we'll create our first app and have a basic look at creating components that we can use.
Creating our first React app
To create our first app, we need to run the following command.
The my-app part is the name of your app.
npx create-react-app my-app
Note are reading it right. It's
npxnotnpmfor this command
We can also start as a typescript app by running the following command:
npx create-react-app my-app --template typescript
However, for this application, we'll use the plain version.
Now run the following command in the my-app folder to fire up the application:
npm start
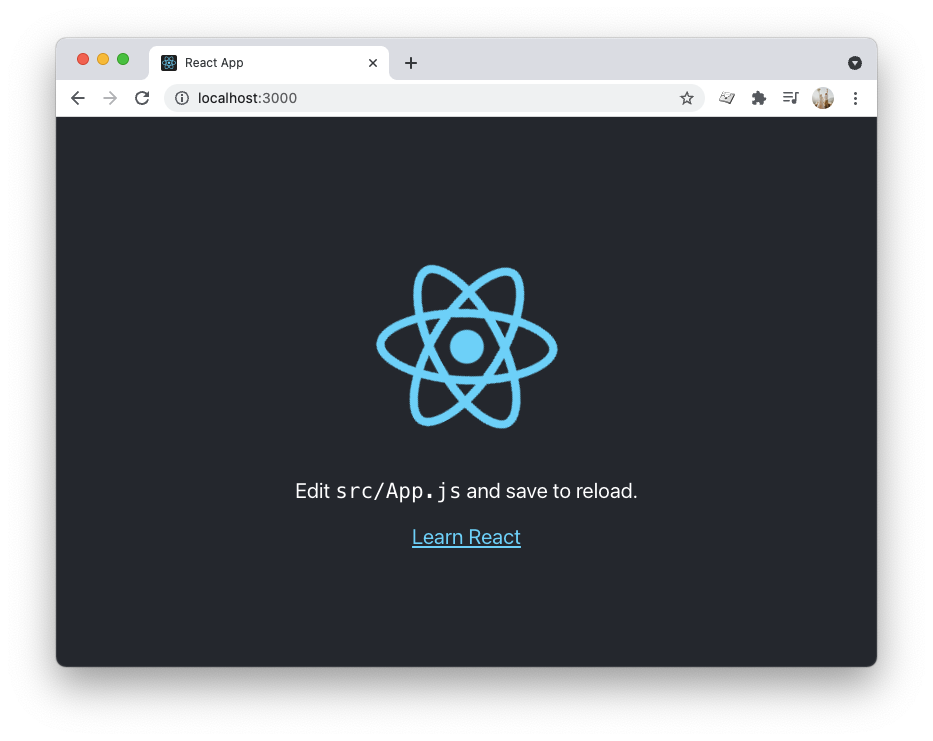
This command will open up a browser, and you should see the basic React boilerplate.
Creating our first component
React is a component-based system, meaning everything you see is made up of components.
Open your project in your favorite editor, and let's see how we can start creating our components.
Let's open the src/App.js file and start from a clean slate.
function App() {
  return <div className='App'>My react app</div>;
}

export default App;
This will render the text "My react app". Nothing fancy yet, but that's ok.
Let's add our first-ever custom component, which will be a bookshelf.
const Bookshelf = () => {
  return <div>Bookshelf</div>;
};
I've chosen to place this code above our function App declaration to keep things simple for now.
To use this component we need to modify our app to render the following:
function App() {
  return (
    <div className='App'>
      <Bookshelf></Bookshelf>
    </div>
  );
}
If we reload our page now, we should see the word "Bookshelf".
This might not sound fancy yet, but you might be starting to grasp the concept of how to use components here.
Let's also create a book component.
const Book = () => {
  return <div>Book</div>;
};
However, instead of the fixed name "Book", we want to give this book a title when we use it.
Let's add a title property for that!
const Book = ({ title }) => {
  return <div>{title}</div>;
};
We can now import this book in our app like so:
function App() {
  return (
    <div className='App'>
      <Bookshelf></Bookshelf>
      <Book title='Laravel collections' />
    </div>
  );
}
And you should see a book with the title "Laravel collections" show up.
You might see where we are going with this, as we want the book to be inside a bookshelf. Let's change that and add some more books.
<Bookshelf>
    <Book title='Laravel collections' />
    <Book title='Ruby for beginners' />
    <Book title='CSS is awesome' />
</Bookshelf>
But, if we now refresh, we don't get to see anything! That's because our bookshelf doesn't know how to render child components.
For that to work we need to define our bookshelf to accept children and render them like so:
const Bookshelf = ({ children }) => {
  return <div>{children}</div>;
};
Now we should be able to see all our books!
Extracting components
If we add some more stuff to our page, we quickly end up with a massive file that contains all kinds of components.
And that's where React is super strong. We can simply move these components to their respective files.
Let's see how that would work by creating a components folder in your src.
Then add Bookshelf.js as a file and add the Bookshelf code like so:
export default function Bookshelf({ children }) {
  return <div>{children}</div>;
}
Then we can use this component in our App.js file like so:
import Bookshelf from './components/Bookshelf';
Go ahead and try the same for the Book component.
By extracting these components, we get much cleaner and maintainable code.
I hope you enjoyed building your first React app. You can find the complete code example on GitHub.
Thank you for reading, and let's connect!
Thank you for reading my blog. Feel free to subscribe to my email newsletter and connect on Facebook or Twitter
About the author
I'm a full-stack developer from South Africa 🇿🇦. I love writing about JavaScript, HTML and CSS.
Comments
Join the discussionNo comments yet. Be the first to comment.



