
Publish your own NPM package

I'm a full-stack developer from South Africa 🇿🇦. I love writing about JavaScript, HTML and CSS.
The title might sound scary to you. I know it was for me. However, I'll show you it's not so scary and a fun experience to publish your very first NPM package in this article.
If you're interested in this article, I'm sure you've heard of NPM and even used it before.
Just a quick reminder, NPM is the biggest software registry, but also a package manager and installer.
Are you wondering how to install NPM? It actually comes shipped with Node. If you're looking to install Node, check out Homebrew.
Why publish an NPM package?
Perhaps you made something that you use all the time in your own projects? Then you might have realized it's a pain to update it in all those projects. Then imagine being able just to run the NPM update command 🤯.
Another reason might be you made something that you think the public might find valuable. For me, this is the case, as I made my very first Astro public component. (Still a WIP, actually)
Create your own NPM package
Let me start from scratch as it will be easier to explain like that.
First, we'll create our local folder.
mkdir astro-static-tweet && cd astro-static-tweet
Now we can initialize NPM.
npm init
Fill out the questions as you go along.
As for the naming of your package, you can use a public name like my-plugin, but chances are it's already taken.
You can use the npm search command to see if your name is still valid.
However, another option is to publish a scoped package, meaning it's prefixed with your username.
You can then use a name like @username/my-plugin, making it pretty unique.
Writing our code
Now let's add some code, so our plugin does something.
Let's make a super simple example as a package that will do some basic math for us.
Create an index.js file and add the following code.
function add(one, two) {
  return one + two;
}

module.exports = add;
Now when we want to use this package later on we can require the add function like this:
const add = require('plugin-name');
console.log(add(2, 5));
Adding multiple functions
Of course, it's not a nice plugin if we can only use add calculations.
Let's add some more functions and see how we can export and use those.
function add(one, two) {
  return one + two;
}

function subtract(one, two) {
  return one - two;
}

function multiply(one, two) {
  return one * two;
}

module.exports = {add, subtract, multiply};
And we can then import those once we load our package like this:
const {add, subtract, multiply} = require('plugin-name');
Adding a README
A good habit of doing is to add a Readme in your project. You can make these as extensive as you like. However, there should be a minimum requirement of:
- Installation guide
- Example of how to use it
- Tell people how to log issues
Some optional parts:
- What you're still working on
- License
- Contribution guide
Testing your package
It's always a good idea to include some tests in your package. This makes it easy to check if your code is still working once you change something.
I won't go into detail about testing code, as that is another topic on its own.
However, the most basic test we can do is a manual test. We can test out the package before it even is live on the NPM registry.
To do this, we need to link it locally.
Navigate to your package folder and execute the following command:
npm link
Then in the project where you want to test out this package, use the following command.
npm link your-package-name
Once you're happy with the package, move on to the next step.
Publishing our own NPM package
Before we can publish to the NPM registry, we need to make sure we have an account for the NPM website.
Once you have an account, you can run the following command in your terminal.
npm login
Follow the steps as the script will prompt you.
Once you are done and ready to push your code live, use the following command:
npm publish
Did you use a scoped package? (@username/my-package). Then you'll get a message saying scoped packages can't be published without paying.
However, we must publish it as a public package and use the following command.
npm publish --access=public
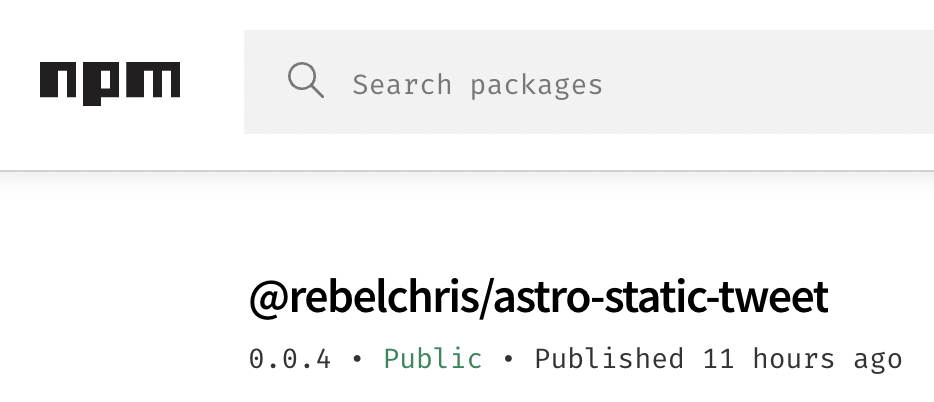
And now you can head over to npmjs
Updating your package
As it comes to updating, you change the code as you need to. The next step here is to update your package version.
The best approach is to use semantic versioning. Meaning we use a three-point version number.
Version: 1.2.3
Where the following can be said:
1: Major change can have incompatible function changes2: Minor change, mostly backward compatible3: Patch change, bugfix for instance
You can read more on the semver website.
Once you updated the version, you can publish it as you did before:
npm publish
# OR IF YOU SCOPED YOUR PACKAGE:
npm publish --access=public
Conclussion
And that's it. We now have our own package on the NPM registry!
Keep an eye out for issues logged by people using your package and keep your package up to date with security issues.
Made an exciting package? Let me know on Twitter/email me ✨
Thank you for reading, and let's connect!
Thank you for reading my blog. Feel free to subscribe to my email newsletter and connect on Facebook or Twitter


