
Next.js toggle between grid and list view

Today we'll be building a simple yet super effective toggle function. It will give us the option to toggle between the list and grid view.
The result will work like the video below.
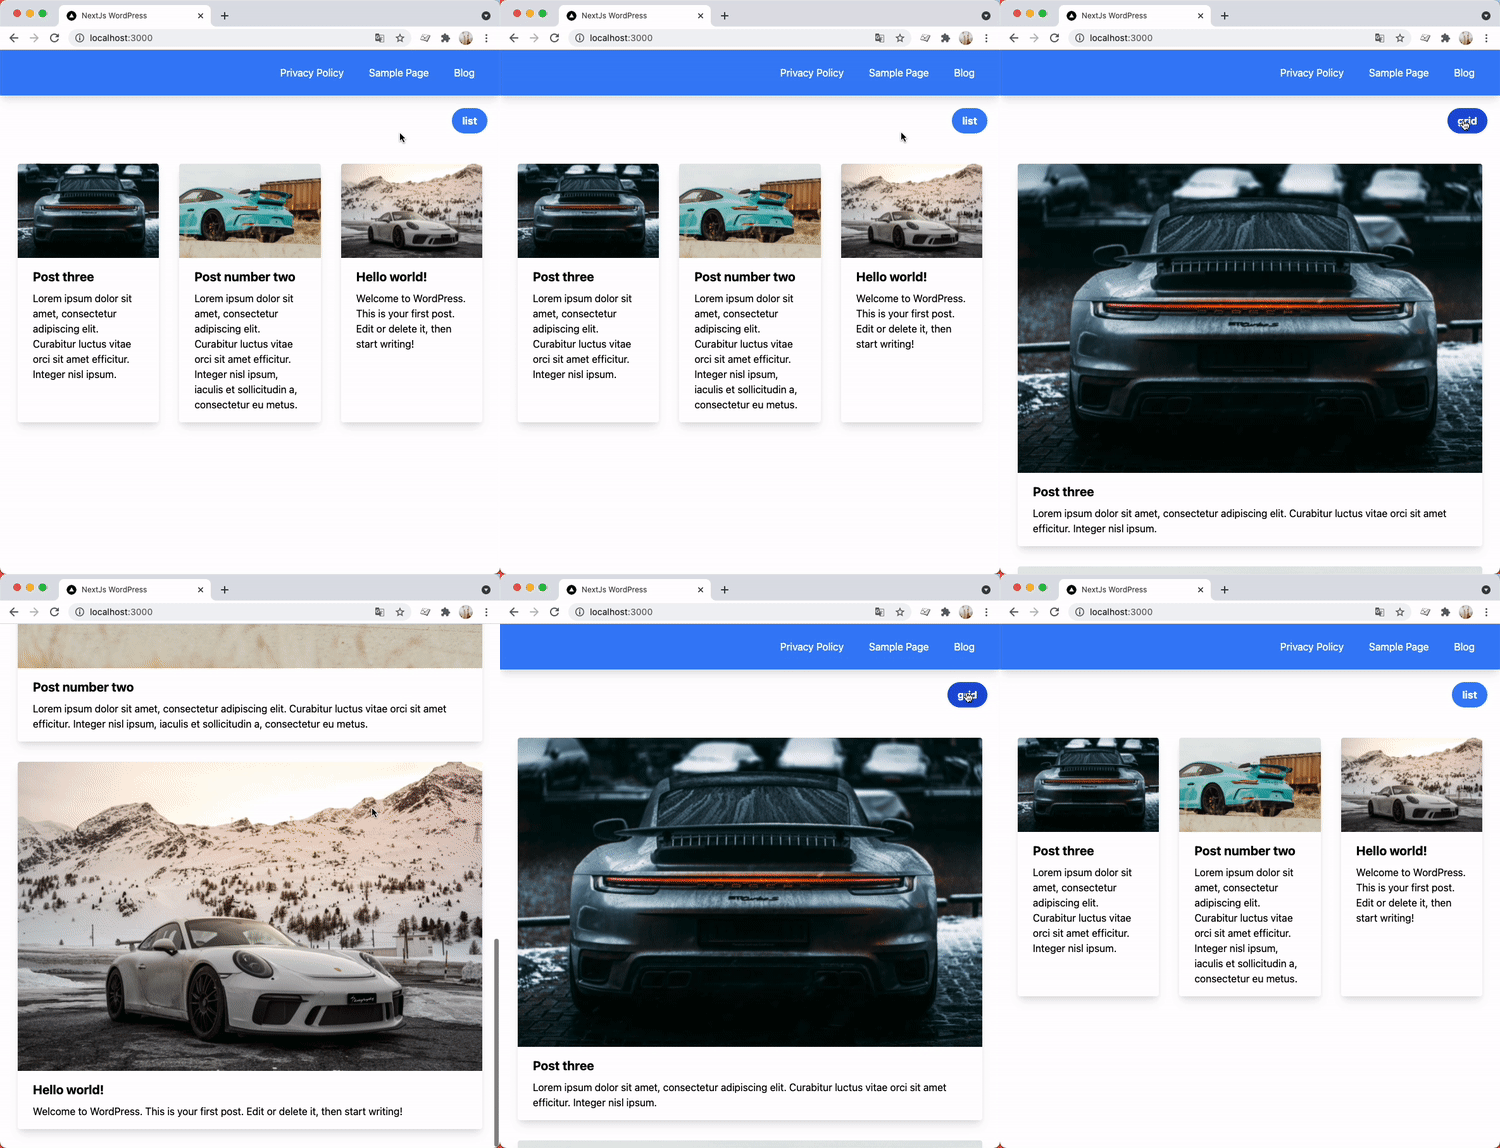
If you want to follow along, please use the following branch as your starting point.
Managing the state in Next.js
Since Next.js is React, we can use all the fantastic React state management tools, such as the useState, which we'll use for this purpose.
Open up your pages/index.js file and import the useState from React.
import {useState} from 'react';
Then inside our page, we can define the state and its default value. In our case, we'll use a boolean, where the default value (false) means it's in grid view, and if it's true, it will be in list view.
const [toggleViewMode, setToggleViewMode] = useState(false);
The toggleViewMode will become the variable that we can read and use, and at the end of the line, you see false, which sets its default value.
The setToggleViewMode is the function we can call to change the value of this variable.
Let's go ahead and add a button that, on click, can change our variable.
<div className="flex justify-end p-5">
  <button
    className="px-4 py-2 font-bold text-white bg-blue-500 rounded-full hover:bg-blue-700"
    onClick={() => setToggleViewMode(!toggleViewMode)}
  >
    {toggleViewMode ? 'grid' : 'list'}
  </button>
</div>
Add this code above the current wrapping div
The main things to watch for here are the onClick function, which will invoke every time we click this button. This button then calls the setToggleViewMode and passes the negative value it currently has.
Remember using
!in JavaScript is the logical "not" operator.
And the next part is based on what the current value is. So if the value is true, we show the grid. Else we show the list.
Next.js toggle between list and grid view
Now that we have this state and button working, we need to change our main wrapping div.
Currently it looks like this:
<div className='grid grid-cols-3 gap-4 p-5'>
Note the grid-cols-3 as this states the content should be split into three columns.
We want to show three columns if we are in grid mode. Else only one column, which will resemble list mode.
Change your class to look like this:
<div className={`grid grid-cols-${toggleViewMode ? '1' : '3'} gap-4 p-5`}>
This will use the number we need based on the view mode variable. And voila, we now have a grid/list mode toggle in Next.js.
You can find this complete code example on GitHub.
Thank you for reading, and let's connect!
Thank you for reading my blog. Feel free to subscribe to my email newsletter and connect on Facebook or Twitter
About the author
I'm a full-stack developer from South Africa 🇿🇦. I love writing about JavaScript, HTML and CSS.
Comments
Join the discussionChris Bongers, Nice you are rocking with Next.js bites.
Thanks Tapas!
Glad you like them, also planning on doing more of a React background set now



