
NextJS portfolio setting up - part 2

I'm a full-stack developer from South Africa 🇿🇦. I love writing about JavaScript, HTML and CSS.
In the last part we had an overall look at what we would build, and I even gave you some homework to find an excellent design and analyze it into building blocks.
This article will look at setting up the project and installing all the dependencies we need.
Setting up the Next.js project
The basic Next.js set up is quite forward these days, so let's run through it.
First, open your terminal and run the following command to create a new Next.js project.
npx create-next-app
Once done, it will install the project inside a folder whose name you picked in the CLI prompt.
Navigate to this folder (in my case, next-portfolio).
cd next-portfolio
If you are eager to see it work, run npm run dev to start up the server.
However, we will look into adding Tailwind CSS. First, Tailwind is an easy way to style the application neatly. You can also opt for regular CSS if you are unfamiliar with it.
First, install the needed dependencies:
npm install -D tailwindcss@latest postcss@latest autoprefixer@latest
After that, run the following command to initialize a tailwind config file.
npx tailwindcss init -p
Open the project in your favorite editor and find the tailwind.config.js file.
Add the pages and components config into the content part like this:
/** @type {import('tailwindcss').Config} */
module.exports = {
  content: [
    './pages/**/*.{js,ts,jsx,tsx}',
    './components/**/*.{js,ts,jsx,tsx}',
  ],
  theme: {
    extend: {},
  },
  plugins: [],
};
Then we have to modify the styles/global.css to include the Tailwind imports.
@import 'tailwindcss/base';
@import 'tailwindcss/components';
@import 'tailwindcss/utilities';
While we are at it, also remove some of the things we won't be needing:
styles/Home.module.csspages/api
And let's modify our pages/index.js file to see if Tailwind is working.
import Head from 'next/head';

export default function Home() {
  return (
    <div>
      <Head>
        <title>NextJS Portfolio</title>
        <meta name='description' content='Generated by create next app' />
        <link rel='icon' href='/favicon.ico' />
      </Head>
      <main className='grid place-content-center min-h-screen'>
        <div className='max-w-xs rounded overflow-hidden shadow-lg my-2'>
          <div className='px-6 py-4'>
            <div className='font-bold text-xl mb-2'>Next + Tailwind ❤️</div>
            <p className='text-grey-darker text-base'>
              Next and Tailwind CSS are a match made in heaven. Check out this
              article on how you can combine these two for your next app.
            </p>
          </div>
        </div>
      </main>
    </div>
  );
}
Now run your app: npm run dev and visit http://localhost:3000/ to see it in action.
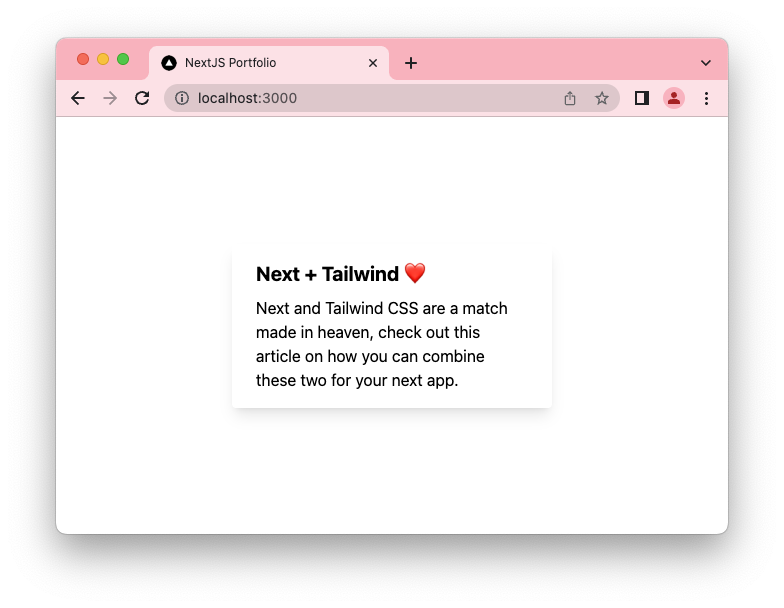
Alright, that's our setup for today! We created the project and added Tailwind to it.
Keep an eye out for tomorrow's article, where we'll dive into layouts in Next.js.
You can find the code for today on GitHub.
Thank you for reading, and let's connect!
Thank you for reading my blog. Feel free to subscribe to my email newsletter and connect on Facebook or Twitter



