
Mac quick action to convert images to JPG

I'm a full-stack developer from South Africa 🇿🇦. I love writing about JavaScript, HTML and CSS.
If you also own an iPhone and send pictures to your Mac, they often come in HEIC format.
This is the format used for the Live Photo feature, which is cool, but we can't upload these pictures.
I'll show you a super handy shortcut to automate converting any image into a JPG format in this article.
Using Automator to create a quick action
Quick actions on the Mac are mighty. They create shortcuts we can use natively. And the cool part is that with Automator, we can make our own ones!
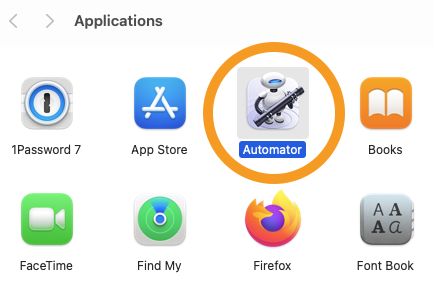
Open up the Automator app on your Mac.
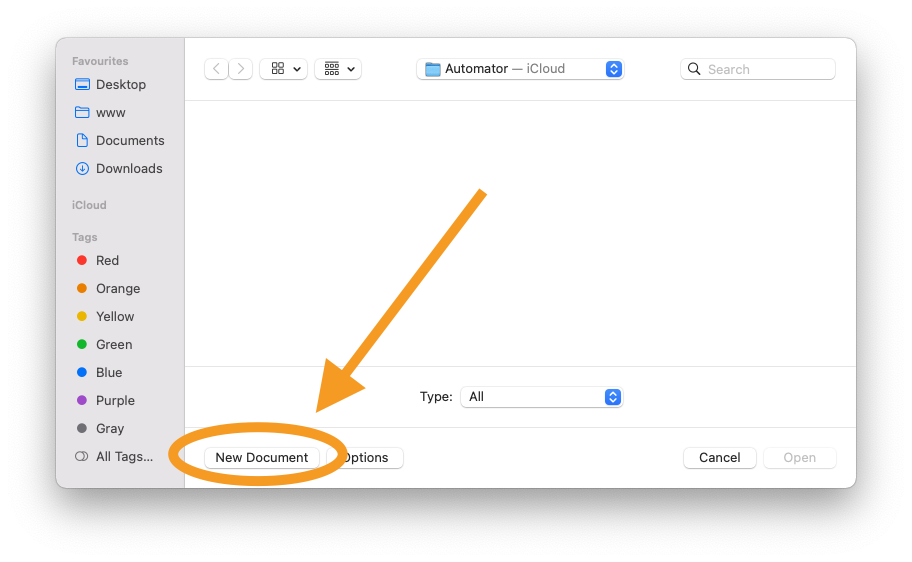
On the first screen, press the "New Document" button at the bottom.
The action we'll be making is a Quick Action.
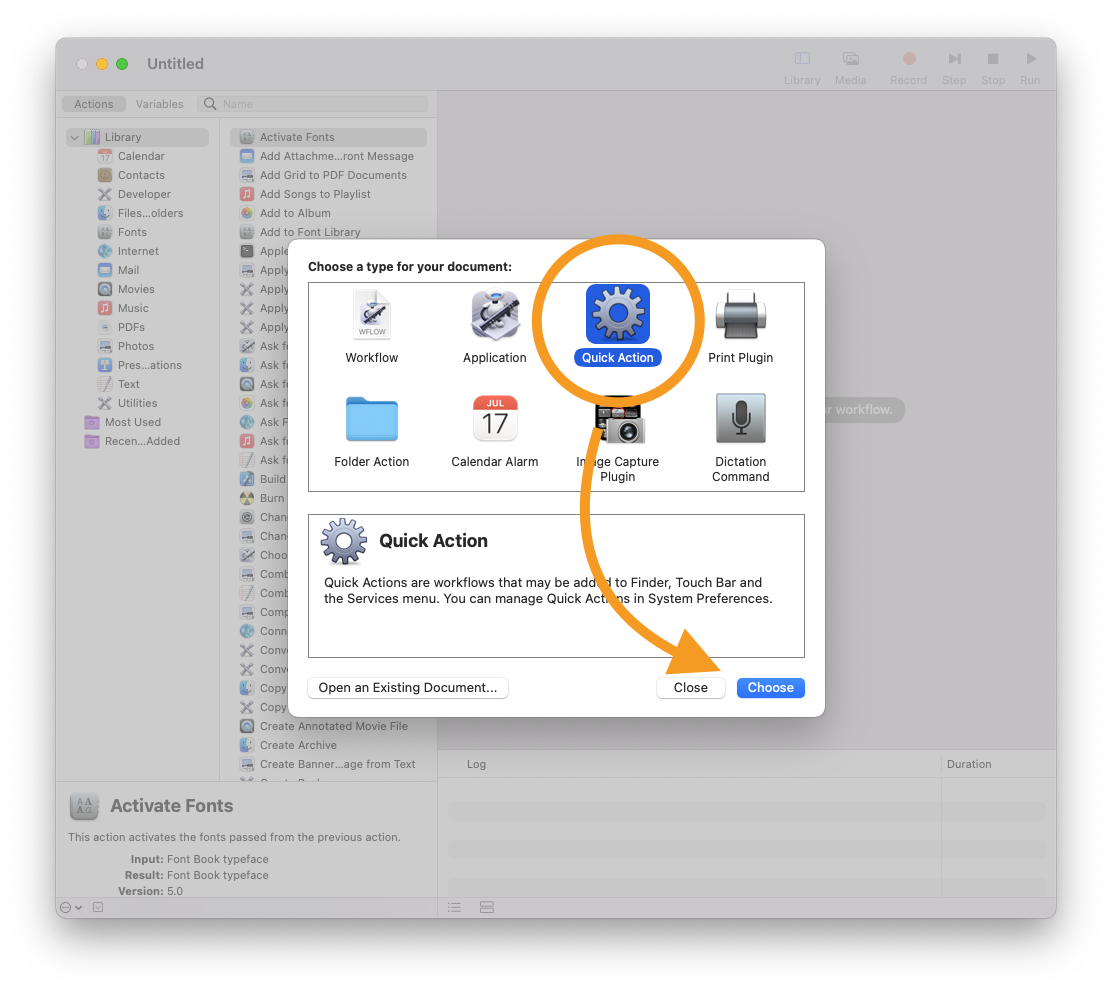
Inside this quick action, we can have all kinds of actions, pretty cool to find out what's possible.
Convert images to JPG
But let's stay on topic and see how we can convert images to JPG.
Change the workflow to receive image files in the top section.
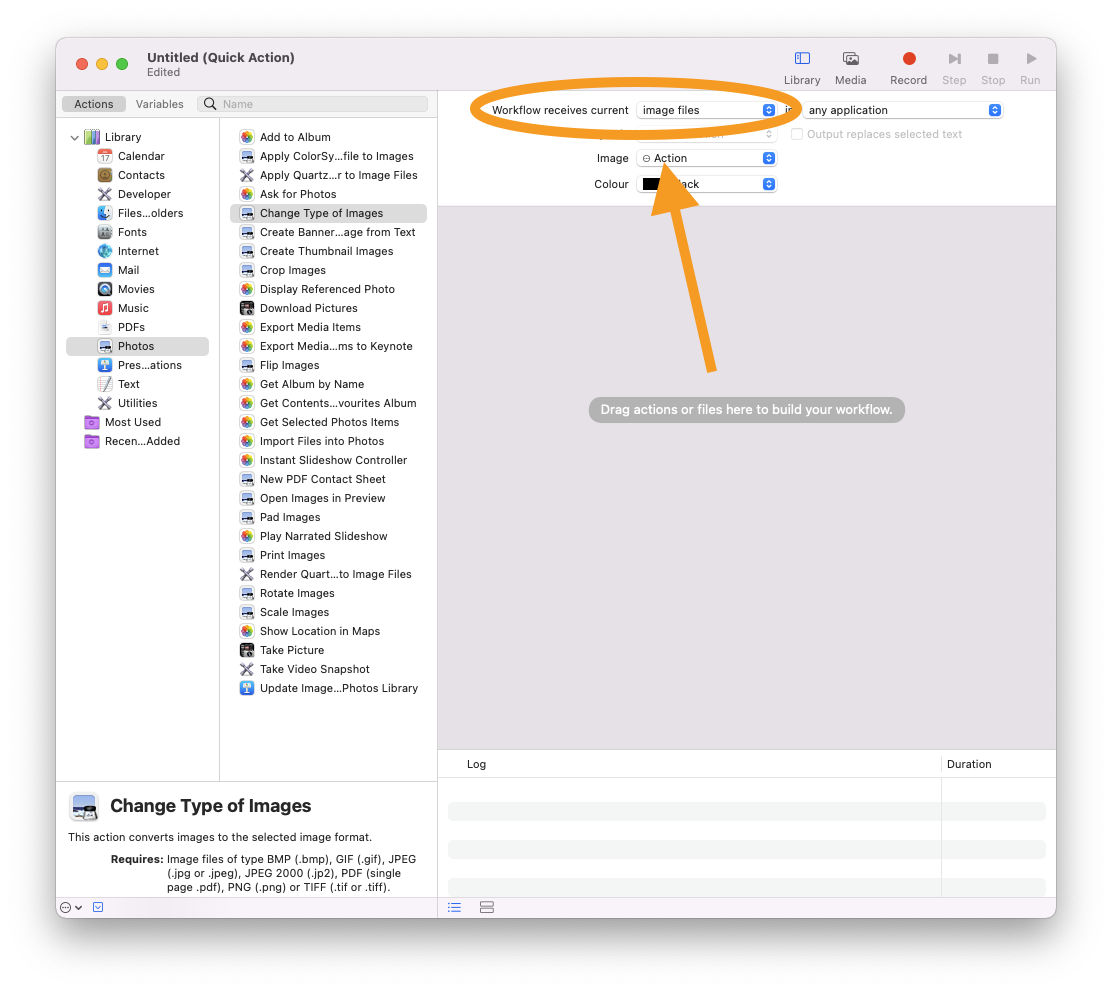
Then on the left, click the Photos action and find the action that states "Change Type of Images".
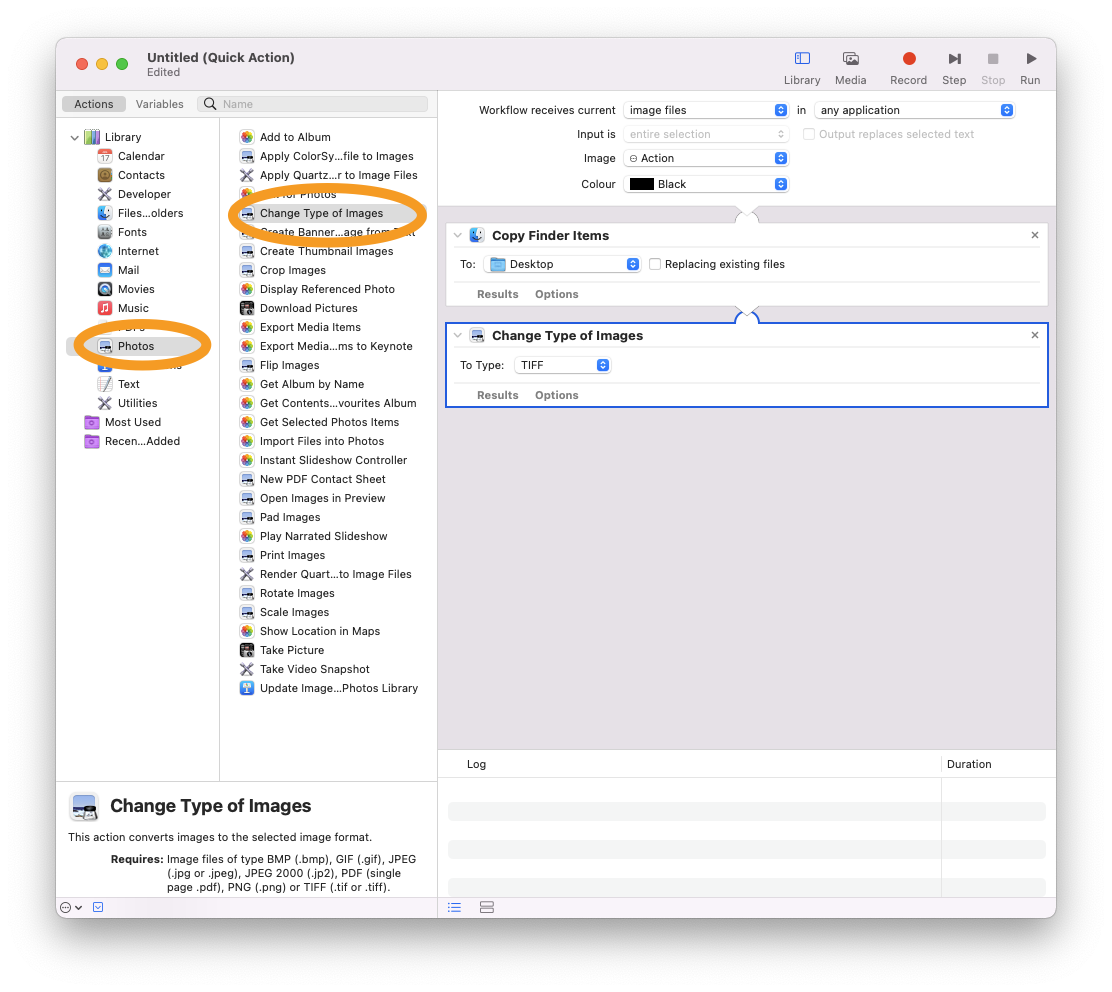
Double click it, or drag it to your middle screen to add it. You can see it also adds a "Copy Finder Items" this enables it always to output these new images to your desktop, but you can change the output folder.
Change the type to JPEG.

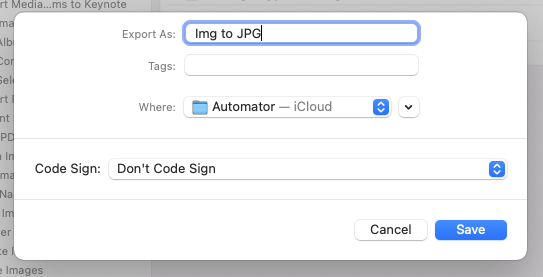
That's it. We can now export this function but clicking the File menu and selecting Export.
Install and use the quick action
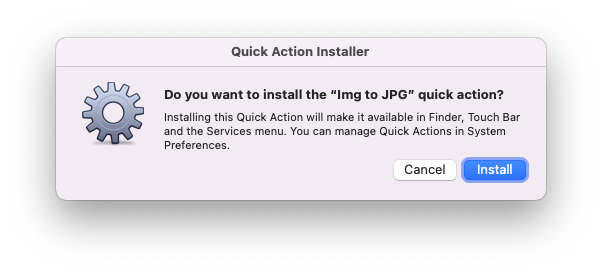
Now find the action in your selected folder and double click it. This will prompt you to install it.
Now find an image somewhere and right-click it. You should now see your custom action under the quick action menu.
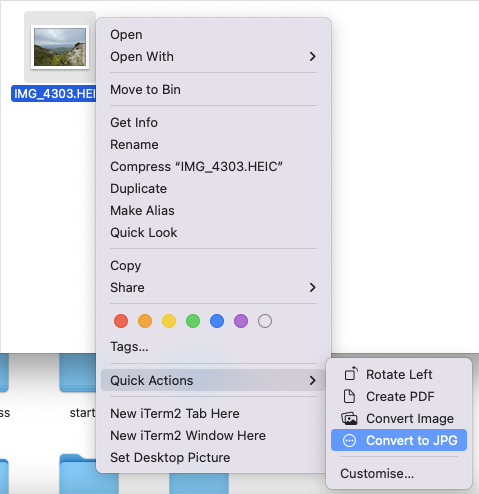
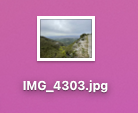
And if we click it, a new image in JPG format will appear on our desktop!
Thank you for reading, and let's connect!
Thank you for reading my blog. Feel free to subscribe to my email newsletter and connect on Facebook or Twitter



