
Mac installing MySQL

I'm a full-stack developer from South Africa 🇿🇦. I love writing about JavaScript, HTML and CSS.
In this article, I'll be guiding you through the installation process for MySQL on a Mac.
It's a pretty straightforward installation, and we will need this when setting up our Mac for web development.
Download MySQL for Mac
To install MySQL, we need to visit the MySQL website and pick the download we need.
For most people, the top DMG archive will work.
If you click the download button you'll get an annoying screen because they want you to signup. Just click the No thanks button at the bottom.

Installation of the MySQL server
Once the download is done you can click the DMG file and in there you'll find the pkg file.
Double-click this file.
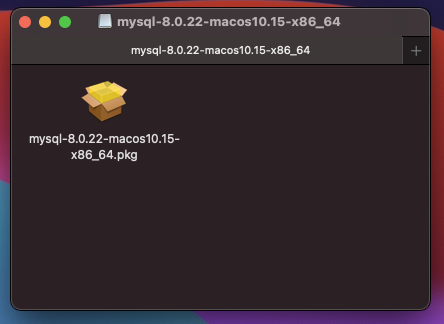
This will open up the installer for MySQL.
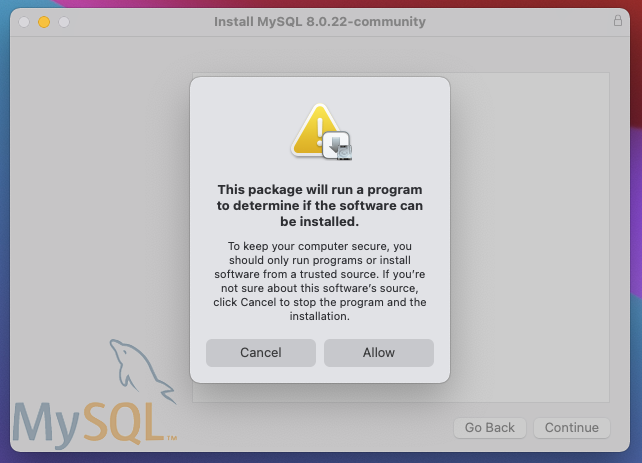
Click Allow on the above step.
Follow all the steps it prompts.
At one stage it asks for the install location, you can go ahead and use the default one.
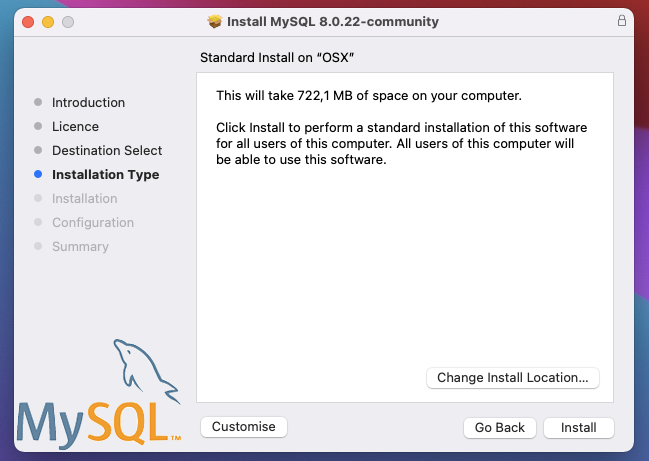
After clicking this, you'll be prompted for your password, enter it and the installation begins.
Then you get a configuration screen, you can select the strong password encryption.
It will then ask you to set the default password for the root user.
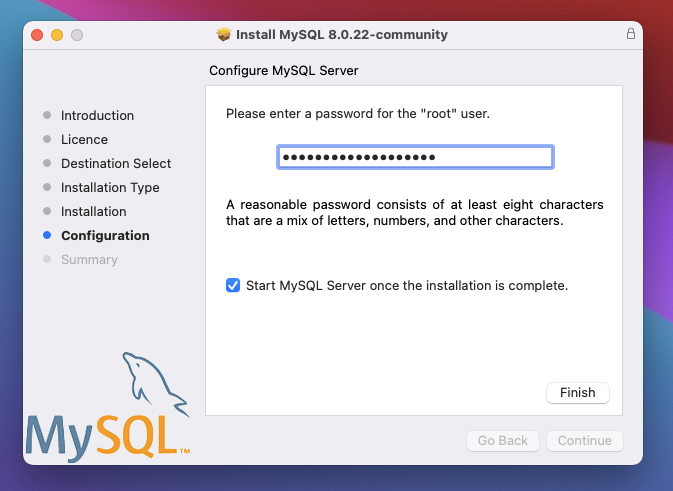
Once we set the password the installation is done.
Find the MySQL server on Mac
You can now find your MySQL server by opening the Settings application on your Mac.
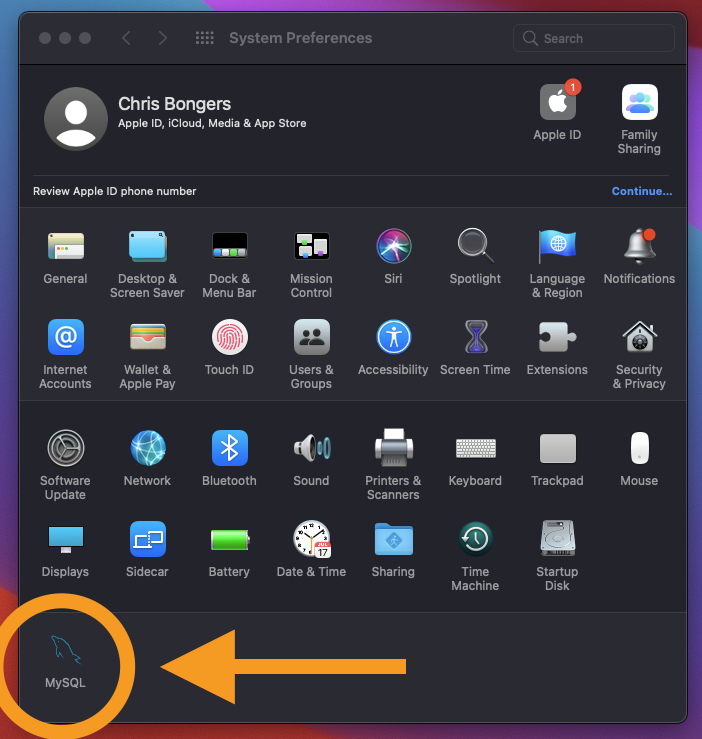
If you click that you have the option to Start and Stop the server.
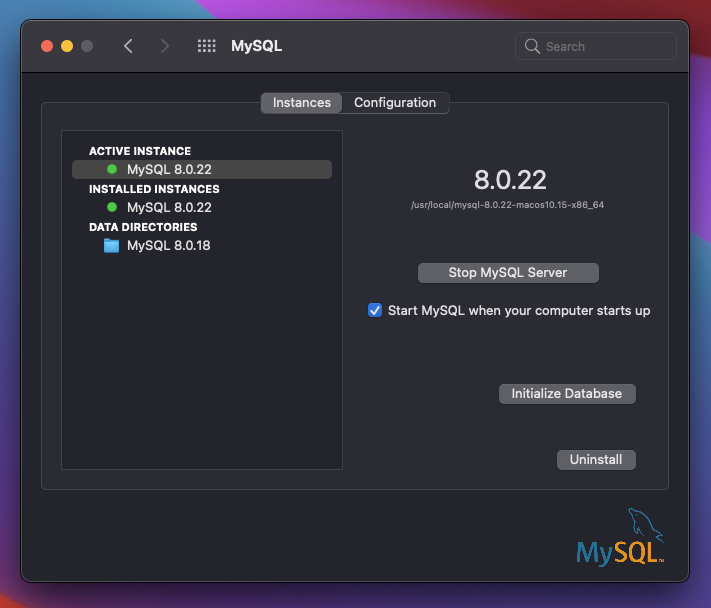
Connecting to the MySQL server
We can also use graphic tools to connect to this MySQL server.
In my case, I'll be using TablePlus, but any tool will work the same.
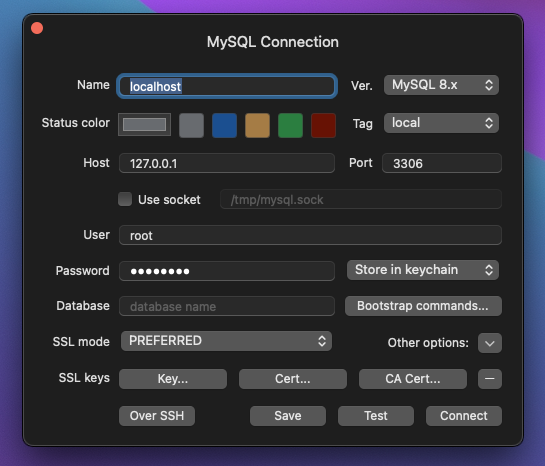
Add a new connection using the following settings
host: 127.0.0.1user: rootpassword: You choose this in the installationport: 3306 (default)
Then you can test the connection and connect to it.
That's it we installed MySQL and are able to connect to it!
Thank you for reading, and let's connect!
Thank you for reading my blog. Feel free to subscribe to my email newsletter and connect on Facebook or Twitter



