

Now that we have our portfolio set up and styled, it's time to start loading some dynamic data.
In the following articles, we'll explore different data loading methods. In this specific one we'll look at loading the blogposts from local markdown files.
Loading local markdown blog posts
Let's start by creating a new folder called posts. This will become the source of all our blog posts.
Inside start by adding a couple of blog posts. This is an example one which I called blog-post-one.md:
---
title: 'Blog post one'
description: 'A short description about this post'
image: /images/post-1.jpg
date: '2021-09-22'
tags:
  - tag1
  - tag2
---

# The main content
From here, we need to move around our existing page structure. Until now, we only have one blog page, but the structure is wrong since we'll be supporting individual pages as well.
To fix this, create a new folder called blog inside your pages folder.
Then move the existing blog.js file inside this blog folder and rename it to index.js.
This means our /blog page still works as intended.
However, we still only show our mockup data. So how do we go about loading our markdown blog posts?
This is where we can use Next.js superpower and add a loader to our page.
Open up the blog/index.js file and add a static props function like this:
export async function getStaticProps() {
  // Get all posts

  return {
    props: {
      posts,
    },
  };
}
We need to get all the posts that we return. Our main component in this file will be able to retrieve these posts in its props.
export default function Home({ posts })
But let's see how we can load the posts. Seeing that our posts are markdown, we need to find a way to read markdown.
To do this, we use the matter npm package.
npm i gray-matter
Then we can modify the static props to read from our local filesystem and fetch all posts. We return the slug for this post and the frontmatter part.
export async function getStaticProps() {
  const files = fs.readdirSync('./posts');

  const posts = files.map((fileName) => {
    const slug = fileName.replace('.md', '');
    const readFile = fs.readFileSync(`posts/${fileName}`, 'utf-8');
    const { data: frontmatter } = matter(readFile);
    return {
      slug,
      ...frontmatter,
    };
  });

  return {
    props: {
      posts,
    },
  };
}
If we now modify our main function and log what we get like this:
export default function Blog({ posts }) {
    console.log(posts);
});
We should see the following response.
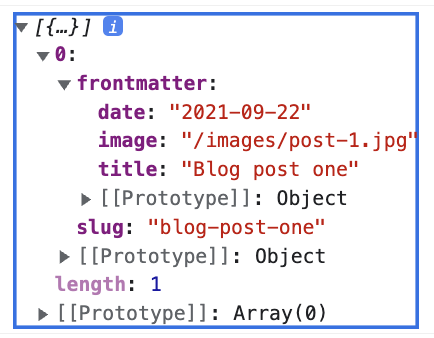
That looks like it's complete, and we can start to modify our returned articles.
{
  posts.map((post) => (
    <Article key={post.slug} className='border-b-2' post={post} />
  ));
}
This will still return the mocked-up articles but don't worry. We'll change that now.
Modifying the article component
Now that we want our article component to be dynamic, let's make some modifications to allow it to have accepted parameters.
Open up the article.js component and add the following as props.
export default function Article({post, className = 'rounded-lg'})
This will ensure we can pass a post object to this article. Now let's change our component so it uses this post.
import Link from 'next/link';

export default function Article({ post, className = 'rounded-lg' }) {
  return (
    <article className={`bg-white p-4 ${className}`}>
      <Link href={`blog/${post.slug}`}>
        <h3 className='text-2xl mb-2 font-medium hover:text-red-400 cursor-pointer'>
          {post.title}
        </h3>
      </Link>
      <span className='text-gray-600 mb-4 block'>
        <date>{post.date}</date> | {post.tags.map((tag) => tag).join(', ')}
      </span>
      <p>{post.description}</p>
    </article>
  );
}
And now, if we re-render our page, we can see our dynamic blog article.
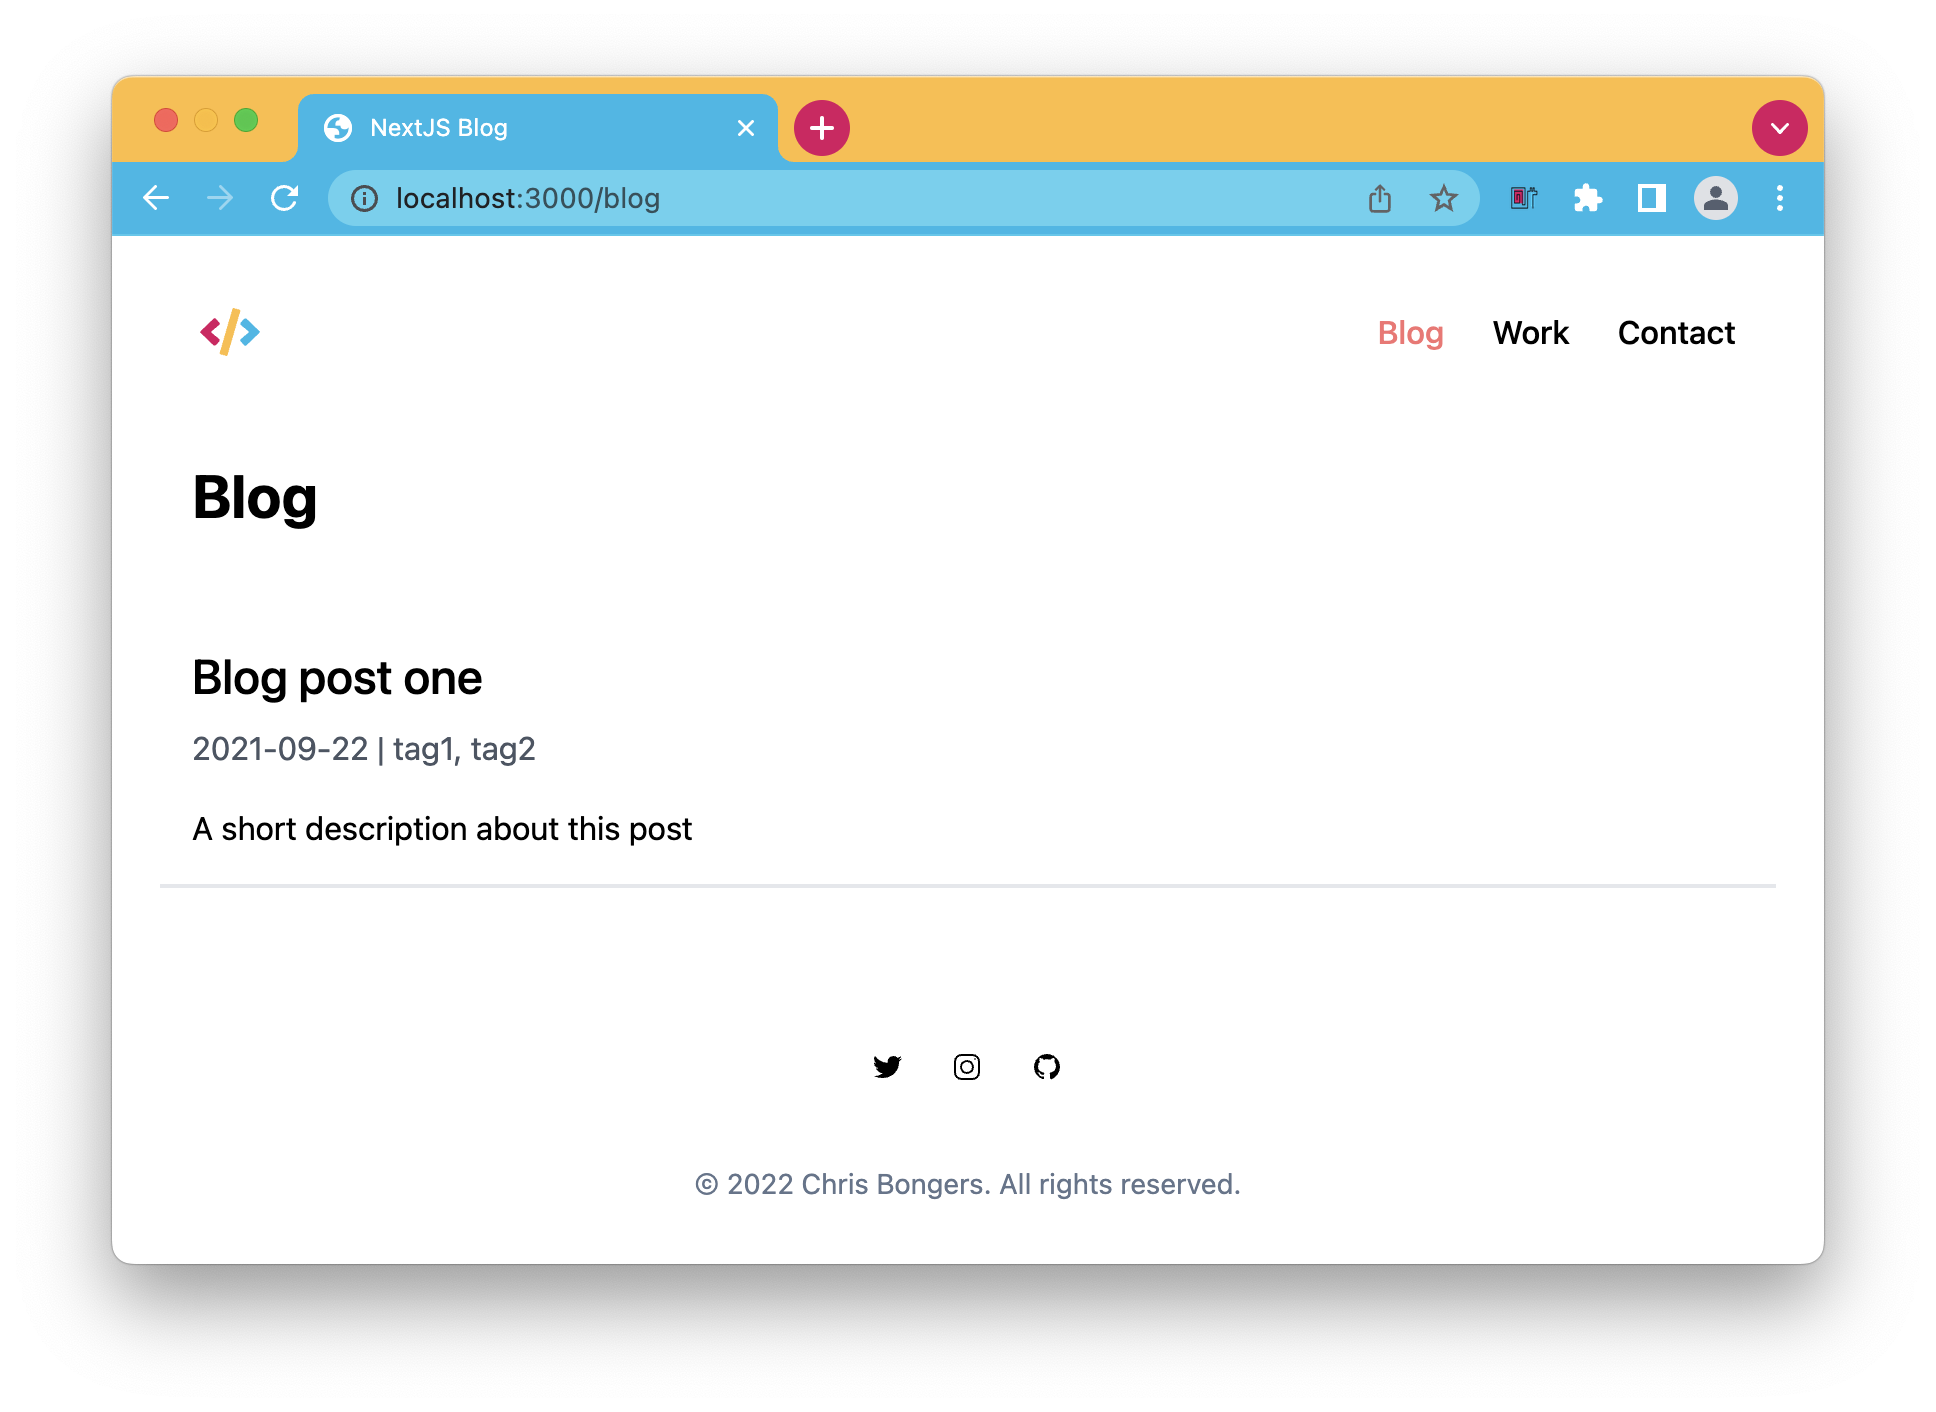
Up to you to start adding some more blog articles from here.
In the following articles, we'll make sure our blog pages are working and modify the blog posts shown on the homepage.
You can find today's code on the following GitHub branch.
Thank you for reading, and let's connect!
Thank you for reading my blog. Feel free to subscribe to my email newsletter and connect on Facebook or Twitter
About the author
I'm a full-stack developer from South Africa 🇿🇦. I love writing about JavaScript, HTML and CSS.
Comments
Join the discussionNo comments yet. Be the first to comment.



