
Ionic store data for a user in Firebase

In the previous article, I added Firebase to Ionic for authentication users. But more importantly, we want to store data for this specific user.
How do we go about this?
In the example today, we will be storing very basic data to see how we can use it.

Adding the Firebase database
Let's create the Firebase database, head over to the Firebase console, and click the database section.
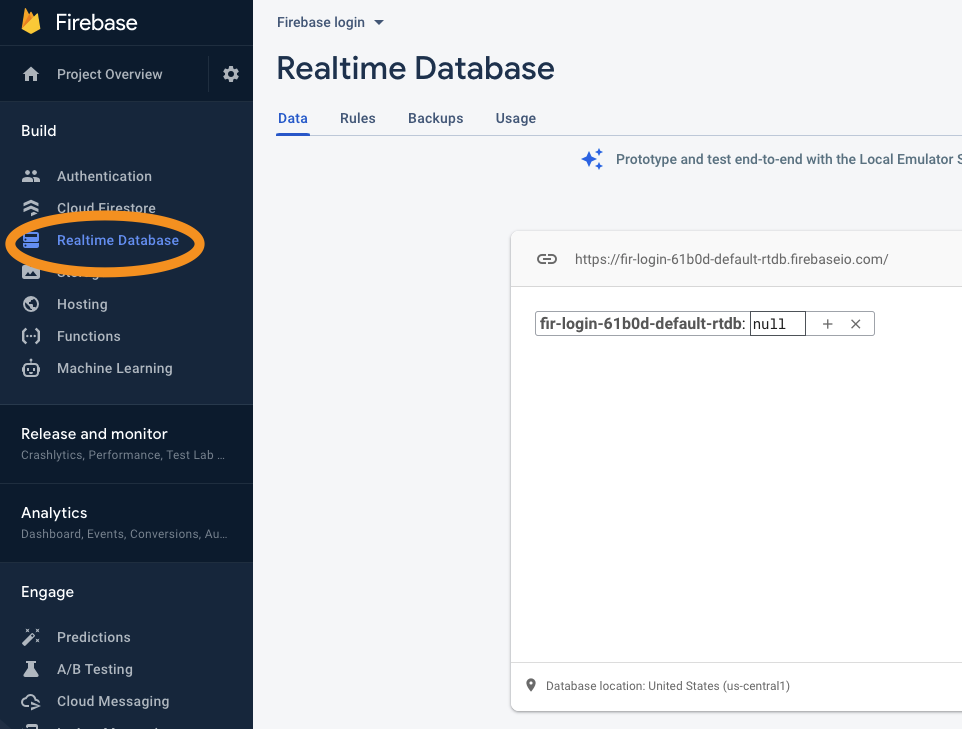
Once you add the database, copy the link and add it to our environment.ts file.
export const environment = {
  production: false,
  firebaseConfig: {
    apiKey: "XXXXXXXXXXXXXXXXXX",
    authDomain: "xxx.firebaseapp.com",
    projectId: "xxxxxxx",
    storageBucket: "xxxxx.appspot.com",
    databaseURL: "https://xxxxxxxx-default-rtdb.firebaseio.com",
    messagingSenderId: "xxxxxxxxx",
    appId: "1:xxxxxx:web:xxxxxxx",
    measurementId: "G-xxxxx"
  }
};
Then, let's add the Firebase database module in our app.module.ts file.
imports: [
    BrowserModule,
    IonicModule.forRoot(),
    AppRoutingModule,
    AngularFireModule.initializeApp(environment.firebaseConfig),
    AngularFireAuthModule,
    AngularFireDatabaseModule
],
We can now head over to our tab1.page.ts file to add the logic for our database.
Let's add the new variables and add the database in our construct.
ref: any;
count: Observable<any>;

constructor(public fireAuth: AngularFireAuth, public db: AngularFireDatabase)
Then we can change the subscribe on the user and see if we have a user.
this.fireAuth.authState.subscribe((user) => {
  this.user = user ? user : null;
  if (this.user !== null) {
    this.ref = db.object(user.uid);
    this.count = this.ref.valueChanges();
    this.count.subscribe((initial) => {
      if (initial === null) this.ref.set(1);
    });
  }
});
This will create a reference to our database object for the current user. This is based on their user id.
Next, we have the count, which keeps track of the value directly from Firebase.
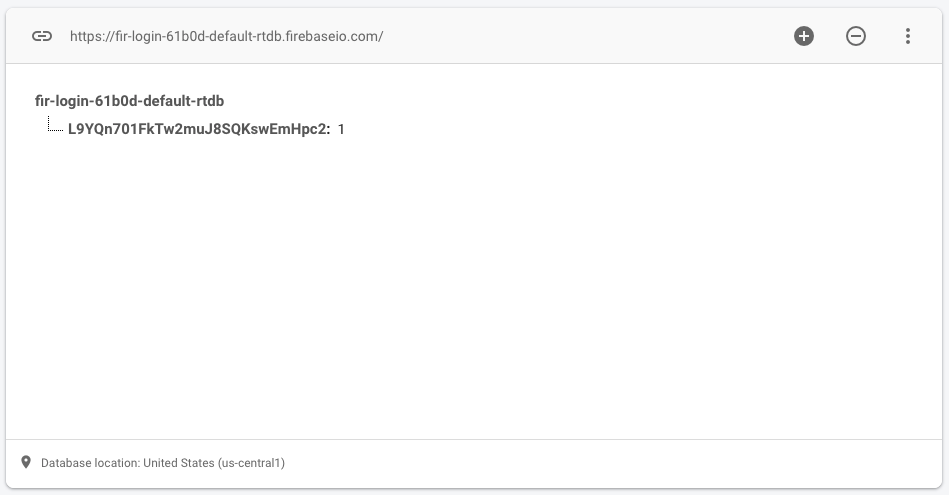
We also subscribe to it to see the initial value. If this is null, it means it doesn't exist, so we set the value to be 1.
Now let's add a cool simple function that will increment this value.
addCount() {
    this.ref.set(firebase.database.ServerValue.increment(1));
}
This concludes the JavaScript we need, so let's go to the HTML side to add this button.
<ion-button (click)="addCount()" expand="block" color="success">{{ count | async }}</ion-button>
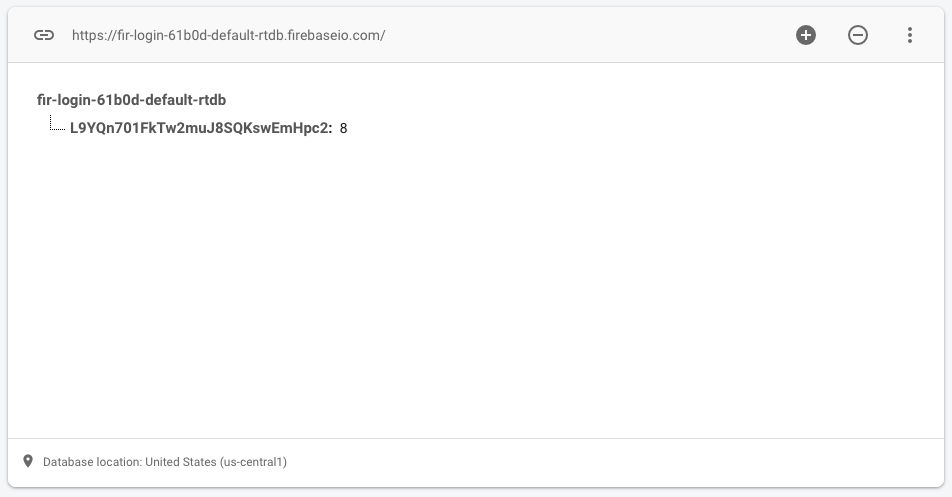
This button shows the count variable, and also, when we click it, it will execute the addCount function.
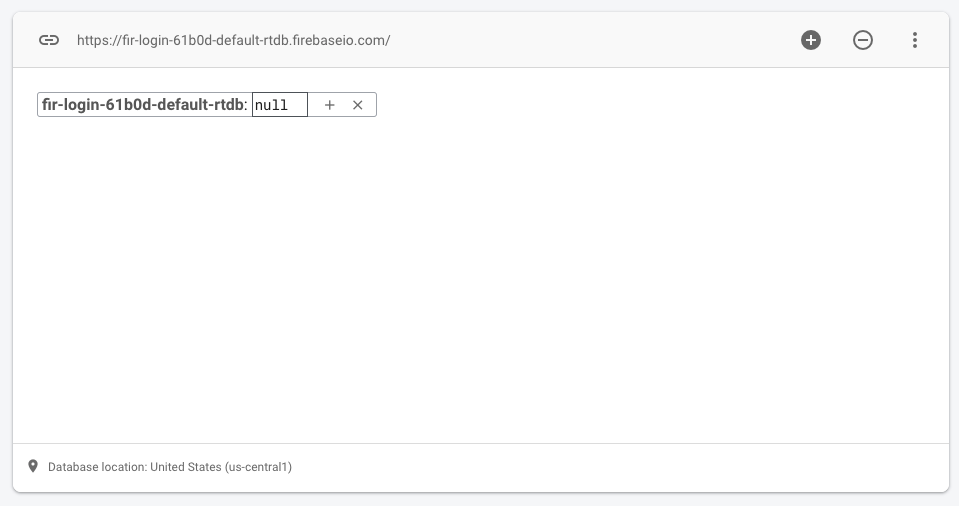
Before logging in, our database will look like this:
When logging in, the user object will be created:
And when the user clicks the button a couple of times, we get this result:
You can find today's code on the following GitHub repo.
Thank you for reading, and let's connect!
Thank you for reading my blog. Feel free to subscribe to my email newsletter and connect on Facebook or Twitter
About the author
I'm a full-stack developer from South Africa 🇿🇦. I love writing about JavaScript, HTML and CSS.
Comments
Join the discussionNo comments yet. Be the first to comment.



