
Ionic adding reactive forms

I'm a full-stack developer from South Africa 🇿🇦. I love writing about JavaScript, HTML and CSS.
We already created Reactive forms in Angular before. Today we'll be looking at how it works in Ionic.
Since we'll be using Ionic/Angular combination, it's a very similar implementation.
Reactive forms are a great way to quickly build forms, validate them, and even dynamically update them!
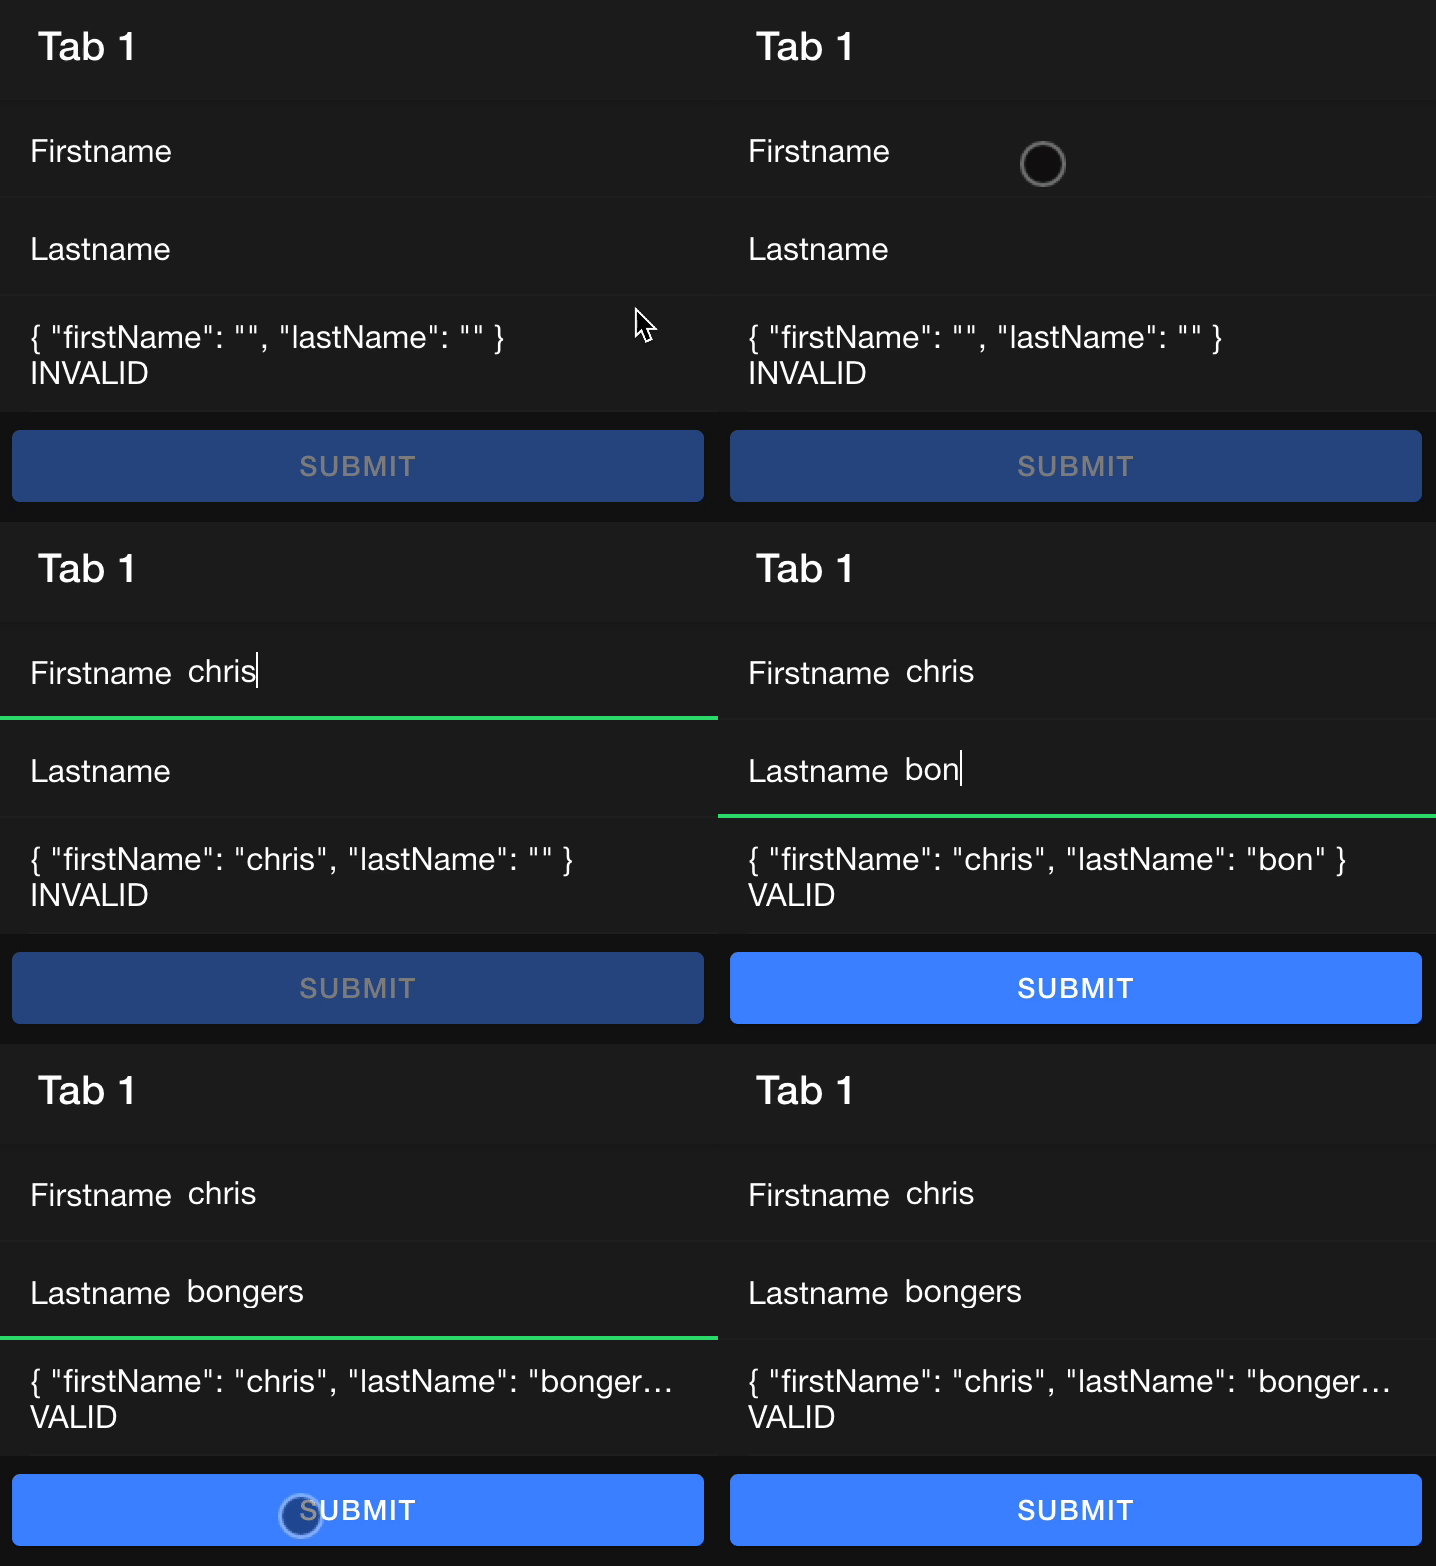
Today the main focus will be to make a basic form with some validation.
It will look like this:
Enabling reactive forms in Ionic
The first step is to enable reactive forms, we can do this high-levelly, or in the component we need it.
For me, I only use it in one component, so I'll be implementing it for a single component.
I'm using this Ionic starter GitHub project as the basis.
We'll be adding a form to tab1. Let's first open up the tab1.module.ts file where we will register ReactiveForms.
import {FormsModule, ReactiveFormsModule} from '@angular/forms';
// Other imports

@NgModule({
  imports: [
    IonicModule,
    CommonModule,
    FormsModule,
    ReactiveFormsModule,
    ExploreContainerComponentModule,
    Tab1PageRoutingModule
  ],
  declarations: [Tab1Page]
})
export class Tab1PageModule {}
Here you can see the ReactiveFormsModule imported under the FormsModule.
This will allow us to use it in this component.
Creating the Ionic form group
The next step is to create the form group in our ts file to use as a form.
Open up tab1.page.ts and import the following elements.
import {FormControl, FormGroup, Validators} from '@angular/forms';
Now we can define our form and the fields it should have.
contactForm = new FormGroup({
  firstName: new FormControl('', Validators.required),
  lastName: new FormControl('', Validators.required)
});
This created a contactForm object, which will hold a Reactive form.
We added a new group to the form and included two basic fields that are both required using the Validators.
Let's also add a submit function, that for now, will log whatever the user inputted.
submitForm() {
    console.log(this.contactForm.value);
}
Rendering the form fields in Ionic
Of course, this won't do much yet, so let's add the form fields to our HTML file in tab1.page.html
<ion-content [fullscreen]="true">
  <form [formGroup]="contactForm" (ngSubmit)="submitForm()" novalidate>
    <ion-item>
      <ion-label>Firstname</ion-label>
      <ion-input formControlName="firstName"></ion-input>
    </ion-item>
    <ion-item>
      <ion-label>Lastname</ion-label>
      <ion-input formControlName="lastName"></ion-input>
    </ion-item>
    <ion-row>
      <ion-col>
        <ion-button type="submit" expand="block" [disabled]="!contactForm.valid"
          >Submit</ion-button
        >
      </ion-col>
    </ion-row>
  </form>
</ion-content>
As you can see, we add a normal form element but include the formGroup, which links this form to our contactForm object.
We also include the submit action here.
Then we add the items and add a formControlName to them. This needs to match up to the names you include in the ts file.
The last element is a submit button, which we'll disable if the form is not valid.
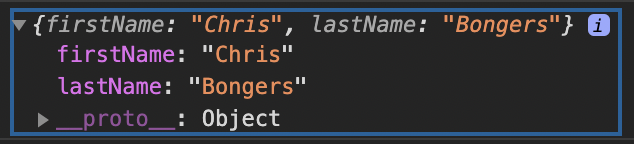
Now when the user fills out the form, we should see this in the console.
You can find today's code on GitHub as well.
Thank you for reading, and let's connect!
Thank you for reading my blog. Feel free to subscribe to my email newsletter and connect on Facebook or Twitter



