
Ionic adding checkboxes to a form

I'm a full-stack developer from South Africa 🇿🇦. I love writing about JavaScript, HTML and CSS.
Yesterday we made a reactive form in Ionic, but it was pretty plain. We could enter regular one valued elements. Let's say we want to add some checkboxes that could have multiple values?
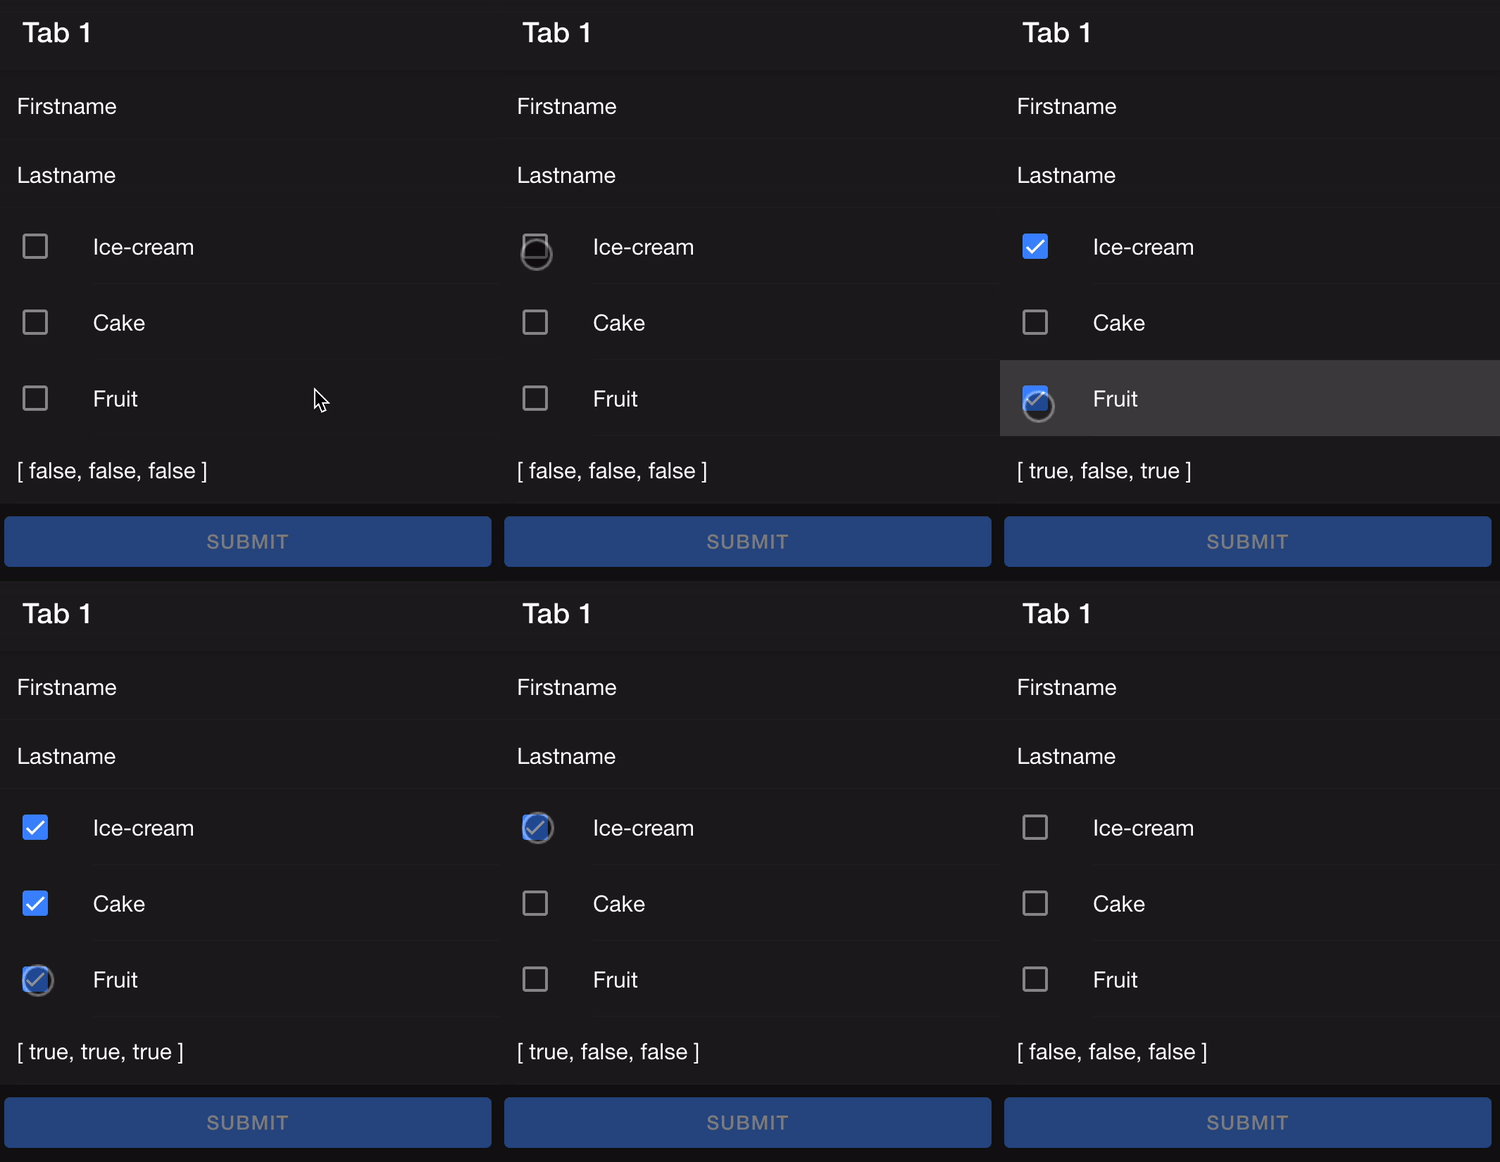
The result of today is a form like this:
Ionic
First, let's add some options to our tab1.page.ts file.
dessertOptions: string[] = ["Ice-cream", "Cake", "Fruit"];
As you can see, this is a string array containing three strings.
Next up, we'll need to tell our form that we can have multiple values over a formControl.
contactForm = new FormGroup({
  firstName: new FormControl('', Validators.required),
  lastName: new FormControl('', Validators.required),
  options: new FormArray([])
});
Instead of a formControl, we'll add a formArray. This can contain multiple formControl elements inside.
In our case, we'll be dynamically adding them in our constructor.
constructor() {
    this.dessertOptions.forEach(() =>
      this.ordersFormArray.push(new FormControl(false))
    );
}
Doing this will loop over the dessertOptions we created above and add them to a new variable called ordersFormArray.
The ordersFormArray is something we can define now:
get ordersFormArray() {
    return this.contactForm.controls.options as FormArray;
}
This will just convert the value of the existing option to a formArray.
Now it's time to add this to our application's frontend so the user can pick some options.
<ng-container formArrayName="options">
  <ion-item *ngFor="let dessert of dessertOptions; let i = index">
    <ion-label>{{ dessert }}</ion-label>
    <ion-checkbox slot="start" [formControlName]="i"></ion-checkbox>
  </ion-item>
</ng-container>
First of all we define the formArrayName and set it to be the options variable on our form.
Then we loop for each dessertOption and render a specific checkbox.
The formControlName for each checkbox is an index number that will match what number they are in the array.
If we then submit, we get values like true/false/false if we checked only the first checkbox.
And there you go, an easy way to add checkboxes to an Ionic reactive form.
You can find this code on GitHub.
Thank you for reading, and let's connect!
Thank you for reading my blog. Feel free to subscribe to my email newsletter and connect on Facebook or Twitter



