
How to record your iPhone screen with a Macbook

I'm a full-stack developer from South Africa 🇿🇦. I love writing about JavaScript, HTML and CSS.
While doing yesterday's article about console.log on Chrome for iOS, I needed to screen record my iOS device. I started looking at which app could help me with this process.
It turns out it's super simple with a pre-installed Mac application. All you have to do is connect your iOS device to your Macbook.
Record iPhone screen with Quicktime for Mac
First, open the Quicktime application on your Macbook.
The next step is to connect your iPhone with the lightning cable to your Macbook. (Depending on your Macbook, you might need a converting hub).
With the iPhone connecting, click Quicktime player menu -> File -> New Movie Recording.
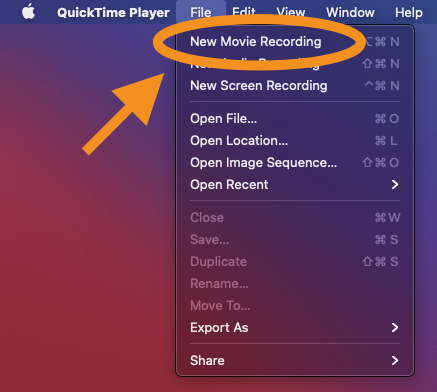
You can also see the option for "Screen recording", but that will only do your Mac screen.
Once you clicked the Movie Recording option, you should see a block saying "The camera is off".
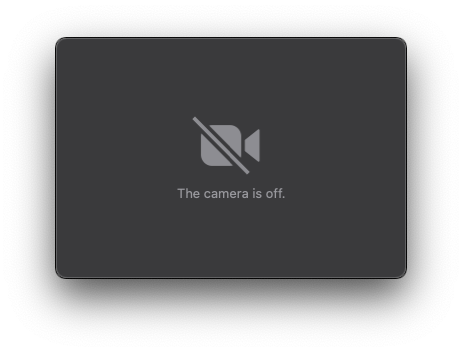
If you hover this block, it will give you some options. We need to click the little arrow next to the record button.
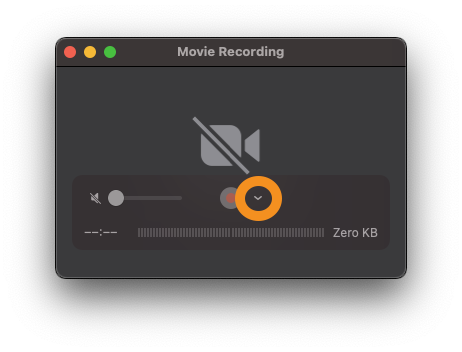
Clicking this arrow will show you some options, and if your iPhone is connected, it will be an input source.
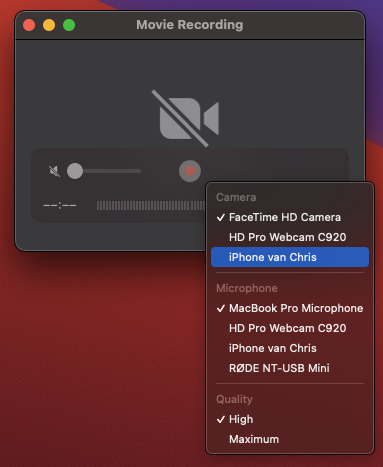
Once selected, it shows the current screen of your iPhone.
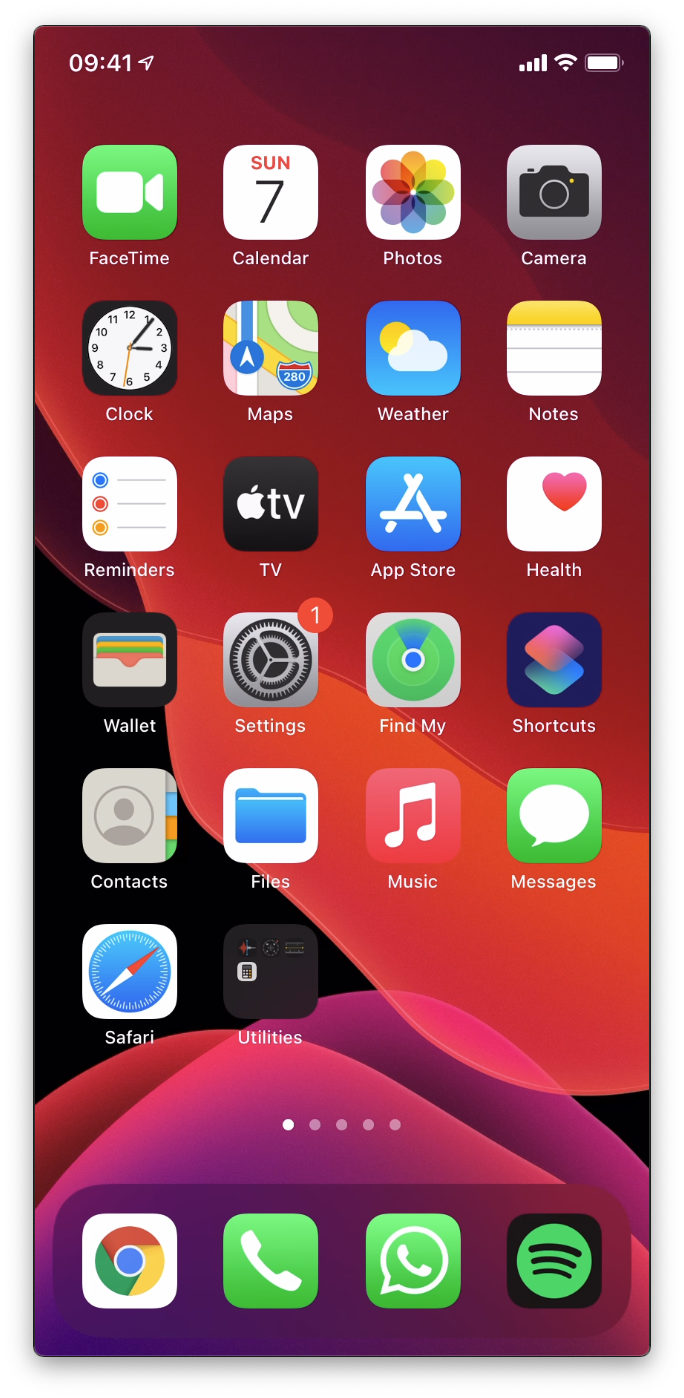
And there you go, we now have the option to present or screen capture our iPhone on our Macbook.
Thank you for reading, and let's connect!
Thank you for reading my blog. Feel free to subscribe to my email newsletter and connect on Facebook or Twitter


