
Hosting Sendy on Digital Ocean

I'm a full-stack developer from South Africa 🇿🇦. I love writing about JavaScript, HTML and CSS.
Disclaimer: some links in this article are affiliate links. These help support the blog by allowing me to receive a bonus if you sign up.
If you want to know what Sendy is and why I'm moving from Mailchimp to Sendy read all about it here.
I'm going to host Sendy on DigitalOcean's 5\$ a month droplet. This should be more than enough to host a simple mailing tool.
I'll guide you through this process and all the little things I might encounter.
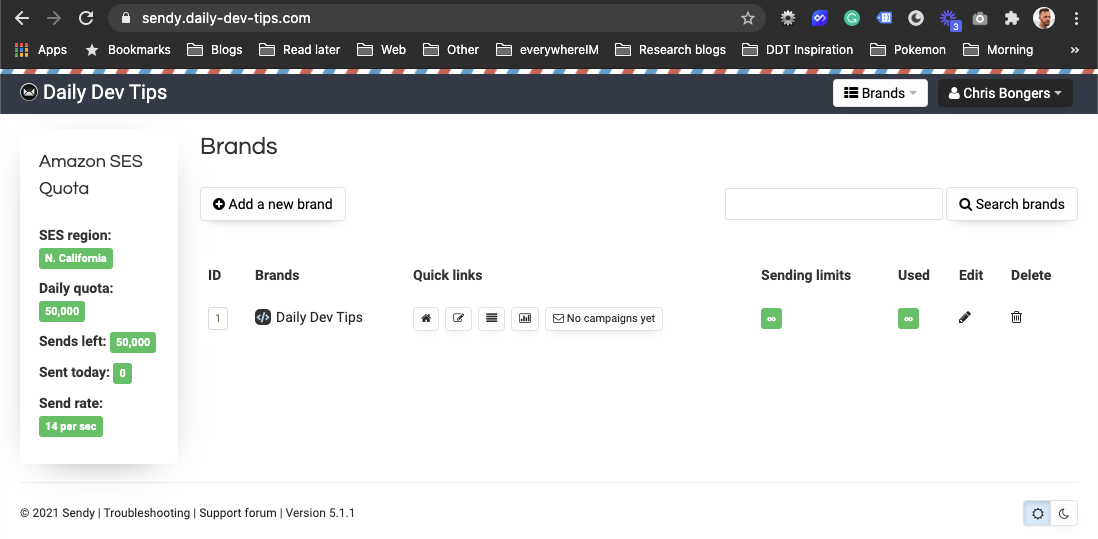
The end result is Sendy on our own domain 🥳
Setting Digital ocean up
In case you don't have a Digital Ocean account yet, head over to their website and create an account.
Feel free to use my referral link and get 100\$ free credit.
You might need to link your account to a payment provider on the first setup, I'm using Paypal to put credit in my account.
Creating the Digital Ocean droplet
I'm creating a project first, just to have it more organized, this step is optional and can be omitted by directly going to the droplet section.
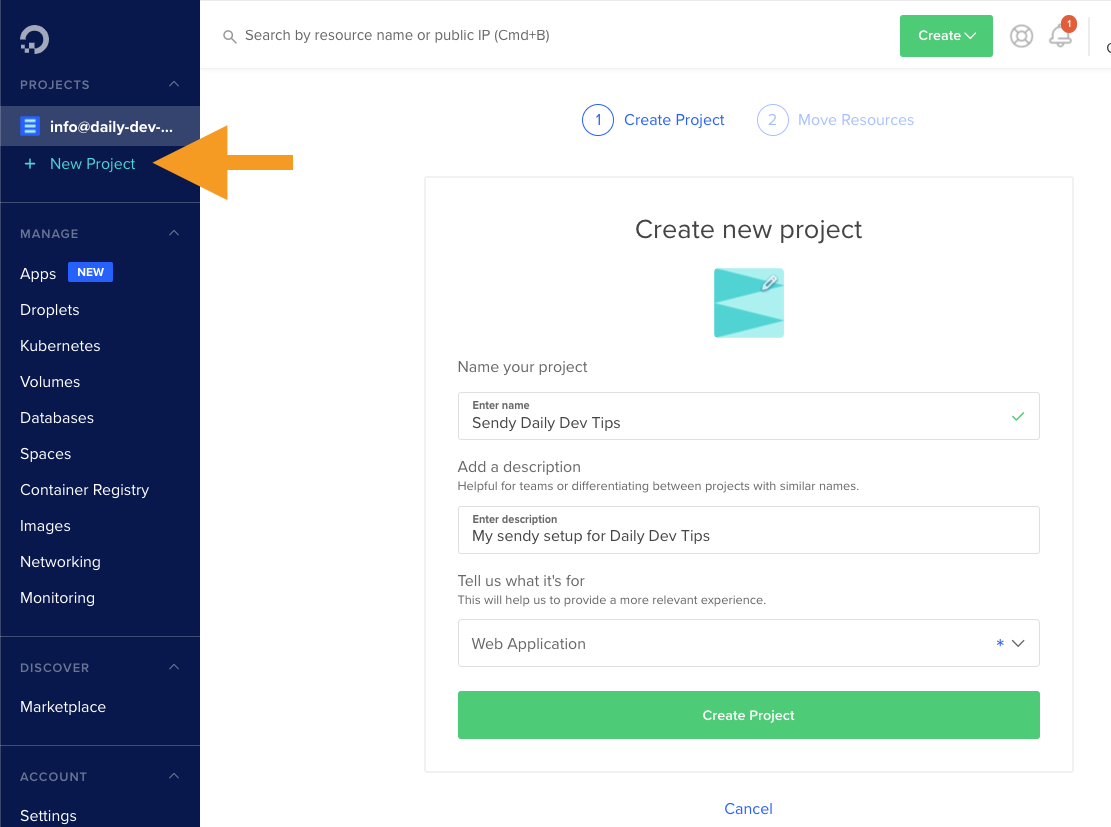
Fill out the name and purpose, and click on the Create Project button.
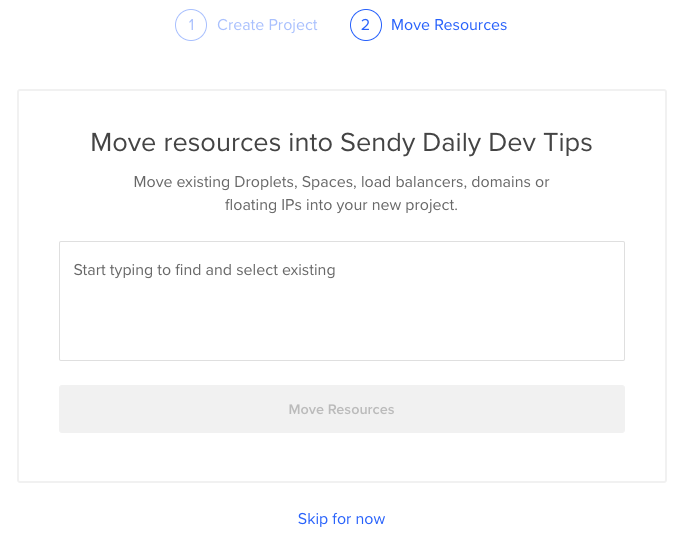
The next step you can skip, since we don't have any resources yet.
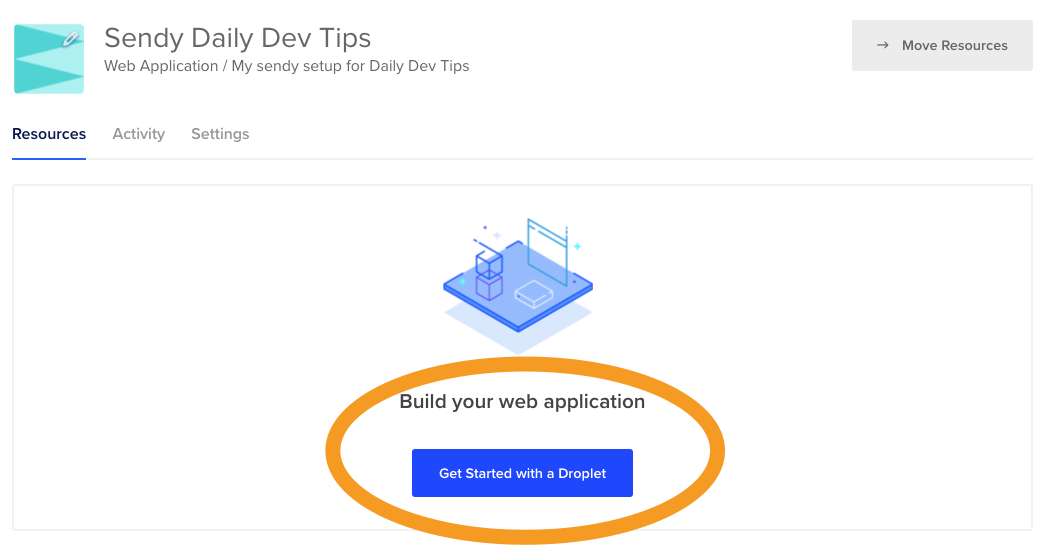
Once the project is set up, we can click the Get started with a Droplet button.
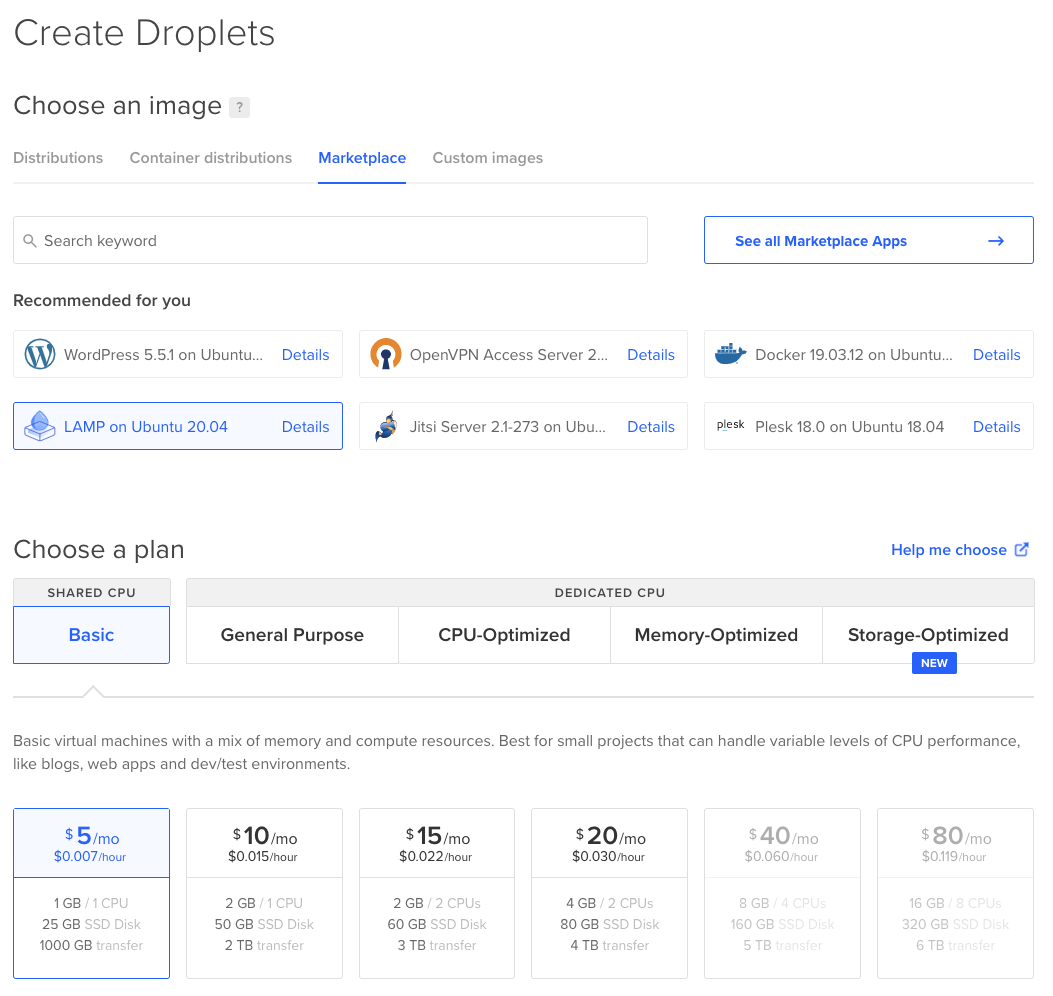
You can open up the Marketplace tab and search for the current LAMP stack.
We will use the LAMP stack on a Basic plan for 5\$/month.
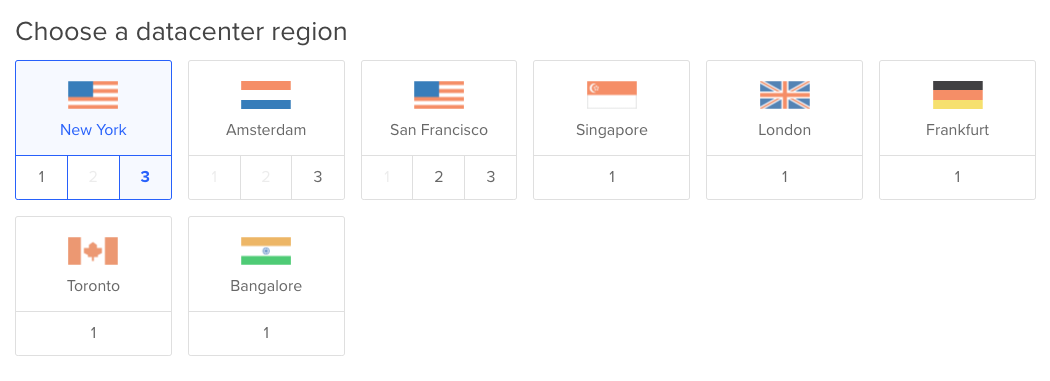
You can then select a data center that is compliant with your location policy and serves you best. (I choose New York 3)
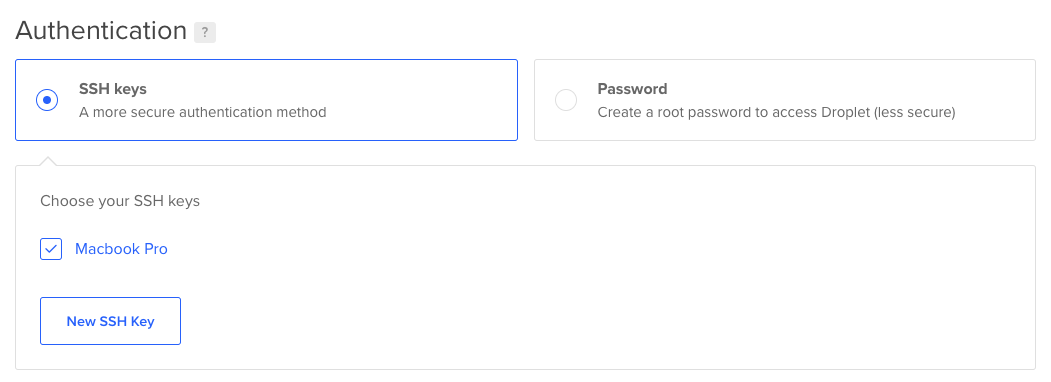
As for authentication you can choose between SSH and Password, I strongly urge you to use the SSH one. It's way safer and eventually easier to use.
For this you will need to get your SSH key, if you are using GitHub you likely will already have one.
Find it by running the following command in your terminal.
cat ~/.ssh/id_rsa.pub
You can then press the create button and it will start to create your droplet.

Once it's done it will look like this.
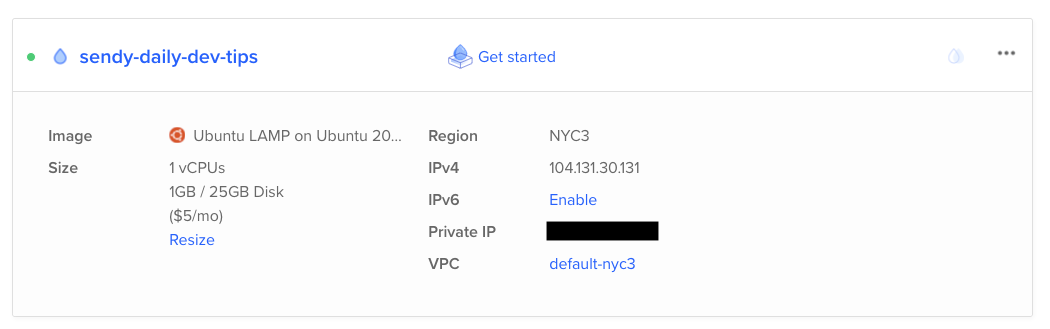
Now that are droplet is done, let's connect to it and install everything we need.
Connecting to our droplet
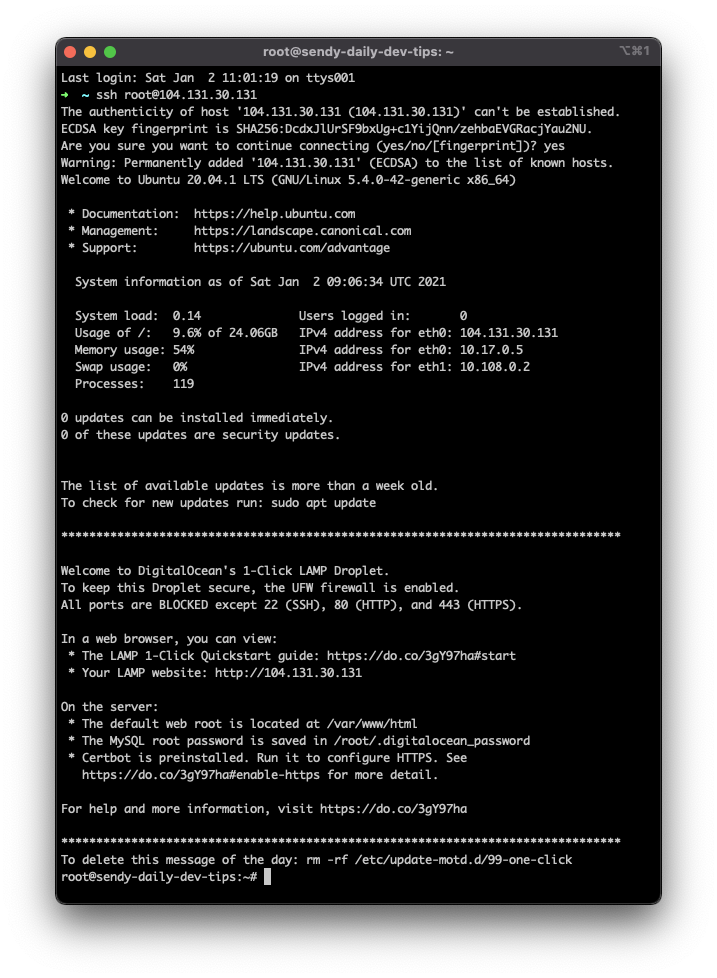
If you set up your droplet to authenticate via SSH you are now able to open your favorite terminal and ssh right into it.
You can find your IP address on the droplet screen.
ssh [email protected]
Note: Change the IP above to your droplet's IP
The first time it will prompt you if the host should be accepted, choose yes.
You will now be logged in
Installing our packages for the droplet
Now we can go ahead and install the packages we need for Sendy.
Let's first inspect what PHP version is installed.
php -v
This returns the currently installed PHP version. At the time of writing that is.
PHP 7.4.3 (cli) (built: May 26 2020 12:24:22) ( NTS )
That's fine for us.
Next up, we'll need to install some software that Sendy will need.
The first thing we need for Sendy is Curl. This example shows how to install it for our PHP version (7.4).
PHP 7.4 needs the external ondrej repo, so we can add that, and then we'll be able to install Curl.
sudo add-apt-repository ppa:ondrej/php
sudo apt-get update
sudo apt-get install php7.4-curl
The next one we need is the PHP XML package which we can install by running the following command.
apt-get install php-xml
The last step is to restart Apache to make these activated.
systemctl restart apache2
Having a custom domain
I won't be using this server for anything else so we can leverage the already setup structure.
The files served when viewing the droplet are in the following folder.
/var/www/html
For now, we know the IP of our droplet is 104.131.30.131 and I want a subdomain to point to this IP.
Head over to your DNS settings for the domain. (In my case Netlify)
You can add the subdomain A record here and point it to the IP of your droplet.

Now if we visit sendy.daily-dev-tips.com we should see the default landing page.
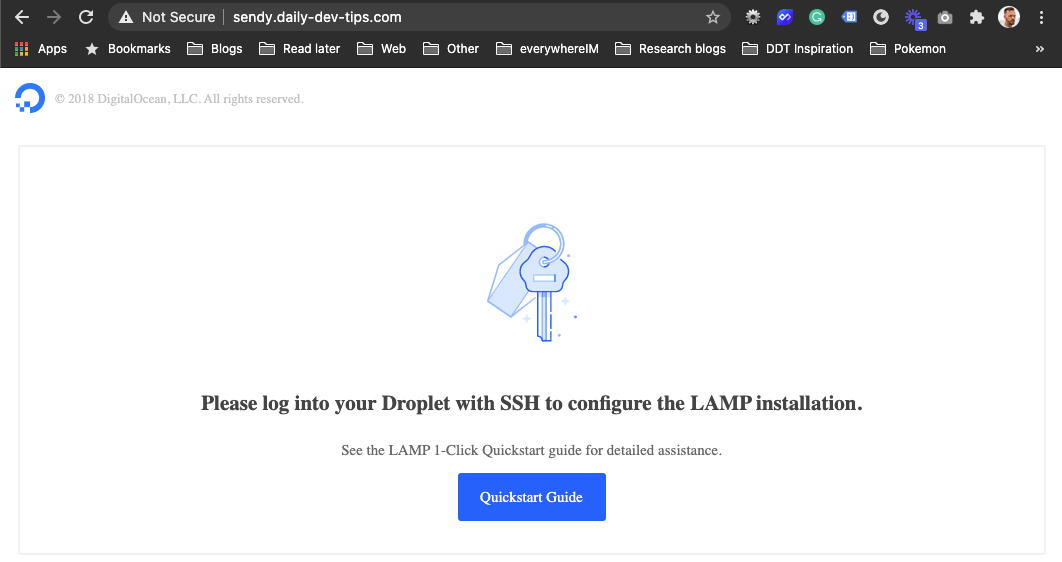
Nice, we now have our custom domain pointed to our Digital Ocean droplet.
Adding HTTPS to our Digital Ocean droplet
Of course, we want to have the domain secured, luckily for us Digital Ocean droplet comes with Certbot installed. This allows us to generate SSL certificates on the droplets.
To generate the certificate you need to be in the terminal connected to your droplet and execute the following command.
certbot --apache -d sendy.daily-dev-tips.com
The program will ask you for an emergency email, enter a valid email there.
It will then ask you to agree to the terms and eventually generate the certificate.
As one of the last steps it asks if you want to force all traffic to HTTPS I choose option 2 (yes) here.
Congrats you now have SSL enabled.

Adding a MySQL database for Sendy
The cool part about our LAMP droplet is that it comes with MySQL installed, we just need to add a database for Sendy.
Run the mysql command in the terminal to open the MySQL mode.
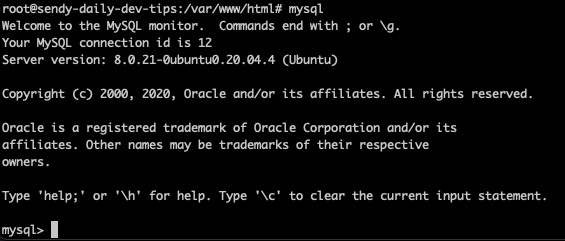
Now run the following query to create the database.
create database sendy;
Next up let's create a user to connect to this database with.
CREATE USER 'sendy_admin@localhost' IDENTIFIED BY '{PASSWORD}';
Now we need to give this user access to our Sendy database.
GRANT ALL PRIVILEGES ON *.* TO 'sendy_admin'@'%';
Note: To exit the MySQL mode type:
exit;
If the grant does not work you can try this alternative method:
USE sendy;
CREATE USER 'sendy_admin'@'localhost' IDENTIFIED BY '{PASSWORD}';
GRANT ALL ON . TO 'sendy_admin'@'localhost';
FLUSH PRIVILEGES;
Setting up Sendy configuration
Once you've purchased Sendy from their website, you will receive an email containing the files, download those locally.
You should unzip the file and open the includes/config.php file, we will add our database connection and domain in there.
Fill out the information for the following fields.
define('APP_PATH', 'https://sendy.daily-dev-tips.com');

$dbHost = 'localhost'; //MySQL Hostname
$dbUser = 'sendy_admin'; //MySQL Username
$dbPass = '{password}'; //MySQL Password
$dbName = 'sendy'; //MySQL Database Name
Note: the APP_PATH should be without trailing slash!
That's it, all the configuration we need for Sendy. Now we just need to find a way to upload it to our Digital Ocean droplet.
Uploading Sendy to Digital Ocean droplet
There are multiple ways of uploading the files to Sendy, you could use a Git repo and pull it on the server.
But I'm personally a big fan of the rsync command, it's quick and easy to move files once you have an SSH connection setup.
The command we will be using:
rsync -av www/sendy/ [email protected]:/var/www/html/
This copy all the files in www/sendy/ to our droplet /var/www/html/.
Note: Atlernative option is using FTP: Read more on Digital Ocean
We can now check our droplet by running the following command in our droplet:
ls /var/www/html/
This should return the file list.
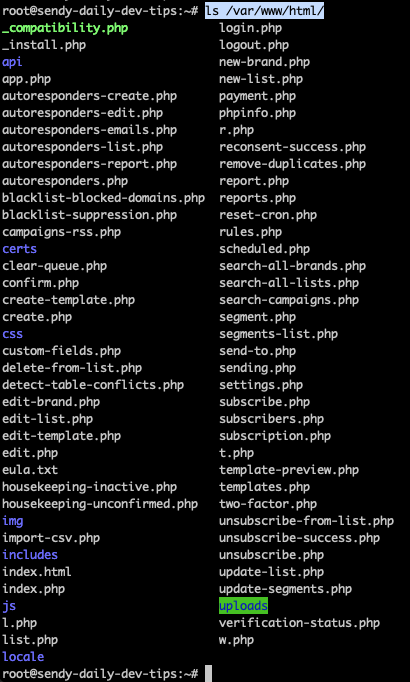
We now have to make sure the uploads folder on the droplet is writeable.
Execute the following command.
chmod 777 /var/www/html/uploads/
Now when we open our domain again, we should be redirected to the _install.php file automatically.
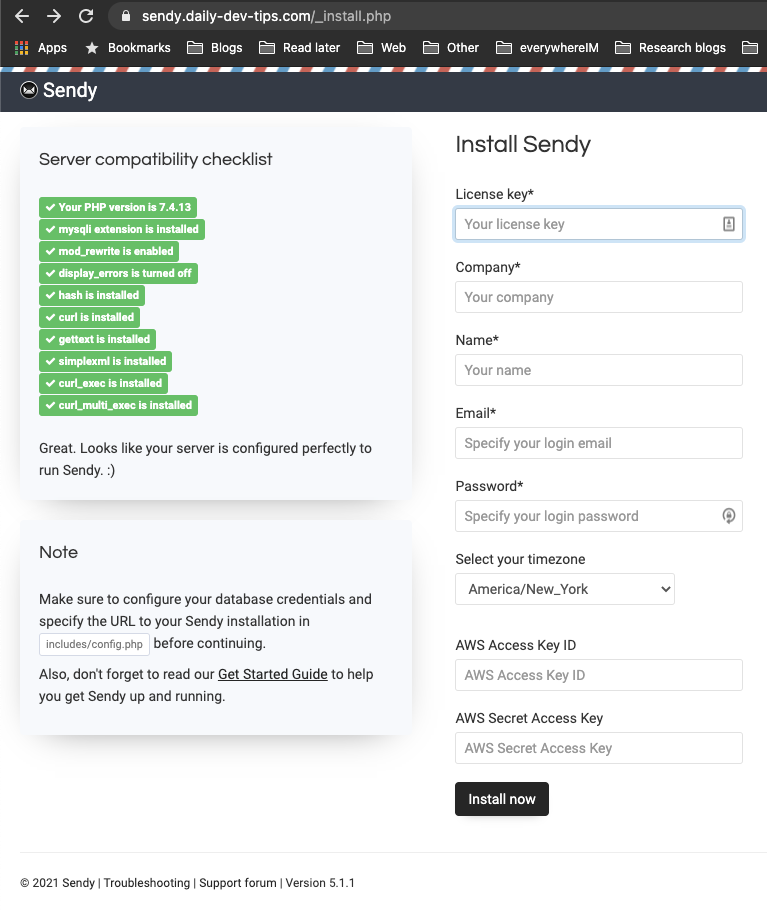
On the left, you will see the server compatibility checklist which shows you if all the extensions are correct.
You can then fill out the form on the right to install everything that's needed.
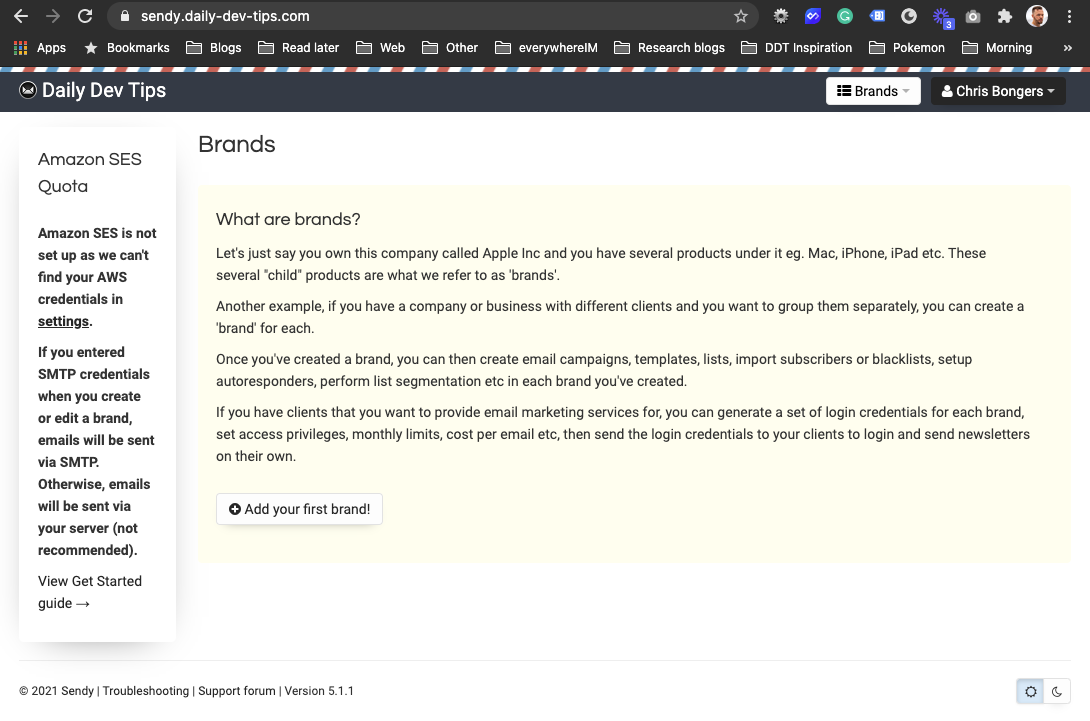
After filling out the details we should be able to log in and see the following screen.
Note: I skipped the Amazon SES set up in this step
Setting up Amazon SES
Now it's time to set up our Amazon SES account and link it to our Sendy instance.
Head over to Amazon and create an account or log in to your existing account.
You can now follow the instructions provided by Sendy on how to create the user.
Once you get the API credentials add them to your Sendy settings.
You'll note you're in the Amazon SES "Sandbox" as they call it, you will need to log a support case with Amazon to enable you to send more than 200 mails a day.
This might take up to 2 days, so bear this in mind when switching from another tool.
With that done, we set up Sendy to be our new self-hosted marketing platform.
Thank you for reading, and let's connect!
Thank you for reading my blog. Feel free to subscribe to my email newsletter and connect on Facebook or Twitter



