
Guide to set up your WordPress site in Docker

I'm a full-stack developer from South Africa 🇿🇦. I love writing about JavaScript, HTML and CSS.
WordPress is a widely used system, although for most developers, it's a bit of a thorn in their eyes.
I'm personally a big believer in the right tool for the job, and sometimes it can be WordPress.
Being a long-term developer, I remember when one had to set up MAMP/XAMP and struggle to get your WordPress installation to work.
Luckily in this modern-day and age, we have the fantastic tool called Docker, making our WordPress installation a one-file wonder system!
And today, I'll guide you into setting up WordPress via a Docker container on your system!
Prerequisites
To work with this tutorial, all you need to have installed is the Docker Desktop app.
You can download Docker Desktop from their website and follow the install instructions.
Set up WordPress in Docker
Let's start by creating a new folder and navigating to it. I'll be using my terminal for this:
mkdir wordpress && cd wordpress
In this folder, create the docker-compose.yml file.
I'll be going through the elements of this file step by step. First, let's define the version of compose.
version: '3.9'
Then below, we define our services:
services:
  # Our services
For the WordPress site, we need a database image and the actual WordPress website.
Let's start by adding a MariaDB image.
services:
  db:
    image: mariadb
    volumes:
      - db_data:/var/lib/mysql
    restart: unless-stopped
    ports:
      - 3307:3306
    environment:
      MYSQL_ROOT_PASSWORD: rootpress
      MYSQL_DATABASE: wordpress
      MYSQL_USER: wordpress
      MYSQL_PASSWORD: wordpress
I'm using the mariadb image, and attach mysql data to persist our database even when we stop our image.
Then I added the port mapping to open it up from my SQL client tool.
I'm using 3307 because my native system is always running a database on 3306 that I don't want to stop.
And lastly, we provide the variables containing our login information for the database.
The next image we need is the WordPress one, and luckily for us, there is one already pre-made!
services:
  db:
    # All DB stuff (see above)

  wordpress:
    depends_on:
      - db
    image: wordpress:latest
    volumes:
      - wordpress_data:/var/www/html
    ports:
      - '8000:80'
    restart: always
    environment:
      WORDPRESS_DB_HOST: db:3306
      WORDPRESS_DB_USER: wordpress
      WORDPRESS_DB_PASSWORD: wordpress
      WORDPRESS_DB_NAME: wordpress
This image depends on the database, making sure that it spools up correctly. It also has its data structure attached to use our themes and plugins at one stage.
Then we open up the port to host on port 8000. As well as the environment variables to connect to our database instance.
The last element our file needs is the volumes section:
volumes:
  db_data: {}
  wordpress_data: {}
Time to try this out.
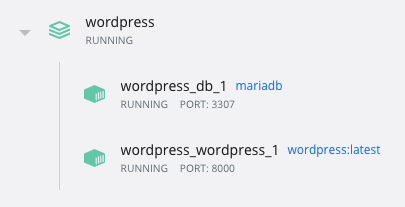
In the folder, run docker-compose up to spool up the instances. This might take a minute or two the first time.
If you then look at your Docker Desktop app, you should see something like this:
Visiting our WordPress site powered by Docker
Now let's open a browser and navigate to http://localhost:8000/. The WordPress installation page will welcome you:
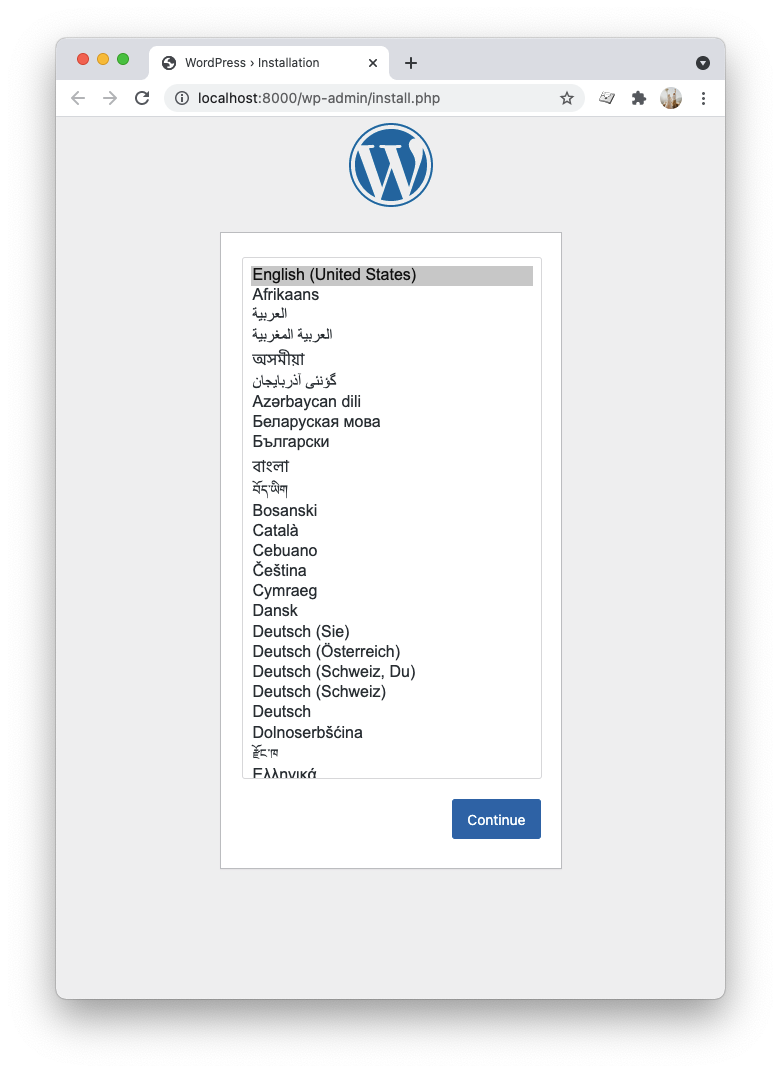
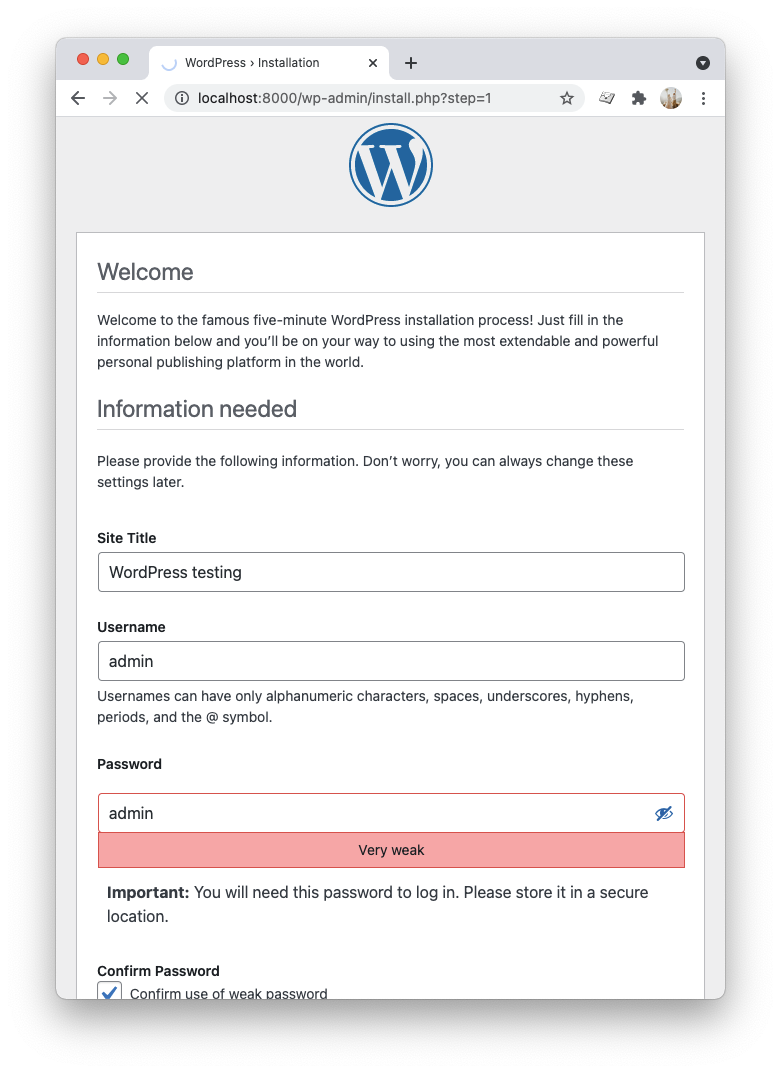
Choose the language you prefer and click on the next step, where you can choose a login name for the WordPress admin panel.
And finally, you can log in using the user you just created in the step above.
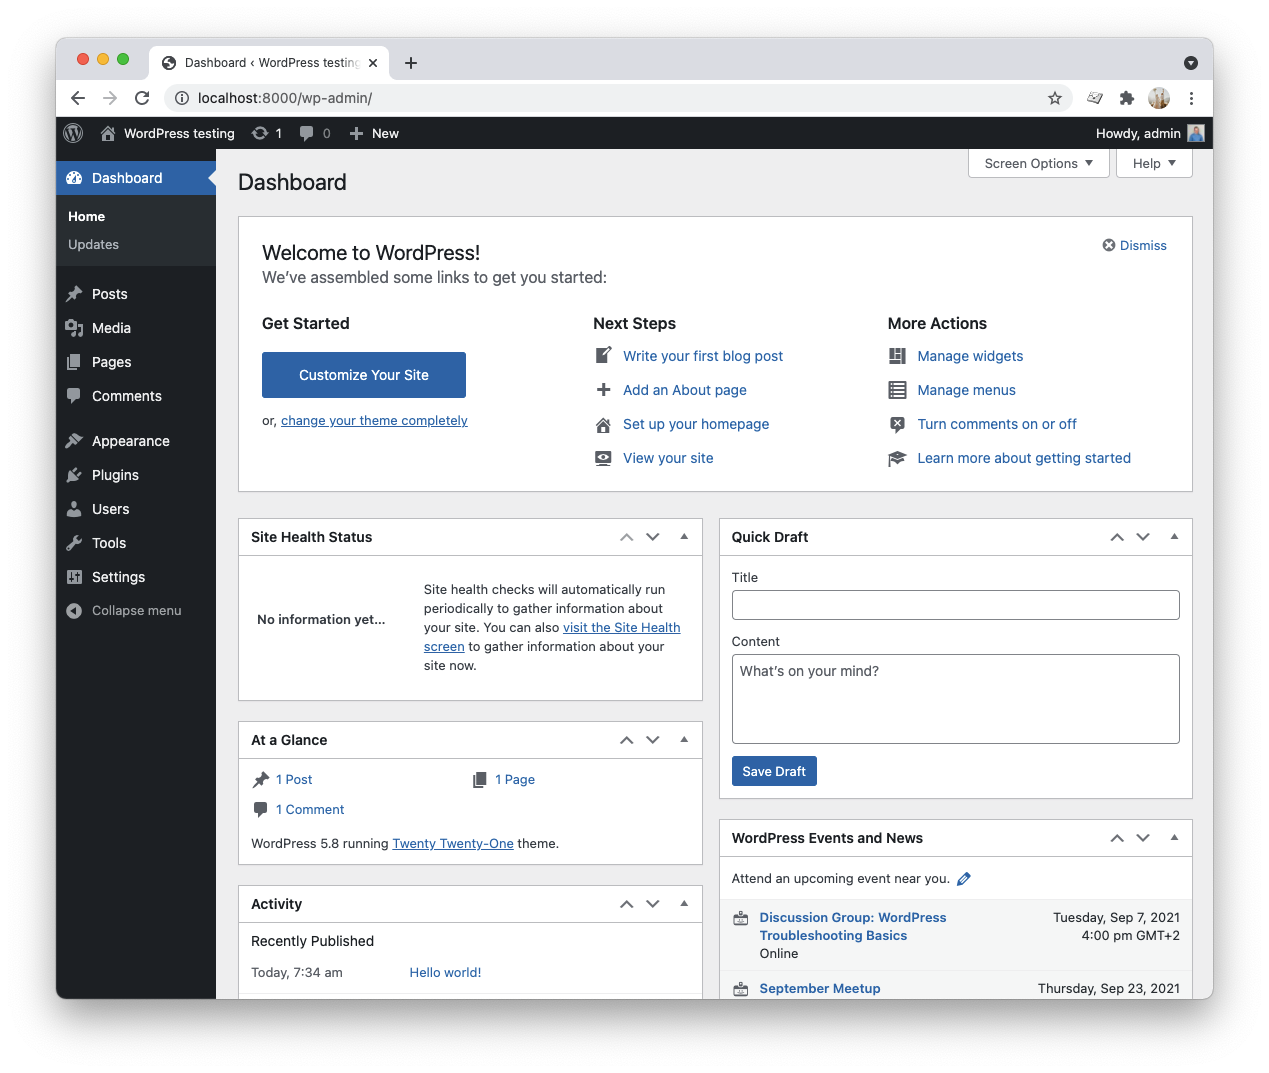
Pretty cool right, that's how easy it is to get WordPress set up in Docker.
Connecting to the database
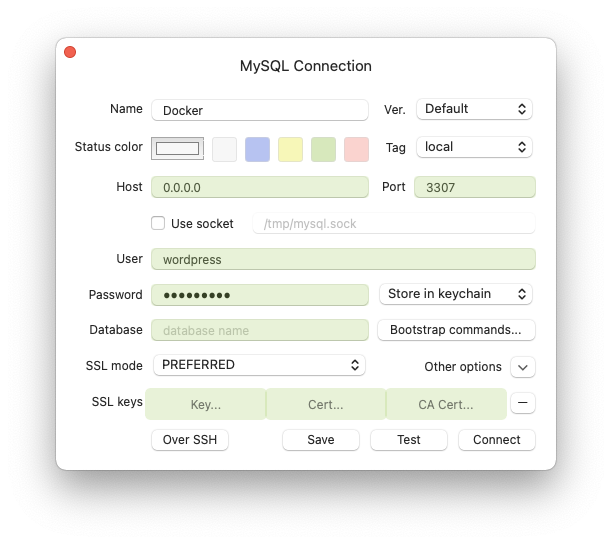
Sometimes you might want to connect to the WordPress database, and when using a sql tool like TablePlus for instance, we can use the following setup details.
- Host:
0.0.0.0 - Port:
3307 - User:
wordpress, - Password:
wordpress
I hope this article was helpful and you have been able to get your WordPress website set up in Docker. If you have any questions feel free to reach out to me.
Thank you for reading, and let's connect!
Thank you for reading my blog. Feel free to subscribe to my email newsletter and connect on Facebook or Twitter


