
Flutter TabBar the basics

A lot of apps come with a TabBar. It's that icon bar you see to navigate through the app quickly.
Some examples of these TabBars can be found in the Twitter or Instagram app:
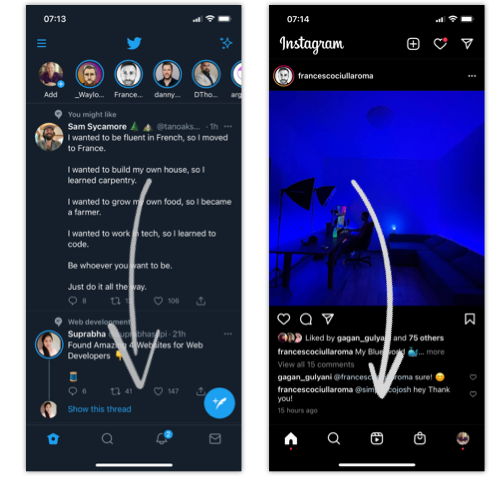
And yes, we'll be learning how to create this in Flutter today.
Creating a TabBar in Flutter
Let's start with our basic Flutter application and work from there today. We'll be doing all our code in the lib/main.dart file.
Now let's modify our main function to include a TabBar.
void main() async {
  runApp(
    MaterialApp(
      home: DefaultTabController(
        length: 3,
        child: Scaffold(
          appBar: AppBar(
            title: Text('Tabs Demo'),
            bottom: TabBar(
              tabs: [
                Tab(icon: Icon(Icons.directions_car)),
                Tab(icon: Icon(Icons.directions_transit)),
                Tab(icon: Icon(Icons.directions_bike)),
              ],
            ),
          ),
          body: TabBarView(
            children: [
              Icon(Icons.directions_car),
              Icon(Icons.directions_transit),
              Icon(Icons.directions_bike),
            ],
          ),
        ),
      ),
    ),
  );
}
This is the most basic setup for a TabBar in Flutter. As you can see, it leverages the AppBar, and provides a bottom part for it. This bottom part includes a TabBar with some icons.
Then, in our application's actual body, we should add a TabBarView with an equal amount of children.
With this, we can click the icons or even scroll through them by swiping!

Looking to find the complete code example, download it from GitHub.
You might have noted the default Flutter TabBar is positioned at the top. In a later article, we'll look at how to set it at the bottom.
Thank you for reading, and let's connect!
Thank you for reading my blog. Feel free to subscribe to my email newsletter and connect on Facebook or Twitter
About the author
I'm a full-stack developer from South Africa 🇿🇦. I love writing about JavaScript, HTML and CSS.
Comments
Join the discussionNo comments yet. Be the first to comment.



