
Flutter bottom TabBar placement

I'm a full-stack developer from South Africa 🇿🇦. I love writing about JavaScript, HTML and CSS.
Yesterday we created a TabBar in Flutter. However, as you have seen in the examples of Twitter and Instagram, they use bottom-placed TabBars.
For some reason, this works a bit differently in Flutter than just placing them in a TabBar.
Today I'll be showing you how to place a TabBar (BottomNavigationBar) at the bottom of your Flutter app!
Adding a BottomNavigationBar in your Flutter app
Let's start by using our basic Flutter app again as our starting point.
Instead of adding a TabBar in our appBar configuration, we'll add a new BotttomNavigationBar below our body tag.
That will look like this:
void main() async {
  runApp(
    MaterialApp(
      home: Scaffold(
        appBar: AppBar(
          title: Text('Tabs Demo'),
        ),
        body: Center(
          child: Text('Welcome to Flutter'),
        ),
        bottomNavigationBar: BottomNavigationBar(
          items: [
            BottomNavigationBarItem(
                icon: Icon(Icons.directions_car), label: 'Car'),
            BottomNavigationBarItem(
                icon: Icon(Icons.directions_transit), label: 'Train'),
            BottomNavigationBarItem(
                icon: Icon(Icons.directions_bike), label: 'Bike'),
          ],
        ),
      ),
    ),
  );
}
Giving us the following result:
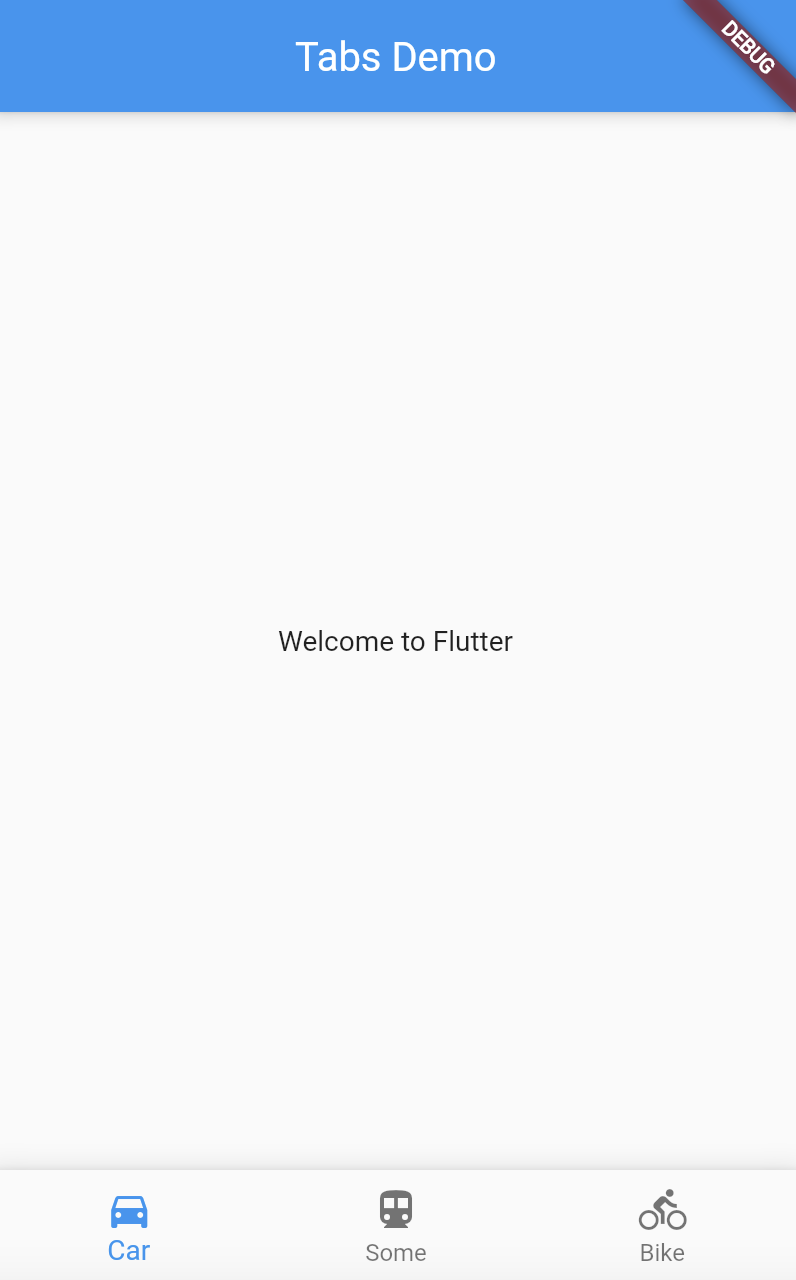
It won't do anything, we can click the tabs, but nothing happens.
First of all, let's turn this into a stateful widget since we need to leverage some states for the currently selected tab.
void main() async {
  runApp(
    MaterialApp(home: BottomTabBarWidget()),
  );
}

class BottomTabBarWidget extends StatefulWidget {
  @override
  State<BottomTabBarWidget> createState() => _BottomTabBarWidget();
}

class _BottomTabBarWidget extends State<BottomTabBarWidget> {
    @override
  Widget build(BuildContext context) {
      // Return our scaffold we used before
  }
}
So what's this state we'll be controlling?
For one, we need to have the currently selected tab, so let's define an integer for that in our _BottomTabBarWidget.
class _BottomTabBarWidget extends State<BottomTabBarWidget> {
  int _selectedIndex = 0;

    // Rest of the code
}
Then we also want to define what the content pages should look like. For now, let's use basic Text fields.
static const List _tabPages = [
    Text('I travel by Car'),
    Text('I like trains more'),
    Text('I like to ride my bycycle'),
];
And let's create a function we can call when a tab is clicked.
void _onItemTapped(int index) {
    setState(() {
      _selectedIndex = index;
    });
}
This will change the _selectedIndex variable to whatever tab is clicked.
Now let's first modify our body part to take whichever _tabPages index it should be on.
body: Center(
    child: _tabPages[_selectedIndex],
),
This piece of code will render only one tab page (Text field). Based on whatever the selectedIndex is.
Remember Flutter stateful widgets re-render everything something changes.
Now we can modify the actual bottom navigation bar to call the _onItemTapped function.
bottomNavigationBar: BottomNavigationBar(
    currentIndex: _selectedIndex,
    onTap: _onItemTapped,
    items: [
        // The items
    ]
)
And with this in place, we can navigate through our bottom navigation bar in Flutter.

If you want to see the whole file for today, check out the project on GitHub.
Thank you for reading, and let's connect!
Thank you for reading my blog. Feel free to subscribe to my email newsletter and connect on Facebook or Twitter


