
Flutter 3D pan effect
I'm a full-stack developer from South Africa 🇿🇦. I love writing about JavaScript, HTML and CSS.
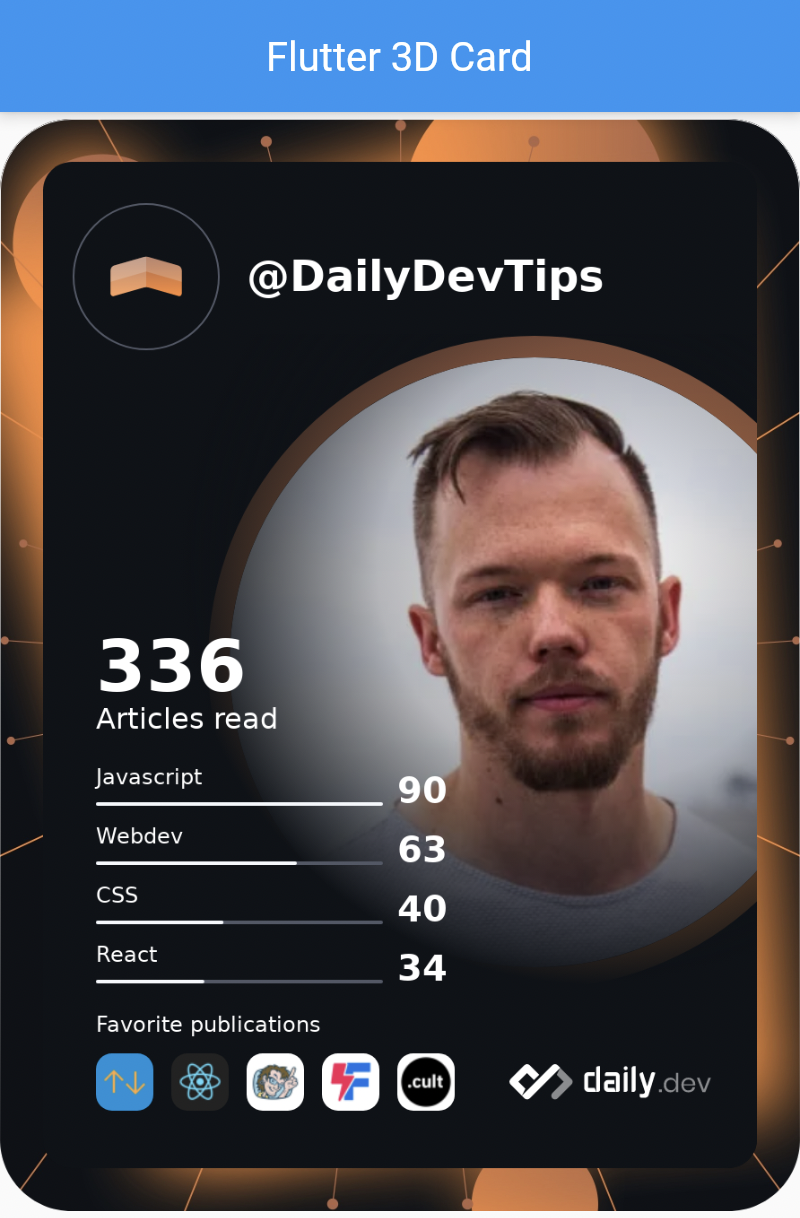
A while ago, I found out this super cool devcard from the amazing people at daily.dev.
I was really inspired by the super cool 3D pan effect on the card and wanted to find out how to get this effect in Flutter.
The end result for this article will be this super cool effect:

If you want to follow along, I'll be using my Flutter hello world application as the starting point.
Creating the basic widget
Since our hello world app is rendering a stateless widget, we need to modify that part and make this a stateful widget.
The stateful widget allows us to re-render a new state, which we need to create the panning effect.
Modify the existing MyApp to become a stateful widget.
class MyApp extends StatefulWidget {
  @override
  _MyAppState createState() => _MyAppState();
}
As for the state we can create this basic state for now:
class _MyAppState extends State<MyApp> {
  @override
  Widget build(BuildContext context) {
    return Scaffold(
      appBar: AppBar(
        title: Text('Flutter 3D Card'), // changed
      ),
      body: Center(
        child: Image(image: AssetImage('DailyDevTips.png')),
      ),
    );
  }
}
This will set up a simple state that returns a local image to our screen.
However, we need to tell Flutter where it can render this particular image from.
Adding local image assets in Flutter
To add local images in Flutter, first, go ahead and create a local folder for it. I've created a assets folder at the root of my project.
Inside that, I put my image called DailyDevTips.png.
Then you need to edit your pubspec.yml file and add this asset under your flutter configuration.
flutter:
  assets:
    - assets/DailyDevTips.png
Now we can load the image using the AssetImage widget as you saw above.
However, this looks a bit cramped, right? What we can do is wrap the image in a fractional-sized box widget. This widget can take a fraction of the page and use that as the limit. The cool part about this is that it will adjust to all the different screens out there.
body: Center(
    child: FractionallySizedBox(
      widthFactor: 0.7,
      heightFactor: 0.9,
      child: Image(image: AssetImage('DailyDevTips.png')),
    ),
),
The fractions can be read as percentages meaning 70% of the width and 90% of the height.
In our case, this will result in this:
Creating a 3D pan effect in Flutter
Now that we have our basic image setup, it's time to add our 3D pan effect.
The first thing we'll need to do is add a basic offset variable in our state. We will use this offset to define the movement of the card.
Offset _offset = Offset.zero;
Then we can insert a transform widget that will allow us to modify the 3D properties.
body: Center(
    child: Transform(
      transform: Matrix4.identity()
        ..setEntry(3, 2, 0.001) // perspective
        ..rotateX(0.01 * _offset.dy) // changed
        ..rotateY(-0.01 * _offset.dx), // changed
      alignment: FractionalOffset.center,
      child: (
            // TODO
      ),
    ),
),
This will set our primary 3D object up. However, it won't do anything at this point and render zero on every axis.
The matrix identity is a 4-dimensional array containing four rows and four columns. If you want to read more about the concept and option, I found this article on advanced matrix 4 in Flutter super useful
To make this all work, we need to render a gesture detector as the child of this transform. This detector will update our offset and contain our image as the child.
child: GestureDetector(
    onPanUpdate: (details) => setState(() => _offset += details.delta),
    onDoubleTap: () => setState(() => _offset = Offset.zero),
    child: FractionallySizedBox(
      widthFactor: 0.7,
      heightFactor: 0.9,
      child: Image(image: AssetImage('DailyDevTips.png')),
    ),
),
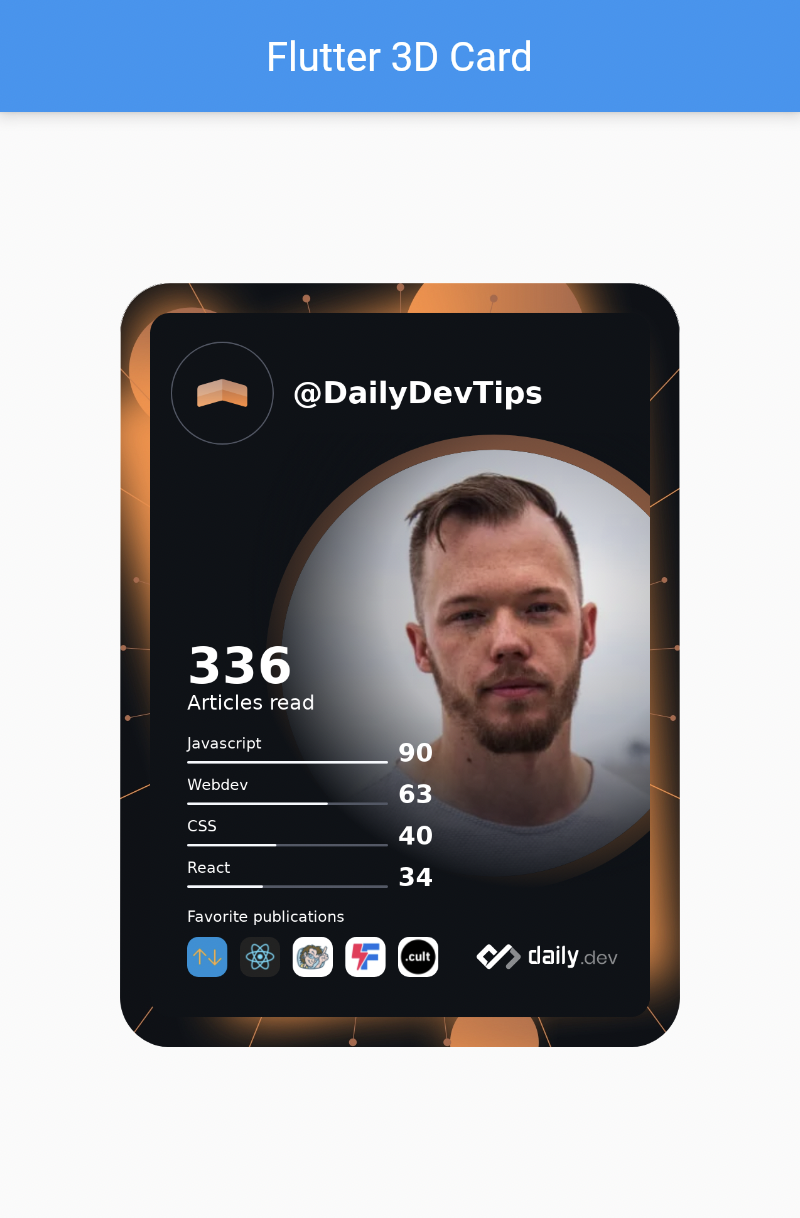
As you can see, the pan update effect will re-render our state and give the offset the new modified offset values. Then we add a double-tap to reset our image to zero again. And this all wraps a child, which is the image as we had before.
If we now reload our code, we can move the image around and see the cool 3D effect in action!
I hope you enjoyed this article and learned the basics of 3D effects in Flutter. I enjoyed trying this out, and my mind is already going wild with what we could do with this effect.
If you are looking for the complete code, you can find that on this GitHub branch.
Thank you for reading, and let's connect!
Thank you for reading my blog. Feel free to subscribe to my email newsletter and connect on Facebook or Twitter


