
Firebase authenticated user routes in Ionic

Now that we have our user login and stored some data for our user, the next step is to make sure only logged in users can view parts of our app.
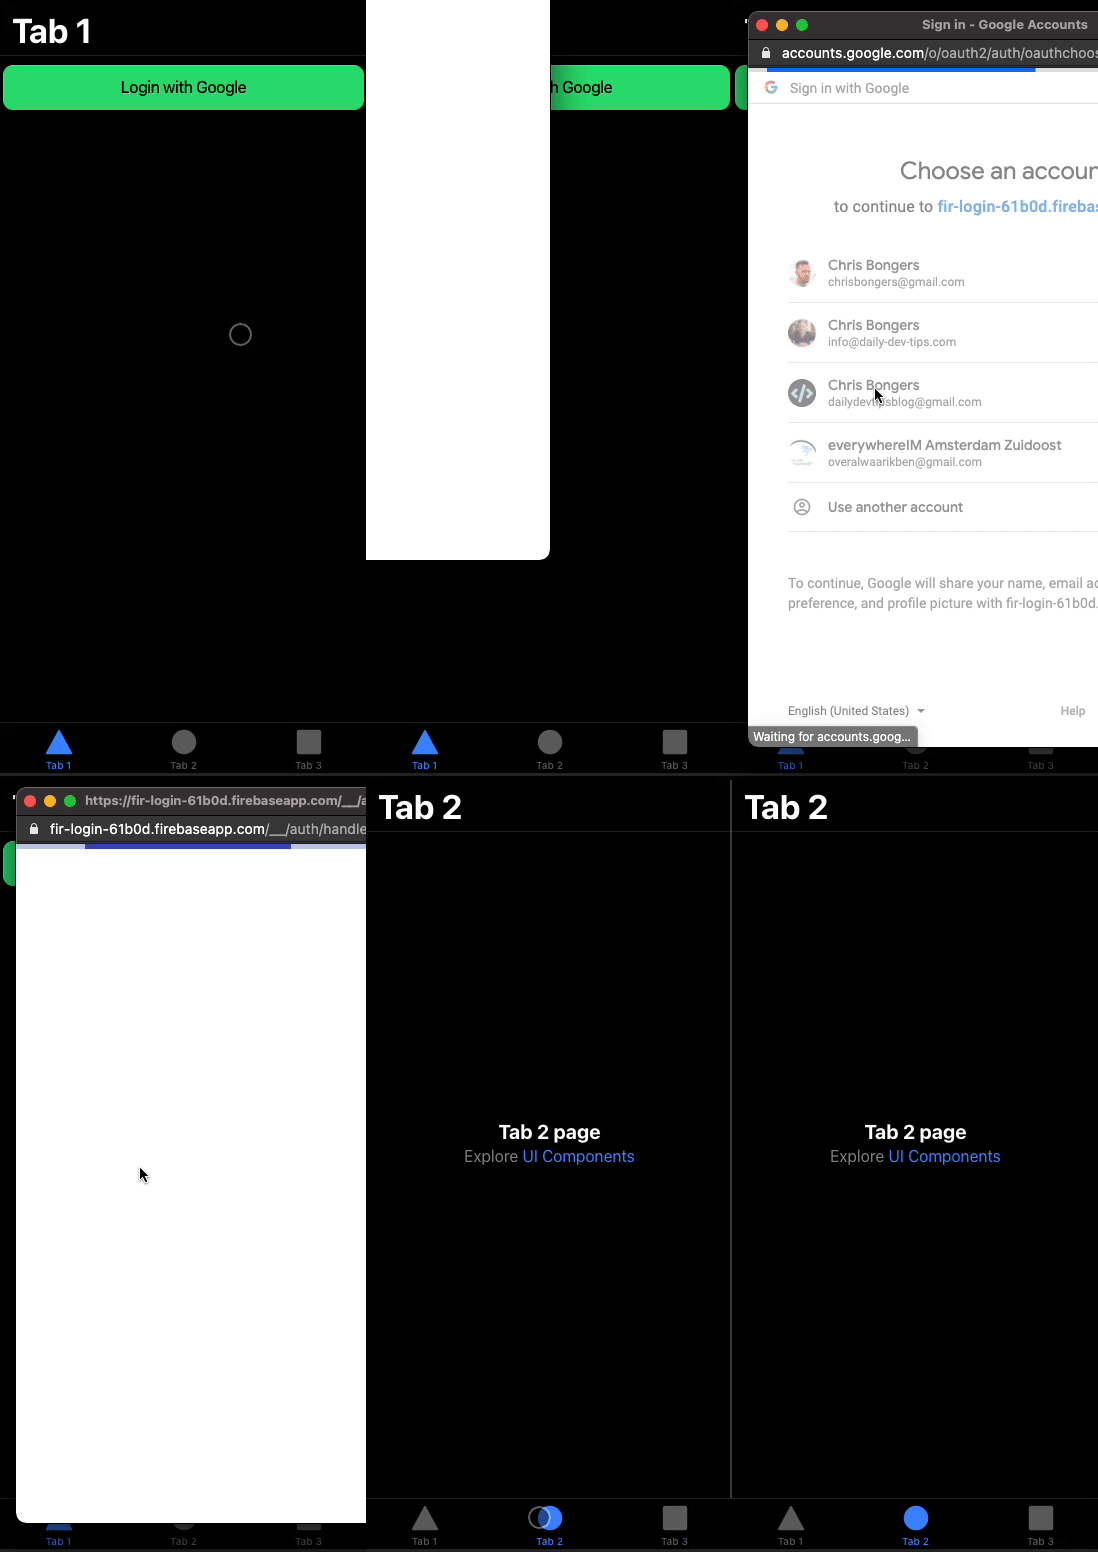
In our example, we will be securing access to tab 2, previously everyone could see this tab, but we want only logged in people to see it.
If the user is not authenticated, it should redirect them back to tab1 where the log in button is.
Adding the auth guard
Authentication guards are a superb idea introduced in Angular. They are basically a script that should return a boolean.
We can then add them to our routes on the canActive callback. This will call our script to check if the user can access it else return them to our callback.
First, let's generate our AuthGuard.
ionic generate guard services/guards/auth
This will create the auth.guard.ts file inside the src/services/guards folder.
We already get a basic structure like this:
import { Injectable } from '@angular/core';
import { CanActivate, ActivatedRouteSnapshot, RouterStateSnapshot, UrlTree } from '@angular/router';
import { Observable } from 'rxjs';

@Injectable({
  providedIn: 'root'
})
export class AuthGuard implements CanActivate {
  canActivate(
    next: ActivatedRouteSnapshot,
    state: RouterStateSnapshot): Observable<boolean | UrlTree> | Promise<boolean | UrlTree> | boolean | UrlTree {
    return true;
  }
}
As you can see, the canActivate function is already created, and returning true.
We will be working on returning true or false based on the user's login state.
But first, let's add this to our route to test they still work.
Open up the src/tabs/tabs-routing.module.ts file and change the tab2 route to look like this:
{
    path: 'tab2',
    loadChildren: () => import('../tab2/tab2.module').then(m => m.Tab2PageModule),
    canActivate: [AuthGuard]
},
This will make sure before we go to this tab, we first check if the AuthGuard function returns true.
We can test it out by visiting the second tab, and we should still be able to view it since we always return true now.

That is still the case, so let's head back to our AuthGuard to write the code we need.
We will start by adding the router in our constructor. We need this router to navigate to the login if we are not logged in.
constructor(private router: Router) {}
Next, let's import the Firebase items we need.
import firebase from "firebase/app";
import "firebase/auth";
Now we will include a promise inside the canActivate function and check on the user object.
canActivate(next: ActivatedRouteSnapshot, state: RouterStateSnapshot): | Observable<boolean | UrlTree> | Promise<boolean | UrlTree> | boolean | UrlTree {
    return new Promise<boolean>((resolve) => {
      firebase.auth().onAuthStateChanged((user: firebase.User) => {
        if (!user) {
          this.router.navigate(["/tabs/tab1"]);
        }
        resolve(true);
      });
    });
}
This will call every time our user object changes, and if it's not found, it will redirect back to tab1.
If we now run our code and we logout, we will not be able to access tab2. Each time we click this, we will be redirected to tab1.
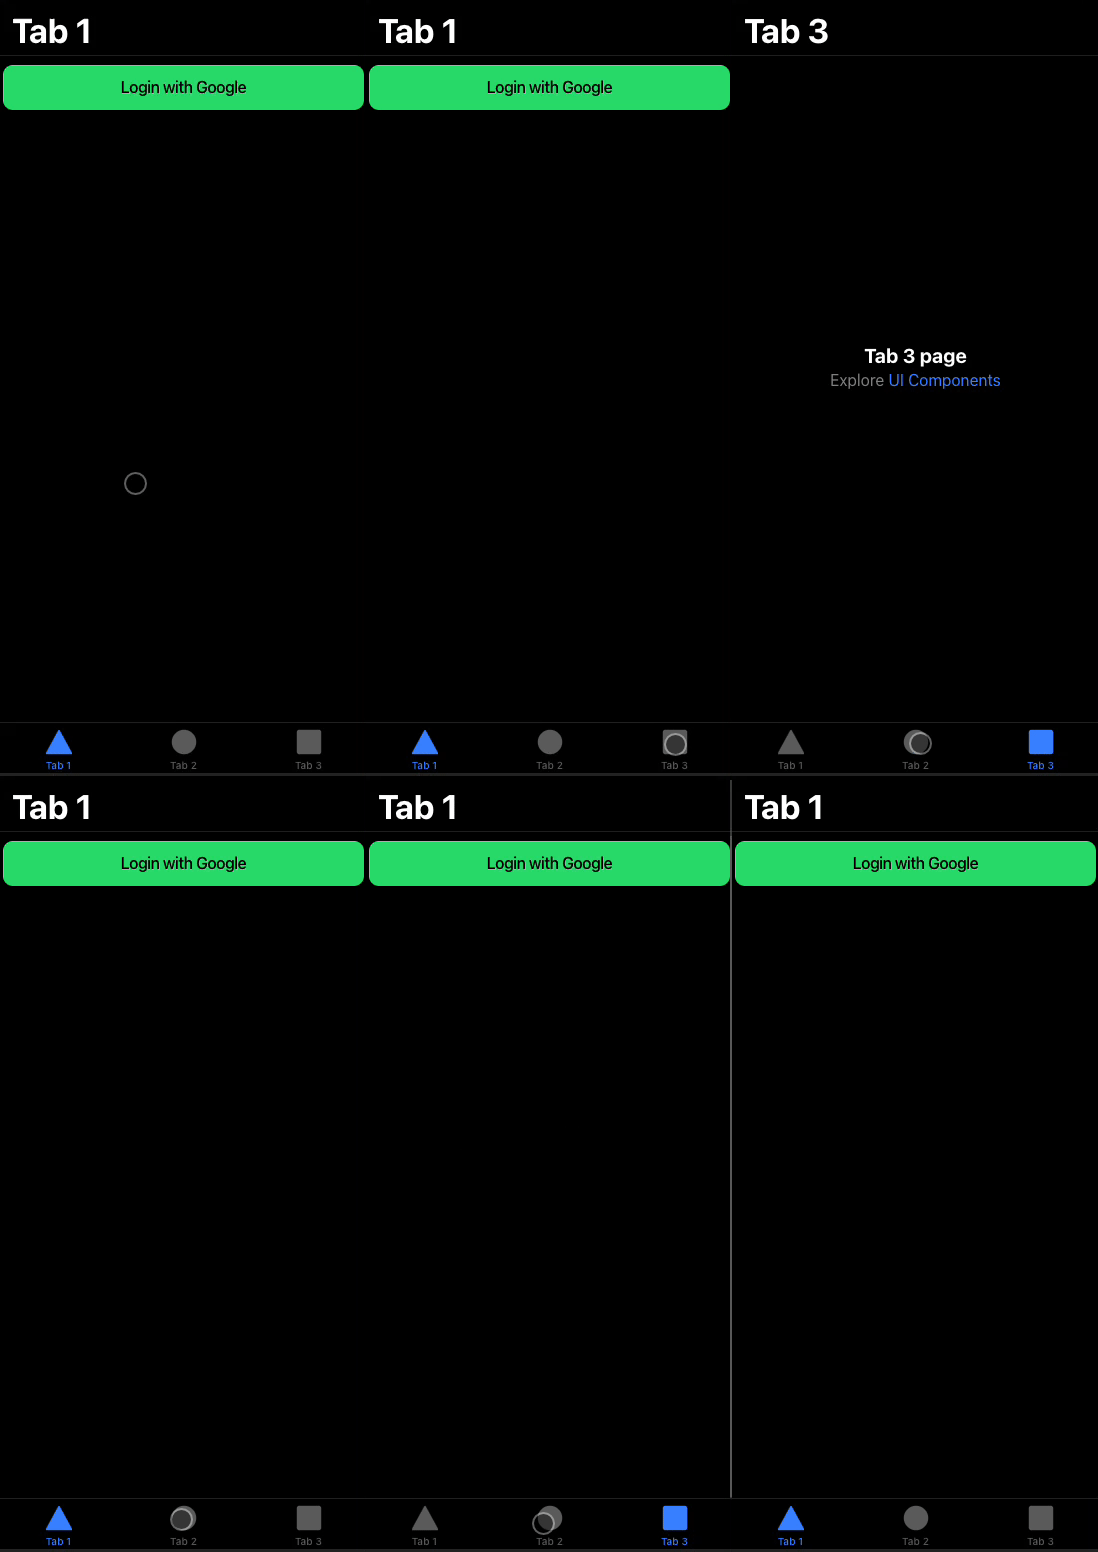
When we click the tab2 we get redirected to tab1, which is perfect.
Let's now try the most important part and check if it works once we are logged in!
That works, once we logged in, we can visit the second tab. And that concludes the article. We learned how to make a protected route only logged in users can view.
You can find today's code on the following GitHub repo.
Thank you for reading, and let's connect!
Thank you for reading my blog. Feel free to subscribe to my email newsletter and connect on Facebook or Twitter
About the author
I'm a full-stack developer from South Africa 🇿🇦. I love writing about JavaScript, HTML and CSS.
Comments
Join the discussionNo comments yet. Be the first to comment.



