
Deploy Eleventy to Netlify using GitHub actions

I'm a full-stack developer from South Africa 🇿🇦. I love writing about JavaScript, HTML and CSS.
The other day I talked about how easy Zapier was to automatically deploy my Eleventy website.
As a reference, I needed a deployment every morning to deploy my articles whilst I might be on a trip or whatever the case is.
I got some feedback from Waylon and Nacho stating GitHub's actions were maybe a better way to go.
To be honest I completely forgot that GitHub Action had the option of scheduling!!
But they do, so a couple of hours later and I was working on getting my website build using GitHub actions!
Setting up a new action
On your GitHub repo click the Actions button and you'll get to the following screen.
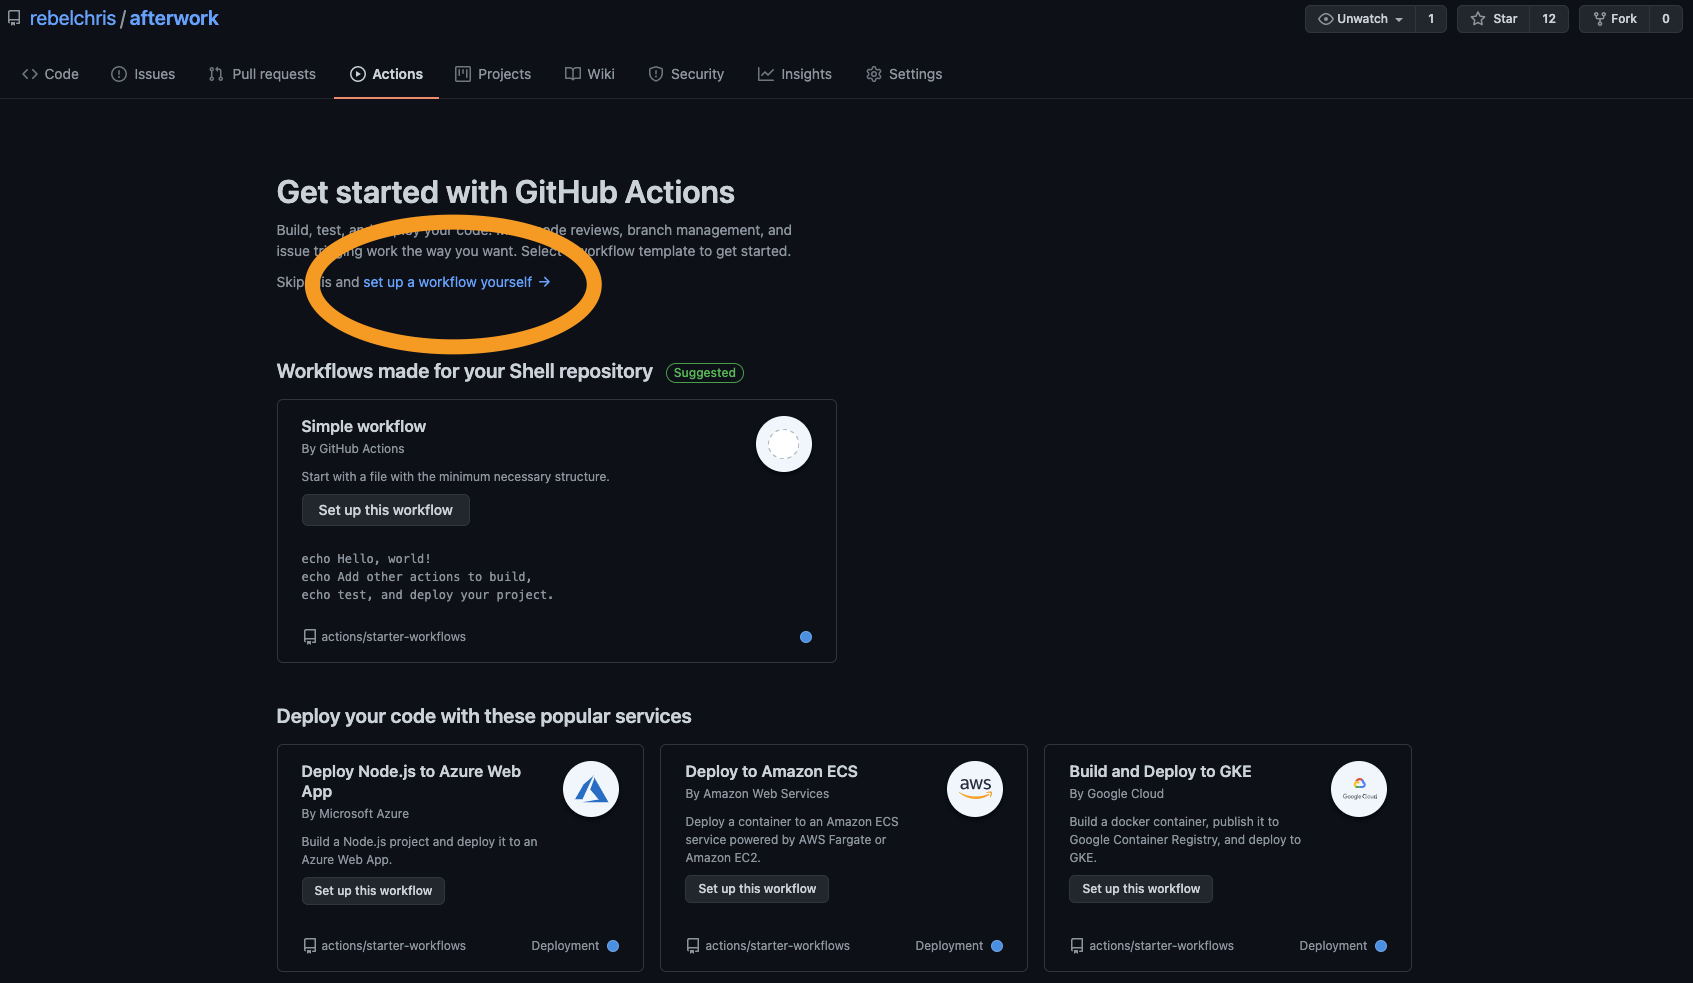
On here you see some already made actions that you can pick, I choose to build my own action, however.
Click the button and you will get to the action workflow screen
It will look like this:
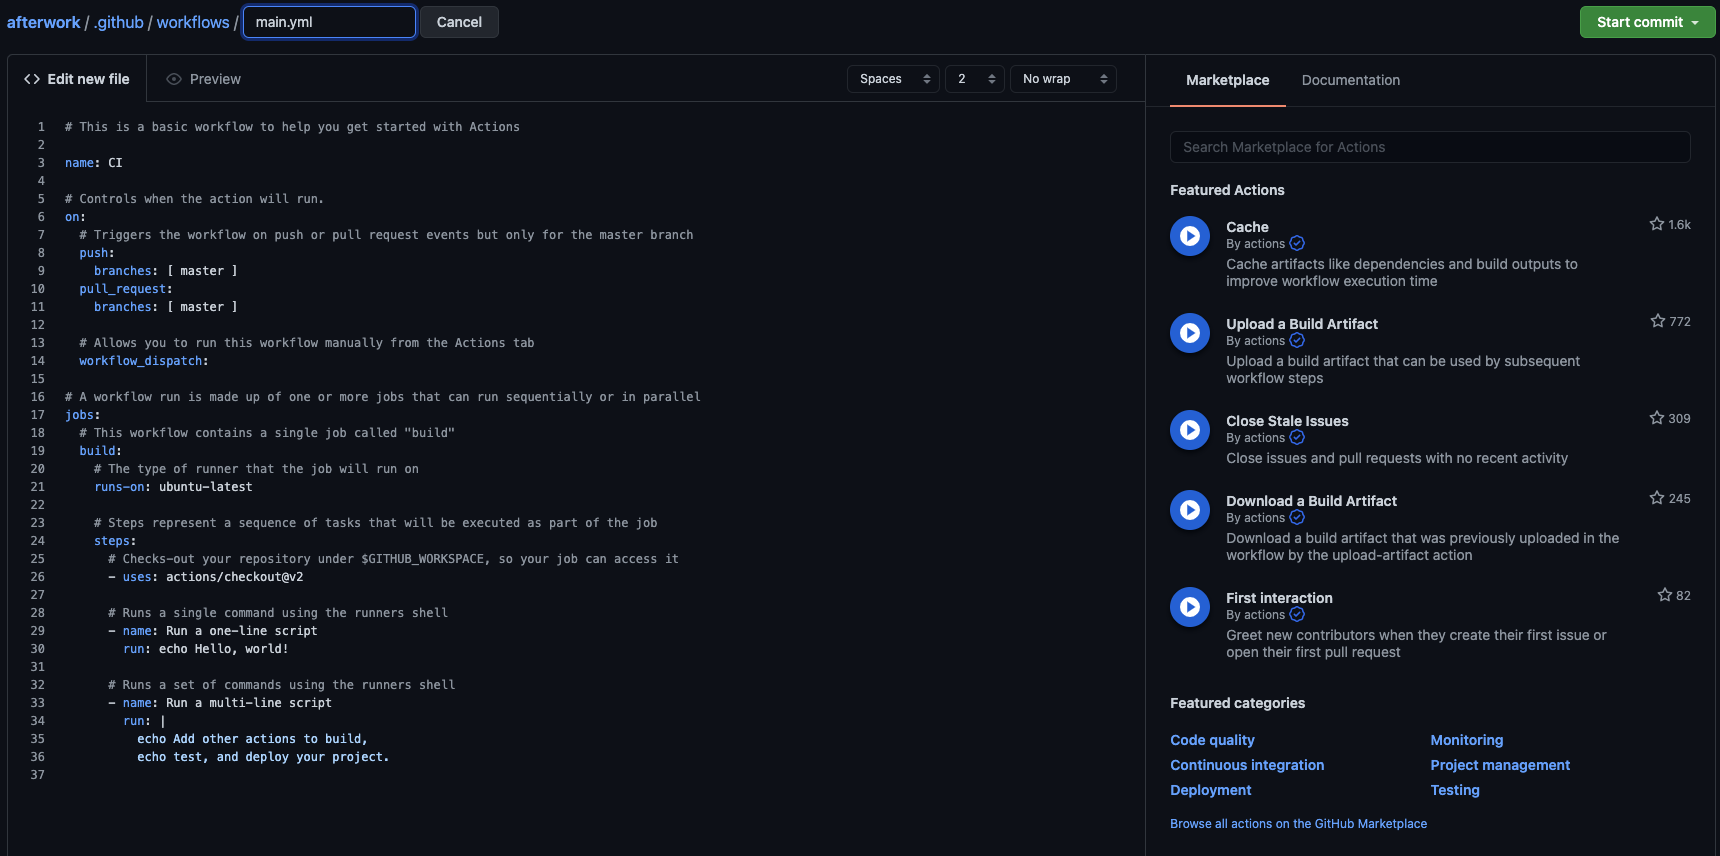
It has some detailed structure, but I'll guide you through what we will be building and using in the following steps.
Building an Eleventy website using GitHub actions
The first step of an Action is defining what it should be called, in my case that is Deploy website:
name: 🍃 Deploy website
The next step is to control when the action should run, we want it to build every time we push to our master branch so let's add that piece:
# Controls when the action will run.
on:
  # Triggers the workflow on push or pull request events but only for the master branch
  push:
    branches: [ master ]
Then we get to the job section:
# A workflow run is made up of one or more jobs that can run sequentially or in parallel
jobs:
  # This workflow contains a single job called "build"
  build:
    # The type of runner that the job will run on
    runs-on: ubuntu-latest

    # Steps represent a sequence of tasks that will be executed as part of the job
    steps:
            # All our steps
The jobs define all the things our action will do, and what it runs on, here we run a ubuntu server.
Now let's create the steps.
The first step is to check out the workspace
# Steps represent a sequence of tasks that will be executed as part of the job
steps:
  # Checks-out your repository under $GITHUB_WORKSPACE, so your job can access it
  - uses: actions/checkout@v2
Then we want to set up Node as a step
# Set up node version 12
- name: Set up Node
    uses: actions/setup-node@v1
    with:
      node-version: "12.x"
Once Node is installed we can go ahead and run npm install which will install all the dependencies.
- name: NPM Install
  run: npm install
Then for Eleventy, we need to run npm run production
- name: Build 11ty
  run: npm run production
This created our dist folder, so let's store the dist folder in a specific branch
- name: Deploy to Netlify branch
    uses: crazy-max/ghaction-github-pages@v2
    with:
      target_branch: netlify
      build_dir: dist
    env:
      GITHUB_TOKEN: ${{ secrets.GITHUB_TOKEN }}
This is normally used to build GitHub pages, but we can use this to extract only the dist folder from our build and deploy it to a branch called netlify
You can now go ahead and save this workflow, it will then run. You should now see a new branch if it succeeds.
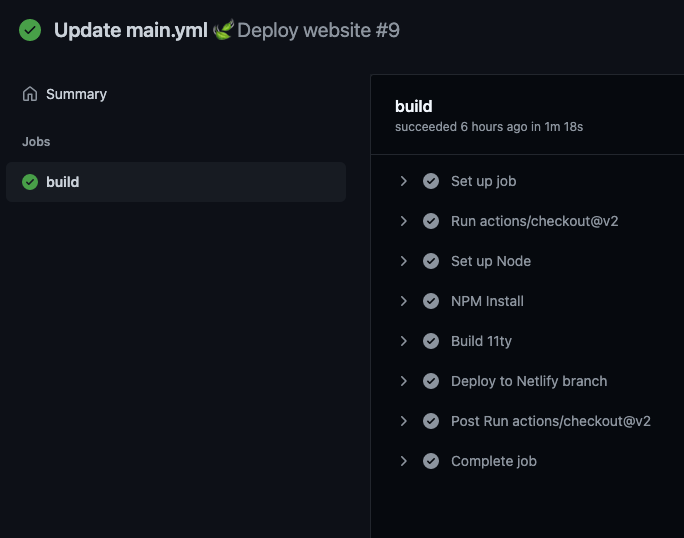
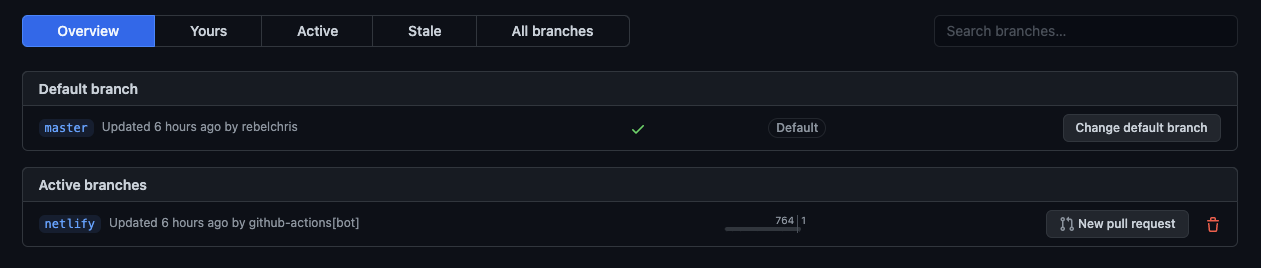
Then we can head over to Netlify and change our deployment to be based on this netlify branch with no specific command!
This saved our Netlify build minutes since those are limited to 300. Whereas GitHub private repos gives us 2000 build minutes!
Adding a schedule of GitHub actions
You might be wondering, but where is this schedule, since that was the whole goal for you?
Well on the workflow we can add the following on:
# Controls when the action will run.
on:
  # Triggers the workflow on push or pull request events but only for the master branch
  push:
    branches: [ master ]
  schedule:
    - cron:  '0 4 * * *'
This runs every day at 04:00 UTC.
There you go, we automated our Eleventy build by using GitHub actions and were even able to schedule these.
I also made a screencast of me building this Action, if you like video explanations better, check it out.
Thank you for reading, and let's connect!
Thank you for reading my blog. Feel free to subscribe to my email newsletter and connect on Facebook or Twitter



