
CSS cut out effect that will blow your mind 🤯

I'm a full-stack developer from South Africa 🇿🇦. I love writing about JavaScript, HTML and CSS.
This effect is so cool and just around fun to see. A CSS cut-out effect! What it comes down to is having a background image show through the text.
How it works is that we will have a div that will have the image as a background. On that, we put our text element, using blend-mode it will show through the image.
The result you can see and touch on this Codepen.
HTML Structure
The HTML for this project could not be easier.
It's only a div with a text element inside.
<div class="background">
  <h1>GALAXY</h1>
</div>
That's it!
CSS Cut out text effect
Alright let's start by making our background div centered.
body {
  display: flex;
  justify-content: center;
  align-items: center;
  height: 100vh;
}
We are using flexbox to center anything inside the body. It's a versatile way of doing this if you are only styling one element.
Now we need to make our background div.
.background {
  background: url("https://images.unsplash.com/photo-1465101162946-4377e57745c3?ixlib=rb-1.2.1&ixid=eyJhcHBfaWQiOjEyMDd9&auto=format&fit=crop&w=1957&q=80")
    center;
  background-size: cover;
}
Ok, so the background receives an image, and we set the size to cover.
So now we should see something like this.
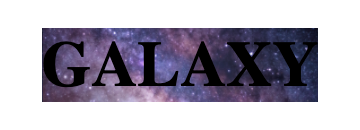
It's a start but it's kind of the opposite to the effect we want. So let's go ahead and style the text element.
h1 {
  font-size: 15vw;
  font-weight: bold;
  font-family: Roboto, "Helvetica Neue", Arial, sans-serif;
  color: #000;
  background: #fff;
    mix-blend-mode: lighten;
}
First, we set a big font-size. I'm using the viewport size to make it responsive.
Then we set the color to be black and the background white. This gives it a full contrast. You can also change the color to get a cool alpha effect!
The last step is enabling the mix-blend-mode. Since we are using a full contrast (black/white), it will totally remove the black text and show whatever is behind there!
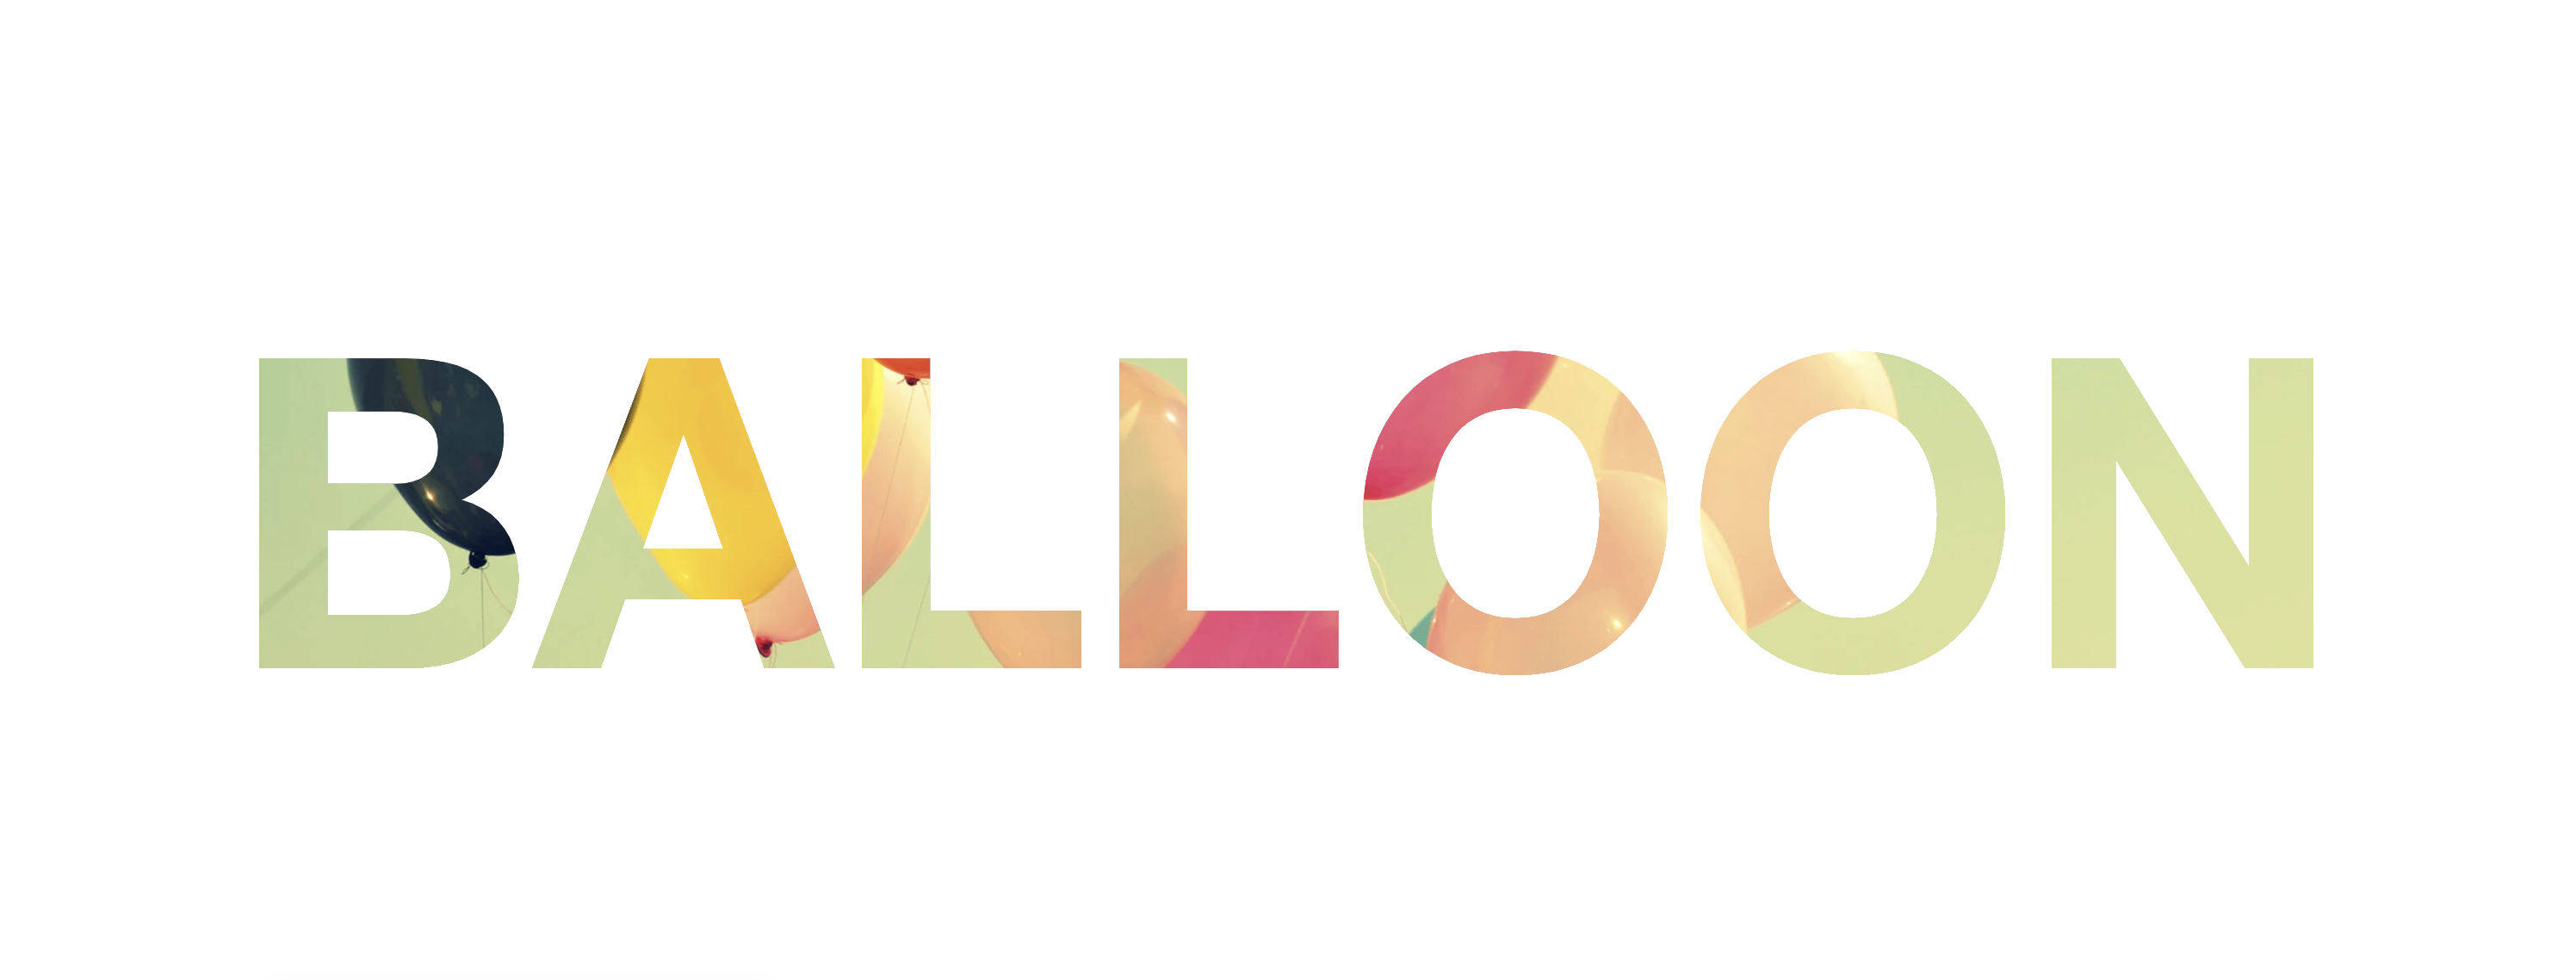
Browser Support
Mix-blend-mode does not have full support. Internet Explorer for one, will not render it 🤕.
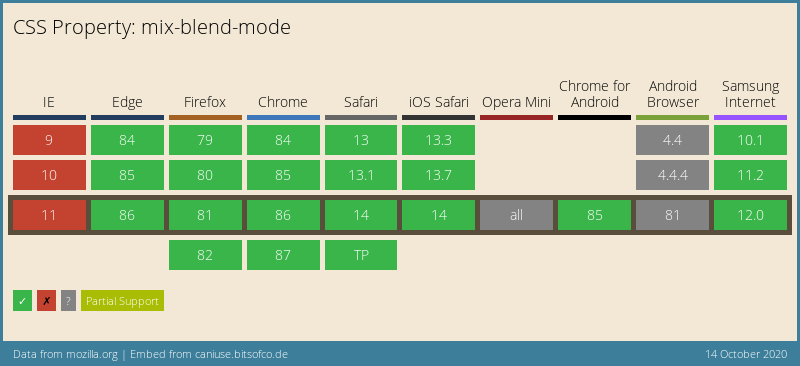
Thank you for reading, and let's connect!
Thank you for reading my blog. Feel free to subscribe to my email newsletter and connect on Facebook or Twitter



