
Chrome DevTools: Flex Debugger

Chrome DevTools finally introduced a nice Flex debugger. In Chrome 87 they came with the Grid debugger and now in version 90, we can leverage the cool flex debugger.
Let's see what this amazing tool can do for us.
Chrome Dev Tools CSS Flex debugging
First, we need to open the Chrome Dev Tools.
Mac
Cmd+Shift+Cor Windows:Ctrl+Shift+C.
Now we can use the Elements inspector where we can see all the elements in there you will see the [flex] block behind grid elements; this was the existing feature.
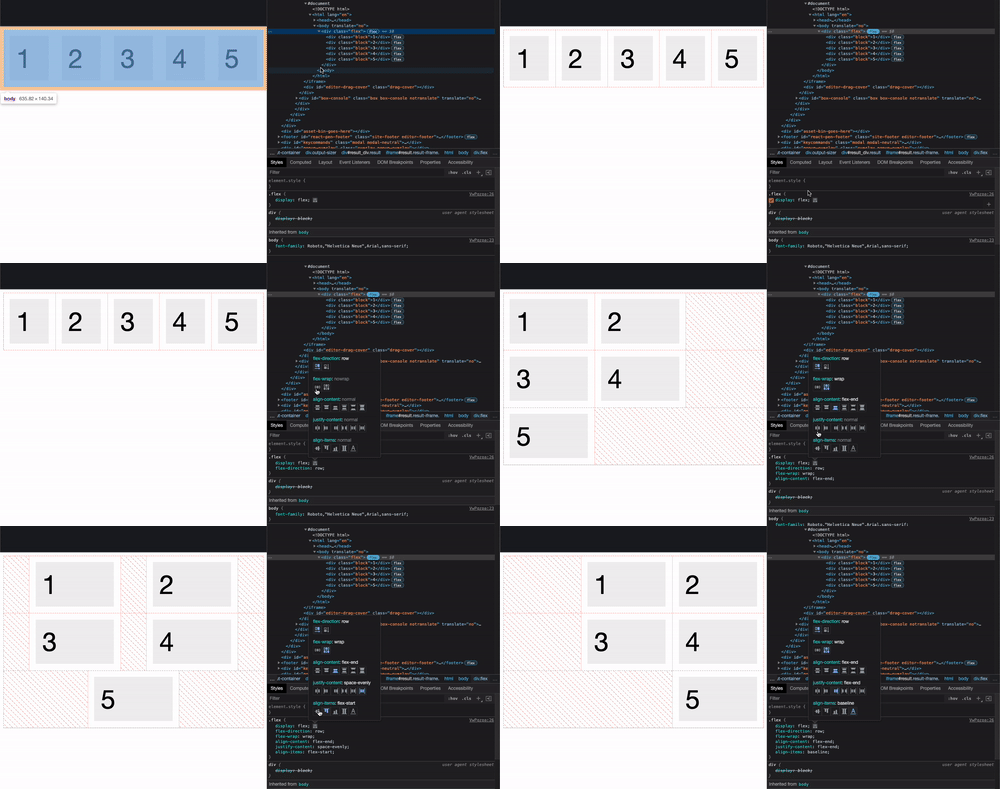
As you can see in the above GIF, clicking on the flex item which now has a small icon next to it gives us a flex menu.
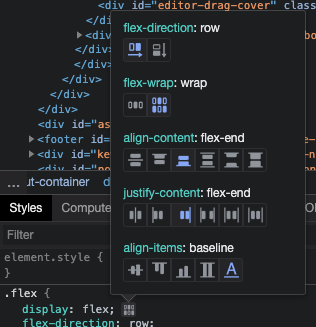
Clicking on these options will quickly add the corresponding styles to our element. Any existing styles will be pre-checked.
At this point we have the option to change the following properties:
- flex-direction
- flex-wrap
- align-content
- justify-content
- align-items
I must say I'm super stoked about this feature, it's a quick visual way to check out what's going on with our flex elements.
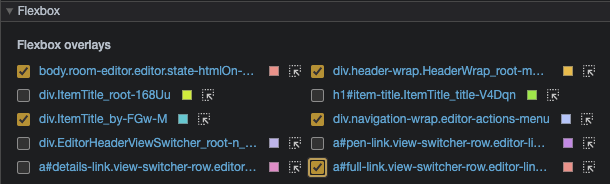
We also got the option to check certain flexbox overlays via the Layout tab.
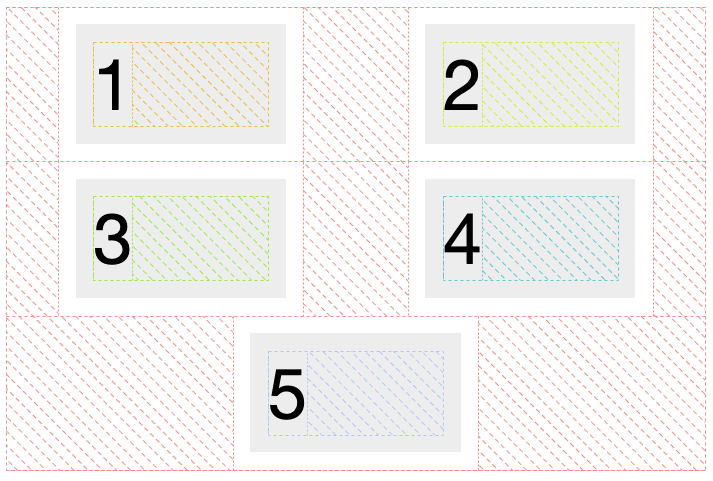
This will put an outline on specific flex items, so we can quickly see what's going on relative to other ones.
And on-screen, you will see each element in a specific color gridded.
Thank you for reading, and let's connect!
Thank you for reading my blog. Feel free to subscribe to my email newsletter and connect on Facebook or Twitter
About the author
I'm a full-stack developer from South Africa 🇿🇦. I love writing about JavaScript, HTML and CSS.
Comments
Join the discussionNo comments yet. Be the first to comment.



