
Building a Fastify NodeJS server

I'm a full-stack developer from South Africa 🇿🇦. I love writing about JavaScript, HTML and CSS.
I recently needed a super simple webserver to listen to POST requests.
Before we used express to host a simple Node server.
However, I kept hearing amazing things about Fastify, and we are actually using this at daily.dev.
So time to try it out for a project and see what it exactly can do for us.
Fastify can be used to quickly spool up a server in Node.js, much like express or its alternatives. Fastify thrives on being fast, as the name suggests. They also state that it can handle large requests while keeping overhead very low.
Say no more. Let's try it out.
Building a Fastify Node.js server
In this article, I want to create a super simple Node.js server. We actually need a POST route for the application I have in mind, but let's set up a GET and a POST route to see how easy this is.
First, we'll start by creating a new application and setting its structure.
mkdir fastify-server && cd fastify-server
Now that we have the folder, we can initialize it as a node application.
npm init
And the last step here is to install Fastify.
npm i fastify
Now it's time to create the server file. Create a file called server.js in your project.
The most basic setup to get Fastify up and running is as follows.
// Require the framework and instantiate it
const fastify = require('fastify')({logger: true});
// Declare a route
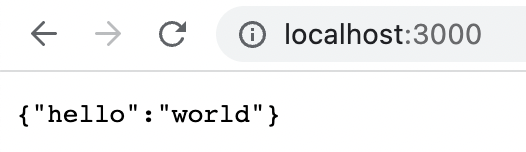
fastify.get('/', async (request, reply) => {
return {hello: 'world'};
});
// Start the server
fastify.listen(3000);
When you now run node server, it will spool up the server on port 3000, and by visiting this in your browser, you should see the output we defined.
Wow, 5 lines of code and our server is set up already. This is looking pretty great.
But let's make the start of the server a bit more robust by using the code Fastify recommends to us.
// Start the server
const start = async () => {
  try {
    await fastify.listen(3000);
  } catch (err) {
    fastify.log.error(err);
    process.exit(1);
  }
};
start();
This does the same thing, but we now catch any error that might occur and stop the server in that case.
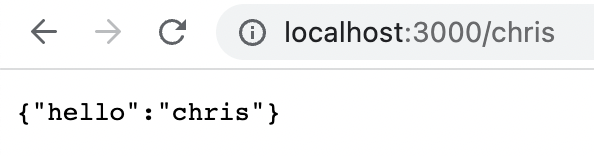
We can also quickly add named routes if we want to like this:
// Declare a named route
fastify.get('/chris', async (request, reply) => {
  return {hello: 'chris'};
});
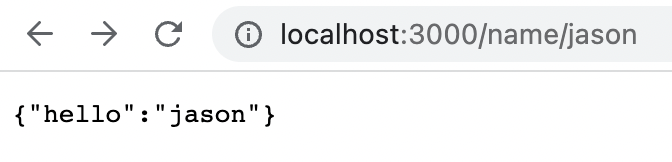
However, often you might want a dynamic route. We want to get the name, but this parameter is dynamic based on the URL.
// Declare a dynamic route
fastify.get('/name/:name', async (request, reply) => {
  return {hello: request.params.name};
});
This will be a route that we can access like so: /name/jason.
The name can be dynamic, rendering the name in the output.
Now that we have this in place let's see how we can make a post-only route to post some data.
For now, it would be great if the route only listens to the POST option and dumps whatever we put in.
// Declare a post route
fastify.post('/dump', async (request, reply) => {
  return request.body;
});
If we now try to POST to this route using a API Client like Insomnia, we can see it works!

Fastify is really great to quickly spool up a Node server, and from these initial tests, it's quick and easy to use.
I'll definitely be using more of it in the future. If you would like to have a play with the creation from today, I've hosted it on GitHub for you.
Thank you for reading, and let's connect!
Thank you for reading my blog. Feel free to subscribe to my email newsletter and connect on Facebook or Twitter


