
Browser extensions - spicing it up with React

I'm a full-stack developer from South Africa 🇿🇦. I love writing about JavaScript, HTML and CSS.
Now that we have our Browser extension up and running with Tailwind CSS and Parcel let's look at how we can make it more interactive.
You can choose any framework you are familiar with. I decided to go with React for this one.
The idea is to add React to have an interactive new tab browser extension.

Note: if you want to follow along, use the following GitHub branch.
Installing the dependencies
First, we must let our project know we plan to use React, so let's install the needed dependencies.
npm i react react-dom
Then you can go ahead and create an src folder. It will become the central place of our React application.
Setting up React
Now that we have everything installed, those two are the only ones we need 🤯.
We can go ahead and render the React app.
Open up your new-tab.html page. Until now, this was our application's source, but let's remove the HTML and place this inside.
<body>
  <div id="app"></div>
  <script type="module" src="index.js"></script>
</body>
This will become our injection point as to where we can inject React.
We also added a script that will handle the React injection.
Go ahead and create this index.js file.
import ReactDOM from 'react-dom';
import { App } from './src/App';

const app = document.getElementById('app');
ReactDOM.render(<App />, app);
Now we can move on to creating this App component.
Add the App.js file in your src directory and place the following contents inside.
export function App() {
  return (
    <div className='flex flex-col items-center justify-center w-screen h-screen bg-indigo-400 text-6xl font-bold text-white'>
      <p>Welcome 👋</p>
    </div>
  );
}
This will render what we already had in the first place.
Let's make it more interactive by creating a Counter.js component.
import { useState } from 'react';

export default function Counter() {
  const [counter, setCounter] = useState(0);
  const increase = () => setCounter((count) => count + 1);
  const decrease = () => setCounter((count) => count - 1);
  return (
    <div>
      <button onClick={decrease}>-</button>
      <span className='px-4'>{counter}</span>
      <button onClick={increase}>+</button>
    </div>
  );
}
Now go back to the App.js component and import the Counter.
import Counter from './Counter';

export function App() {
  return (
    <div className='flex flex-col items-center justify-center w-screen h-screen bg-indigo-400 text-6xl font-bold text-white'>
      <p>Welcome 👋</p>
      <br />
      <Counter />
    </div>
  );
}
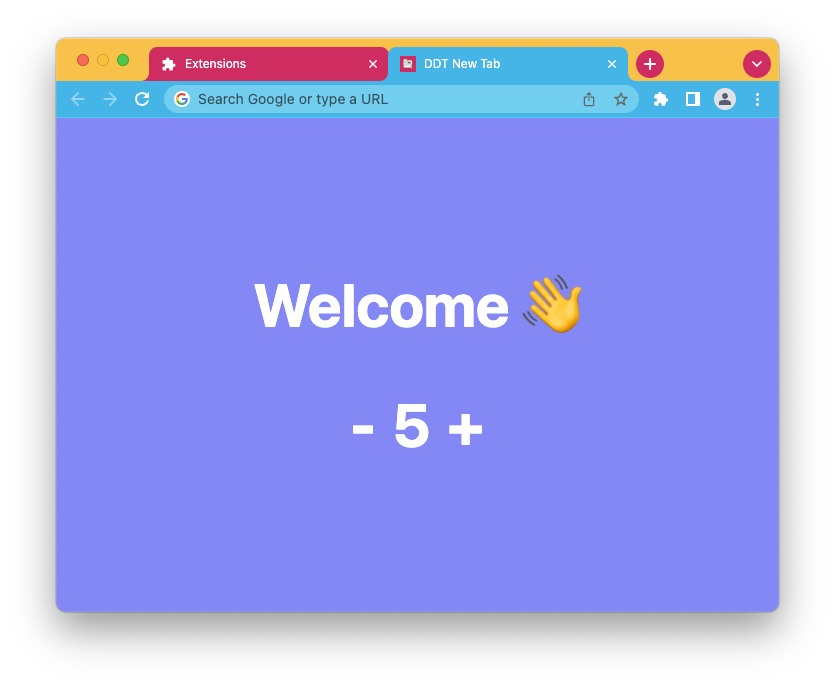
Now, if you run your watch or build command, you should be able to use your new React-powered browser extension.
npm run build
Note: ensure to use the
distfolder when loading the extension
You can find this article's code on GitHub.
Thank you for reading, and let's connect!
Thank you for reading my blog. Feel free to subscribe to my email newsletter and connect on Facebook or Twitter



