

In this article, we'll look at how message sending works. You'll often want to send some data from your popup script to the background worker, where the worker will say something with the data and return it.
Let's take a look at how that works. If you wish to follow along, take the following GitHub branch as your starting point.
Messaging inside browser extensions
For this article, we want to send a message from our popup script to the background worker.
The background worker will then process and return something based on the query.
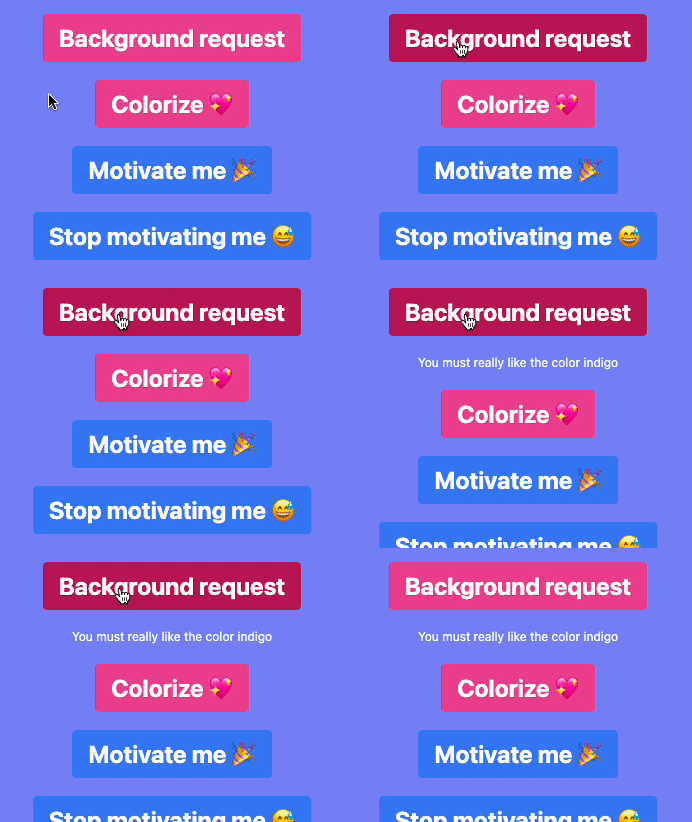
We first want to modify our src/App.jsx file to include this new button for sending the message.
<button onClick={backgroundRequest}>Background request</button>
While here, we can also add a state that will keep track of the message we get in response from the background worker.
const [message, setMessage] = useState(null);
And then add a rendering part for this text:
{
  message && (
    <>
      <p className='text-white'>{message}</p>
      <br />
    </>
  );
}
Now we can move on to add this function.
const backgroundRequest = () => {
  chrome.runtime.sendMessage({ color }, (response) => {
    setMessage(response.msg);
  });
};
Easy enough, right? We call the chrome runtime and invoke the sendMessage function.
We pass the currently picked color as our parameter and, in response, set the message.
For the next step, we need to move over to our background.js script and create the receiving end for these messages.
chrome.runtime.onMessage.addListener((request, sender, sendResponse) => {
  if (!request.color) {
    sendResponse({ msg: `You didn't set any color` });
  }

  sendResponse({ msg: `You must really like the color ${request.color}` });
});
Here we add a listener to the onMessage callback. We first want to ensure that the request includes a color. If not, we respond that the user didn't pick a color.
If they did send a color, we send our actual response.
And that's it. We can now communicate from our popup script to our background worker.
If you'd like to see the completed code, check out the following GitHub repo.
Thank you for reading, and let's connect!
Thank you for reading my blog. Feel free to subscribe to my email newsletter and connect on Facebook or Twitter
About the author
I'm a full-stack developer from South Africa 🇿🇦. I love writing about JavaScript, HTML and CSS.
Comments
Join the discussionNo comments yet. Be the first to comment.



