
Astro recipe collection website - Part 5 Hosting on Netlify

I'm a full-stack developer from South Africa 🇿🇦. I love writing about JavaScript, HTML and CSS.
We finished our Astro recipe website, and now it's time to publish our fantastic website on the World Wide Web.
We'll be using Netlify as our hosting provider, as it's a super simple system and setup.
Fixing our Astro source code
Before we do anything, let's make sure we add two steps to make our lives easier.
Make sure your master branch is up to date and add a netlify.toml file.
[build]
  command = "npm run build"
  publish = "dist"
This file will make sure Netlify takes the default configuration for this project.
Next up, create a .nvmrc file. This tells Netlify which node version to use, as it by default will use Node 12, and we want to use 14+ with Astro.
v14.15.1
Hosting Astro on Netlify
- Header over to Netlify and create an account
- Press the "New site from Git" button
- Click on your Git provider and follow the steps
- In the build settings, use the following settings:
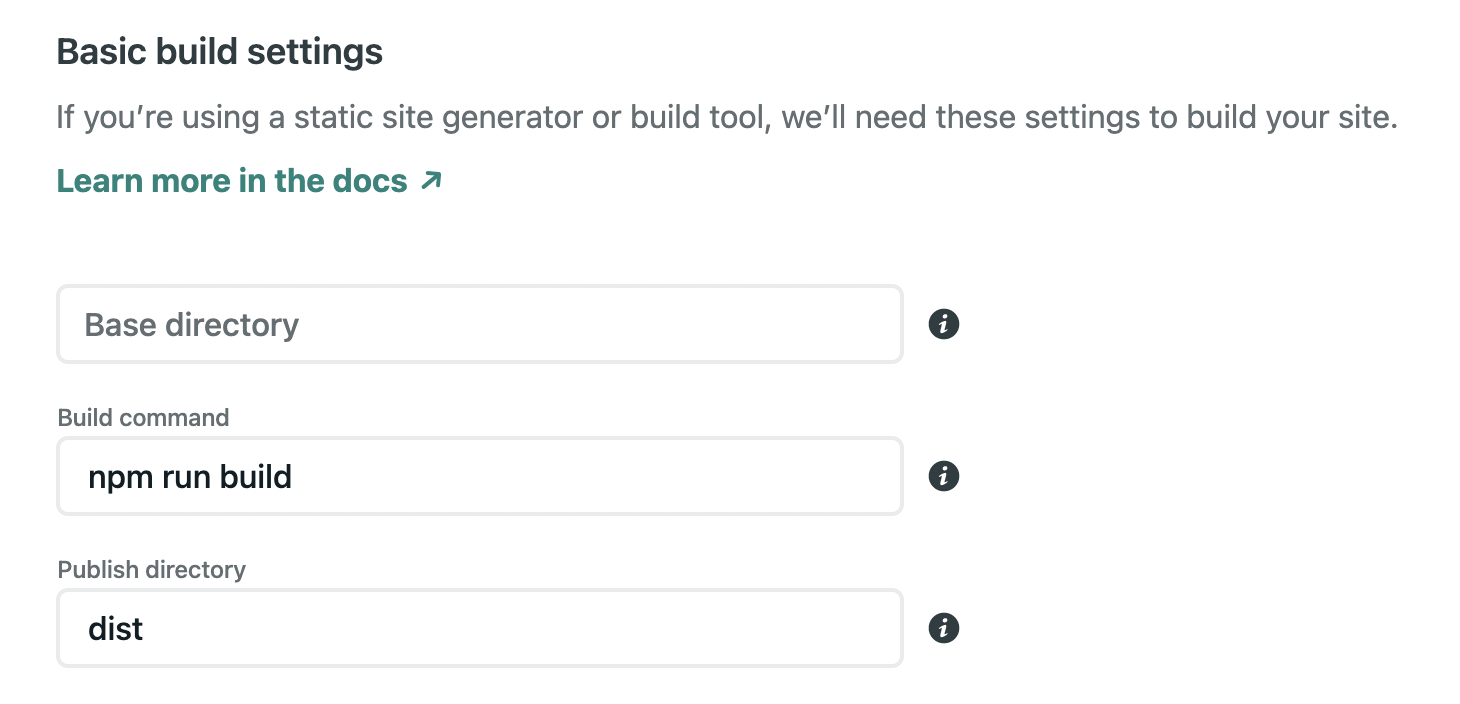
Then click the deploy button, and watch the magic happen!
You will now have your website available at the domain provided by Netlify.
Check out the Astro recipe website on Netlify
From here, you can even change this to be your domain.
Updating Astro code on Netlify
But what if we need to update anything? Don't worry, Netlify makes this super easy, literally super easy!
To get a new release online, all you have to do is push your changes to the master branch! (Or whichever branch you setup)
I happen to like Netlify since it's super easy, and their free tier is massive. But if you like to explore other options, check out Astro's documentation for hosting.
Thank you for reading, and let's connect!
Thank you for reading my blog. Feel free to subscribe to my email newsletter and connect on Facebook or Twitter


