
Astro recipe collection website - Part 2 Homepage rendering

I'm a full-stack developer from South Africa 🇿🇦. I love writing about JavaScript, HTML and CSS.
In this series, we are building a recipe website in Astro. We already made a start by setting up our collections.
Today we'll learn how we can render the five latest articles on the homepage.
Adding a collection to our homepage
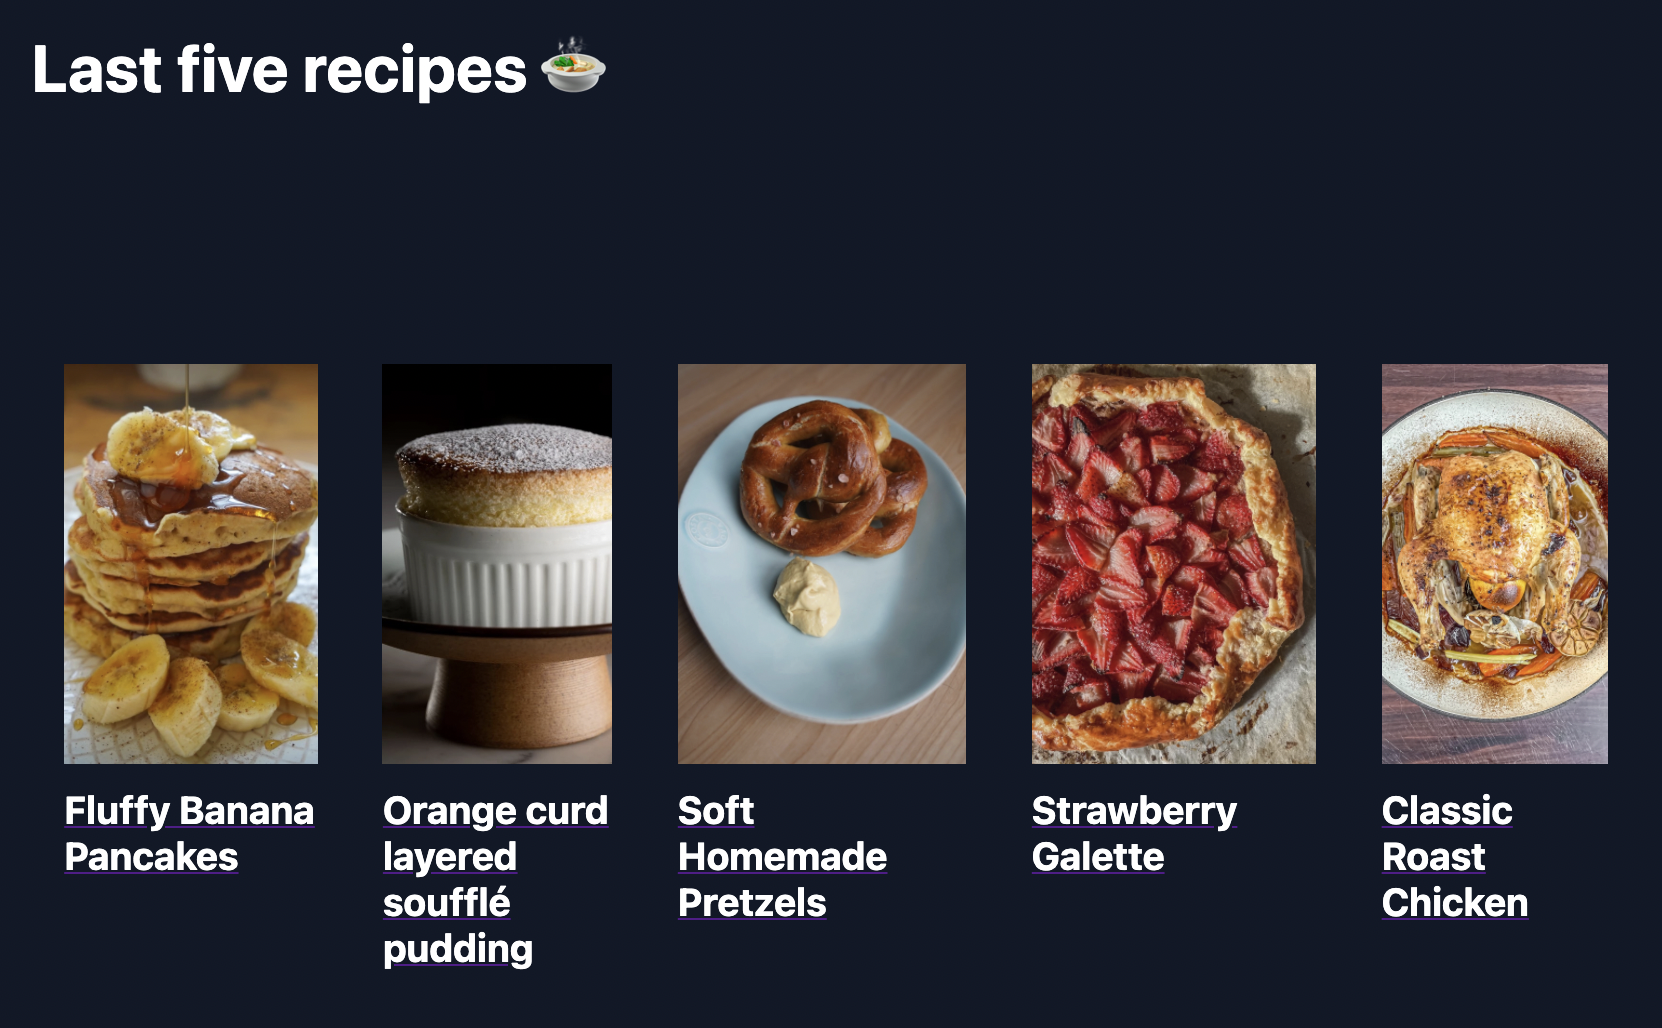
So far, we have been using the default homepage that Astro came with. We want to change that to showcase the last five recipes dynamically.
Note: Where dynamically means on every build.
To get started with this, let's clean up the homepage. This way, we will have a blank canvas, to begin with.
---
const title = 'Astro Recipe Website';
---
<!-- HTML Code -->
<html lang="en">
<head>
    <meta charset="UTF-8">
    <meta name="viewport" content="width=device-width">
    <title>{title}</title>
    <link rel="icon" type="image/svg+xml" href="/favicon.svg">
    <link rel="stylesheet" href="/style/global.css">
</head>
<body>

</body>
</html>
As you can see, we have a section of Frontmatter again. This is the section between the three dashes where we defined the title.
In this section, we will also load the five last recipes.
---
const title = 'Astro Recipe Website';
const recipes = Astro.fetchContent('./recipe/*.md')
    .sort((a, b) => a.date.localeCompare(b.date)).slice(0, 5);
---
We use the same method of loading the content by leveraging the fetchContent ability of Astro.
Then we sort the articles based on their date and slice the array only to return five items.
Then we want to loop through these results and render an article for each recipe.
<section>
  {recipes.map(recipe => (
  <article>
    <a href="{recipe.url}">
      <img src="{recipe.image}" alt="{recipe.title}" />
      <h3>{recipe.title}</h3>
    </a>
  </article>
  ))}
</section>
This will render a section with our five recipes and show the image and a heading with the title. When we click the card, it takes us to that recipe.
Let's also add some very basic CSS so it will look a bit better.
The following code can be placed in the head of your index.astro file.
<style lang="scss">
    section {
        display: grid;
        grid-template: '1fr 1fr 1fr 1fr 1fr';
    }
    article {
        padding: 1rem;
        img {
            object-fit: cover;
            width: 100%;
            height: 200px;
            margin-bottom: 0.5rem;
        }
        h3 {
            color: #fff;
        }
    }
</style>
You can find the complete code on GitHub.
Thank you for reading, and let's connect!
Thank you for reading my blog. Feel free to subscribe to my email newsletter and connect on Facebook or Twitter


