
Astro recipe collection website - Part 1 Setup collections

Note: Update 12-08-2021: Rewrite collections to Astro dynamic routing
My wife is a chef for those who don't know, so she has many recipes. I thought it would be cool to convert these to a digital cookbook.
And what better to use than Astro?
What we'll learn today:
- Dynamic routing in Astro
- Pagination collections
By the end of the article, we will have a functional website that doesn't look pretty yet, but we know how the dynamic routes in Astro work.
In another article, we'll work on the following extra elements:
- Latest five recipes on the homepage
- Category filtered pages
- Styling our recipe website
Setting up the data set
Let's start by setting up a new Astro project.
mkdir astro-recipe && cd $_
npm init astro@next
npm install
Note: This article uses the next version of Astro as this will be the new way of using collections. This article will be updated once this is merged.
Then we'll go ahead and create our sets of data.
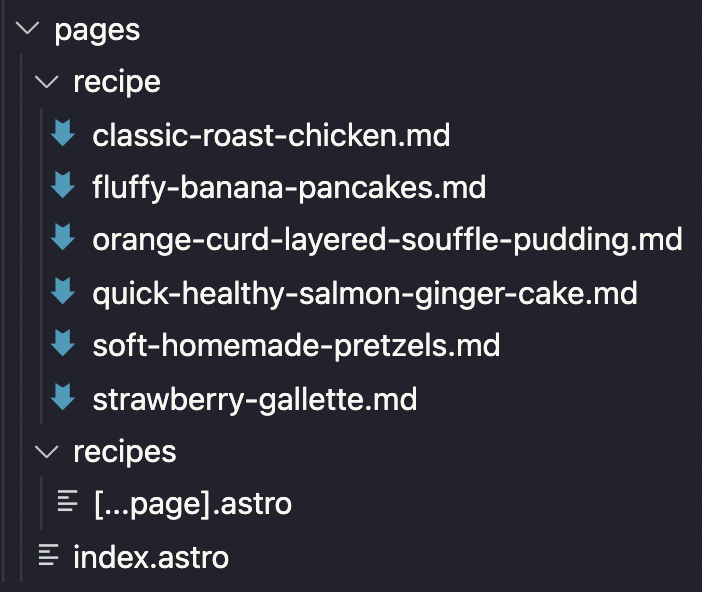
Before we create anything, let me explain the architecture and routing of Astro. By default, Astro will render all pages inside the pages folder.
We always have an index.astro file as our starting homepage in our default installation.
What we want to add next are single recipe pages. In my case, I want them to have the following structure:
domain.com/recipe/recipe-slug
To achieve this structure, we need to place a recipe folder inside the pages folder in Astro.
Inside that folder, we can create our recipe markdown files.
Markdown files can have Frontmatter keys. This is a special set of data that sits on the top of your file in --- instances.
Note: You can see the
---as a code fence, which can evaluate the code inside
An example of a recipe will be:
---
layout: '../../layouts/recipe.astro'
title: Classic Roast Chicken
meal_type: Dinner
course: Roast
diet: Healthy
main_ingredient: Meat and chicken
date: 2021-08-05
image: /images/classic-roast-chicken.jpg
---

# Markdown flavored recipe content
Do you see all the content between the three dashes? This is what defines our variables. This will be useful later on.
In our case, we defined some types to later filter on and an image to make it more appealing.
Another important thing to note is that we defined the layout.
layout: '../../layouts/recipe.astro';
This tells Astro what file to render this markdown in.
We can create the recipe.astro in a layout folder.
The file will have the following content.
Below you will see the part where we can retrieve the content from the Astro props. This is Astro's way of parsing data from the markdown file to the layout file we associated it with.
---
const { content } = Astro.props;
---
<!--HTML Content-->
<html>
  <head>
    <title>{content.title}</title>
  </head>

  <body>
    <main class="wrapper">
      <h2 class="title">{content.title}</h2>
      <img width="500px" class="img" src={content.image} alt={content.title}>
      <article class="article">
        <slot />
      </article>
      <footer class="footer">
        <a class="posts" href="/recipes">All Recipes</a>
      </footer>
    </main>
  </body>
</html>
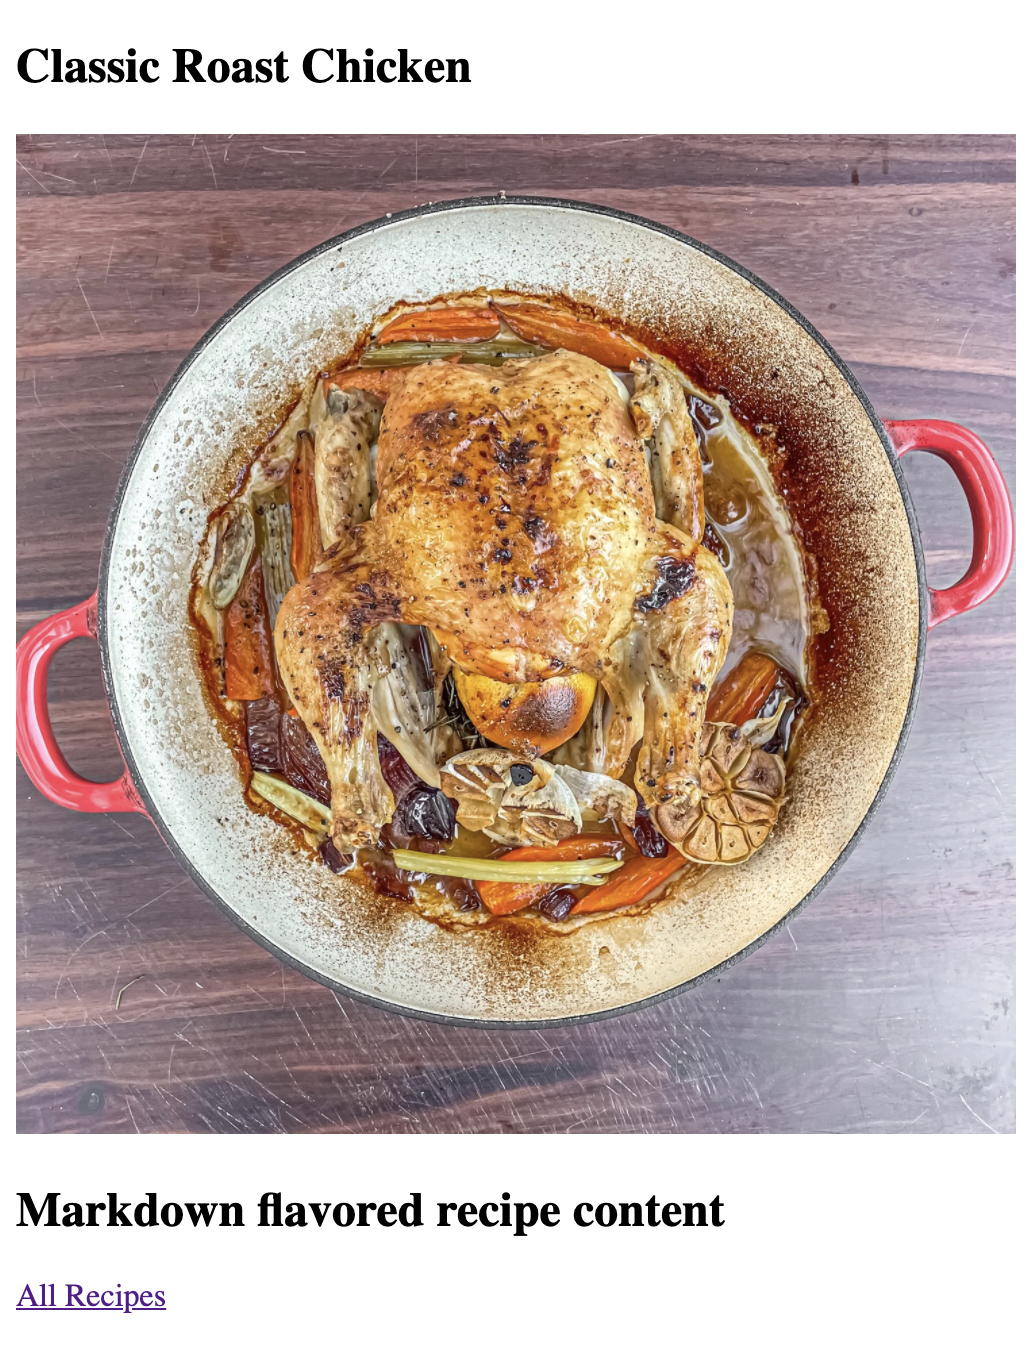
A super basic rendering, as it will show the title, an image, and the content.
Now we can run Astro.
npm start
and visit your URL, which looks similar to this:
http://localhost:3000/recipe/classic-roast-chicken
This will render the following view:
Creating the main recipe collection page
It's pretty cool that we have individual pages, but we have no way to show them on one big overview page.
Let's go ahead and create such an overview page. We'll use a pagination collection, where our page shows five recipes per page.
Note: Click here for more information on the Astro Dynamic Routing.
To create a collection page in Astro, we must create a file that's wrapped in brackets. Since our collection should be recipes, we must first make a recipes folder in our pages folder.
Inside that we can create a [...page].astro folder.
The three dots will make sure we can use the blank URL and paginated URLs.
Let's start by making this file a collection of our recipe files.
---
export async function getStaticPaths({paginate}) {
  const allRecipes = Astro.fetchContent('./../recipe/*.md')
    .sort((a, b) => a.date.localeCompare(b.date));

  return paginate(allRecipes, {pageSize: 5});
}

const {page} = Astro.props;
---
This is the bare minimum. We need to have a pagination recipe overview.
We use the getStaticPaths as this is the default export function for dynamic routing in Astro.
Inside this function, we define all our recipes sorted by date.
Then we return a paginate object containing these recipes and the amount per page. Astro will now take care of the logic and page creation for us.
To render these recipes, we can use the following HTML
<html lang="en">
  <head>
    <title>Pagination Example</title>
  </head>
  <body>
    <h1>All recipes</h1>
    {page.data.map((recipe) => (
    <a href="{recipe.url}">
      <h1>{recipe.title}</h1>
    </a>
    ))}
  </body>
</html>
This code will render the following screen.
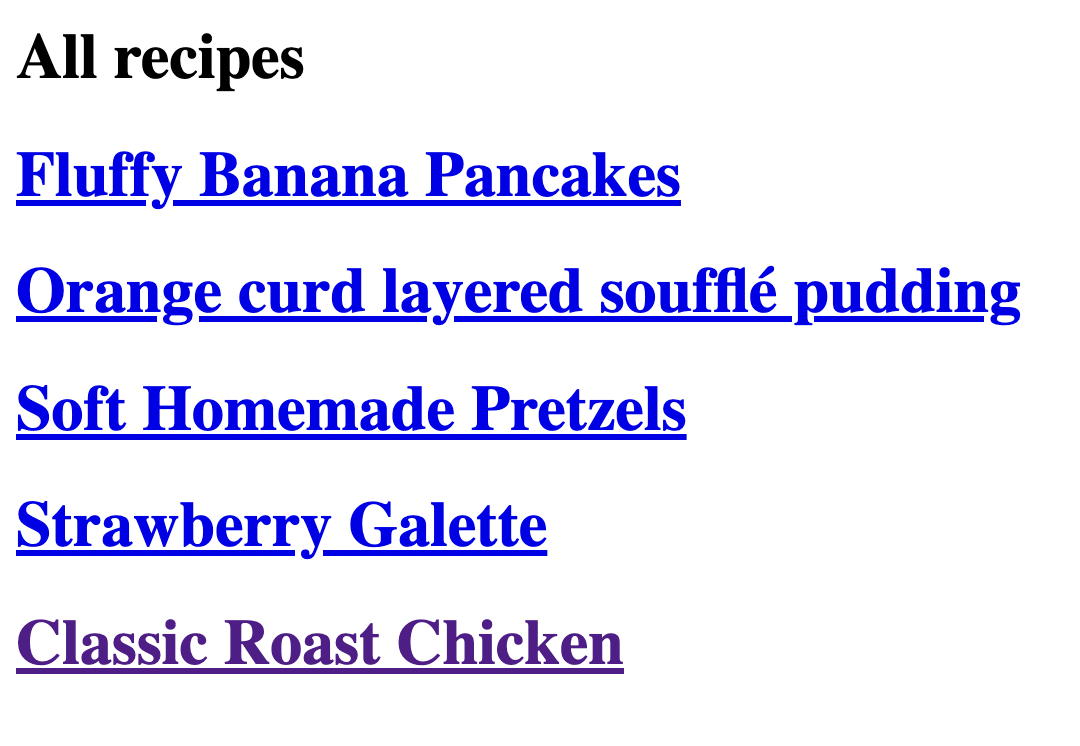
Pretty good, but how do we now get to the following page with five more recipes?
<footer>
  <h4>Page {page.current} / {page.last}</h4>
  <nav class="nav">
    <a class="prev" href={page.url.prev || '#'}>Prev</a>
     |
    <a class="next" href={page.url.next || '#'}>Next</a>
  </nav>
</footer>
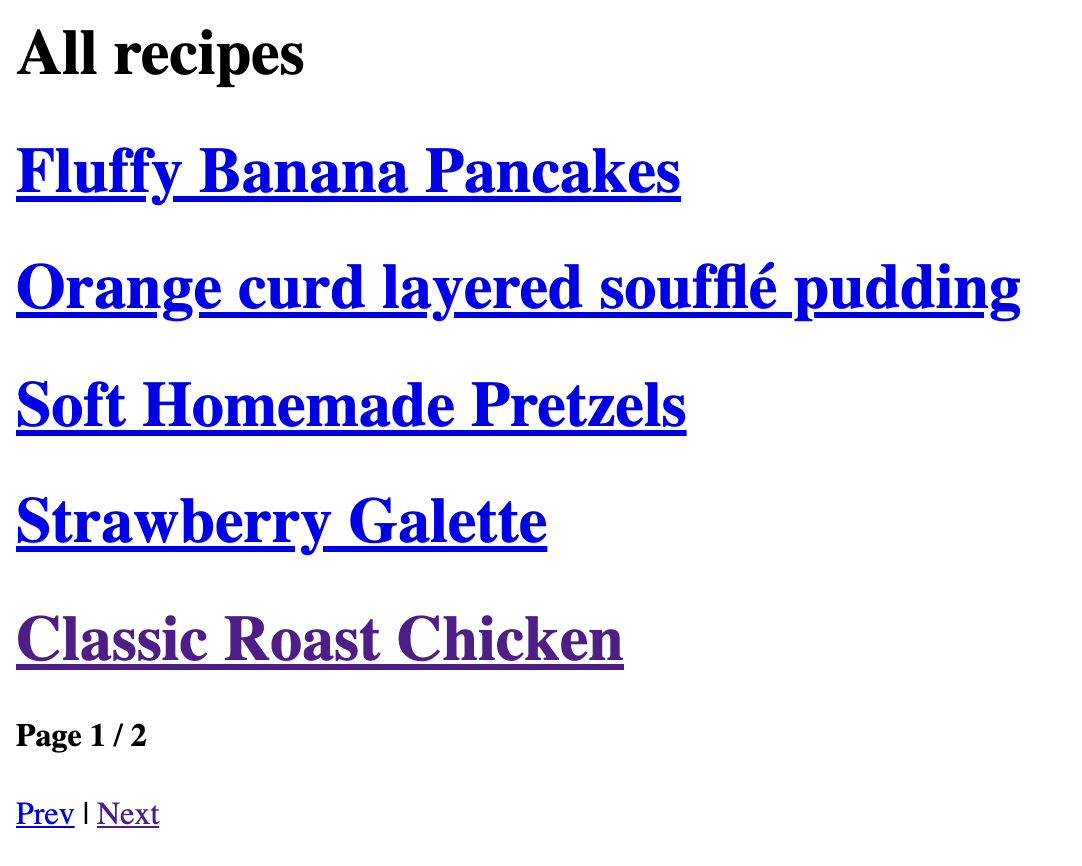
Yes! The Astro dynamic routing keeps track of all the logic for us, using several amazing properties on our collection.
We want to show which page the user is on now and the total page count. And display navigation links.
And that's it for today's article. In the following article, we start working on how to show the last five recipes on our homepage.
If you want to check out today's code, you can find that on the following GitHub repo.
Thank you for reading, and let's connect!
Thank you for reading my blog. Feel free to subscribe to my email newsletter and connect on Facebook or Twitter
About the author
I'm a full-stack developer from South Africa 🇿🇦. I love writing about JavaScript, HTML and CSS.
Comments
Join the discussionNo comments yet. Be the first to comment.



