
Astro 1.0 adding React components

I'm a full-stack developer from South Africa 🇿🇦. I love writing about JavaScript, HTML and CSS.
I've written my fair share of Astro articles in the past, but some things have changed since the release of Astro 1.0.
I decided it's best to re-look at some previous articles to explore the new way of doing things in Astro.
In this article, we'll be looking at running React components in Astro. (the old way of adding React in Astro)
Adding React to Astro
Let's use the minimal started pack from Astro. This is the easiest to use as it's clean.
mkdir astro-react && cd astro-react
Once you have your folder installed, you can install the minimal starter.
npm init astro -- --template minimal
Once installed, we'll have our super basic Astro started. Let's go ahead and add the React rendered.
npm run astro add react
This will add React and the rendered and the needed config to your Astro config file.
You should see the following if you open up this astro.config.mjs file.
import { defineConfig } from 'astro/config';
import react from '@astrojs/react';

export default defineConfig({
  integrations: [react()],
});
Now let's go ahead and create a new component: src/components/React.jsx.
import { useState } from 'react';

export default function React() {
  const [counter, setCounter] = useState(0);
  const name = 'React';

  return (
    <div>
      <button onClick={() => setCounter((i) => i - 1)}>-</button>
      <pre>{counter}</pre>
      <button onClick={() => setCounter((i) => i + 1)}>+</button>
      <p>I'm a {name} component</p>
    </div>
  );
}
Now head over to your src/pages/index.astro file and import this component.
---
import React from '../components/React.jsx';
---
<html lang="en">
    <head>
        <meta charset="utf-8" />
        <link rel="icon" type="image/svg+xml" href="/favicon.svg" />
        <meta name="viewport" content="width=device-width" />
        <meta name="generator" content={Astro.generator} />
        <title>Astro</title>
    </head>
    <body>
        <React />
    </body>
</html>
If we run our application, you'll see that the component is rendered and our variable name is set.
However, the counter won't do anything.
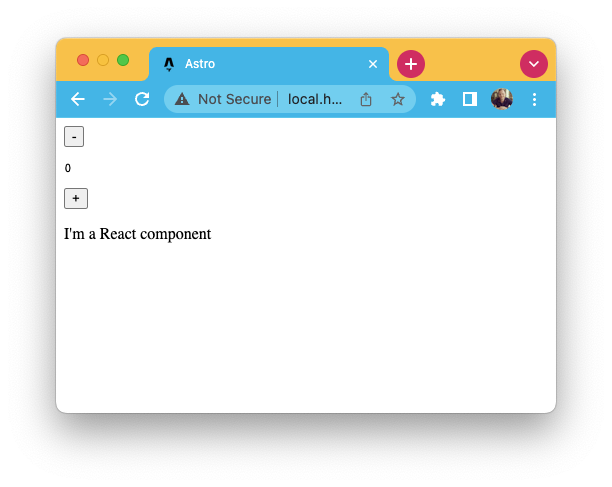
So how can we get this counter to work? We'll have to use a hydration directive on the component.
<React />: Plain HTML version get's rendered<React client:load />: Renders the component on page load<React client:idle />: Renders when the browser is done with the initial load<React client:visible />: Renders once the component is scrolled into view<React client:media={MEDIA_QUERY} />: Renders when the media query is applicable<React client:only="react" />: Only renders the component client side, not on the server
Want to know more about client directives, the Astro docs have you covered!
For the example, we can use either one, but idle or load make the most sense for this specific component.
You can find the completed sample code on GitHub.
Thank you for reading, and let's connect!
Thank you for reading my blog. Feel free to subscribe to my email newsletter and connect on Facebook or Twitter



