
Angular 10 routing this is what you need to know

I'm a full-stack developer from South Africa 🇿🇦. I love writing about JavaScript, HTML and CSS.
When it comes to routing in Angular, there are some concepts we need to understand.
In this article, I'm going to break down the following router related topics for you.
- Initial router setup
- Navigating to a route
- Fallback routes
- Redirect
- Child routes
There are some more elements, but these are fundamental route related topics we need to learn.
If you are looking at how to setup an Angular project check out this article.
This article is written based on Angular 10
Angular initial router setup
The Angular router is what makes Angular a Single page application. The browser never refreshes between routes. (Unless you program it as such).
If you have set up the default Angular starter, you will have a file called app-routing.module.ts in your src/app folder.
This one file is responsible for managing our routes.
In there, we have a routes const, in there you see an array of routes, which now looks like this.
const routes: Routes = [
  { path: 'welcome', component: WelcomeComponent }
];
Let's start by adding another route so we can see its effects.
Run the following command in your terminal.
ng generate component second
This will generate a second component.
Now we can add this component in our app-routing.module.ts file.
const routes: Routes = [
  { path: 'welcome', component: WelcomeComponent },
  { path: 'second', component: SecondComponent }
];
Awesome, we can now run our app and manually visit the localhost:4200/welcome and localhost:4200/second.
To run, open terminal, go to the folder, and run
ng serve.
Navigating to a route
Now we need to make sure can to navigate to each route from within the application.
To navigate a user to a route, we can use the routerLink on a href.
Let's open our app.component.html (our entry point) and modify it to look like this.
<h1>Our first angular app</h1>
<nav>
  <ul>
    <li><a routerLink="/">Empty homepage</a></li>
    <li><a routerLink="/welcome">Welcome</a></li>
    <li><a routerLink="/second">Second</a></li>
  </ul>
</nav>
<hr />
<router-outlet></router-outlet>
Here we see the router links to our routes and a <router-outlet> that is used to render our actual page in.
So what happens, the top part will always stay, and our welcome and second routes will be opened inside the router-outlet below.
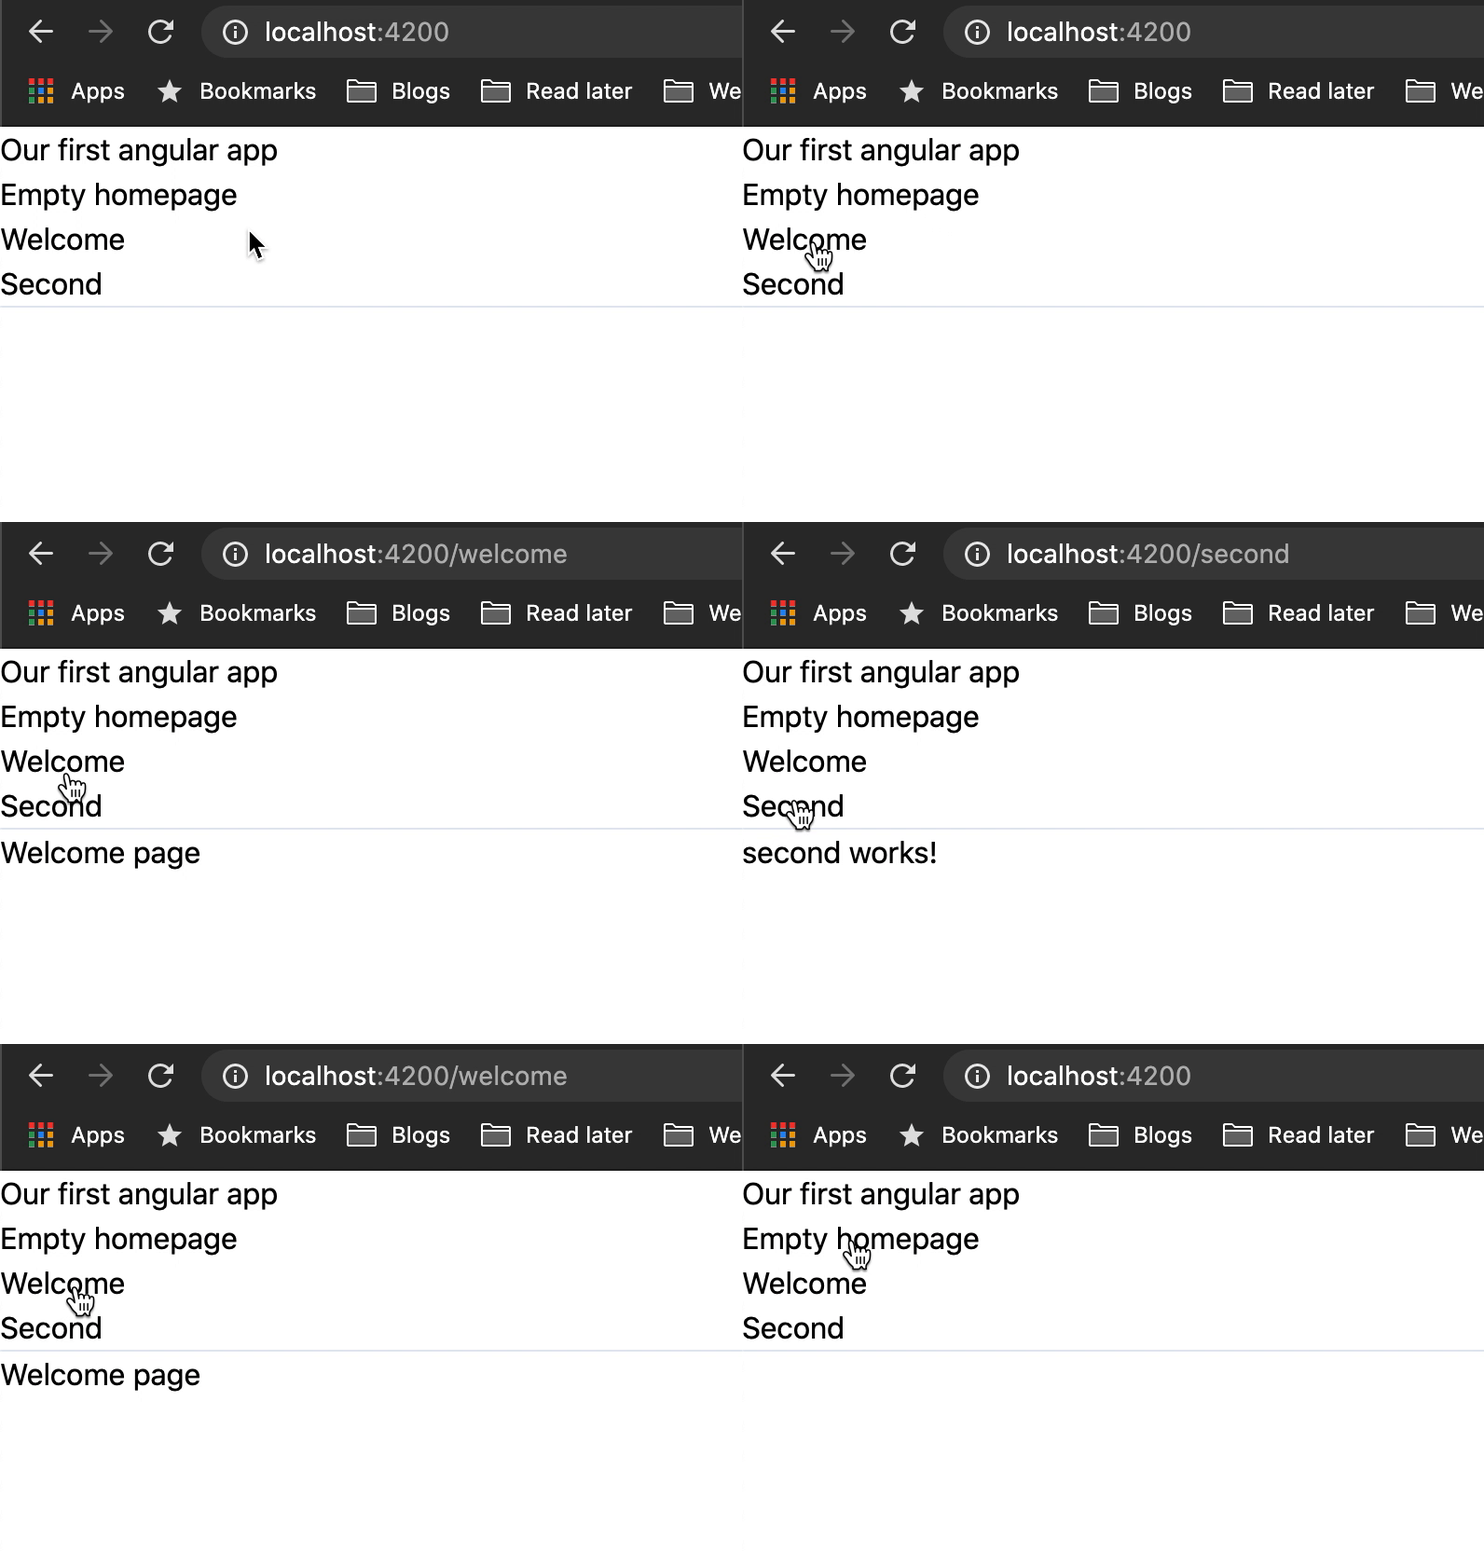
Run this code and click the links. You should see the content change, as you can see in this GIF below.
Fallback routes
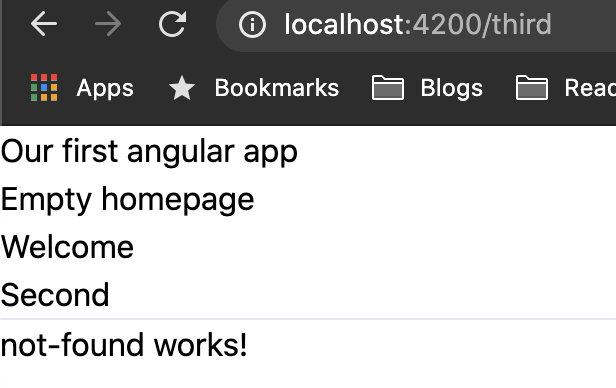
As you can see, we are using the router link to / which is not a registered route. We can use fallback routes to catch these unexciting routes.
This also will work if someone manually types /third in their browser.
To set up this wildcard (404) route, we can use the ** for the route.
Let's generate our 404 component to catch all these routes.
ng generate component notFound
Now let's add the route
const routes: Routes = [
  { path: 'welcome', component: WelcomeComponent },
  { path: 'second', component: SecondComponent },
  { path: '**', component: NotFoundComponent }
];
Redirect
Very cool, but we are now also getting this route not found on our initial page localhost:4200/..
What if we want our welcome component to be our main component.
We can add a redirect route.
const routes: Routes = [
  { path: 'welcome', component: WelcomeComponent },
  { path: 'second', component: SecondComponent },
  { path: '',   redirectTo: '/welcome', pathMatch: 'full' },
  { path: '**', component: NotFoundComponent }
];
Here on the third route, we are saying if the main page is called (empty string) we redirectTo the /welcome route.
You will actually see your URL change if you now go to your main page!
Child routes
The last fundamental to Angular routing is the use of child routes.
Image an admin route or a blog-post/category/post setup.
In this case, we will make a child component under the second route.
Let's generate our child component first.
ng generate component child
Then on our routing file, we can add the children element to our second route.
Every element in this children array will be prefixed with he parent route.
const routes: Routes = [
  { path: 'welcome', component: WelcomeComponent },
  { path: 'second', children: [
    { path: '', component: SecondComponent, },
    { path: 'child', component: ChildComponent }
  ] },
  { path: '',   redirectTo: '/welcome', pathMatch: 'full' },
  { path: '**', component: NotFoundComponent }
];
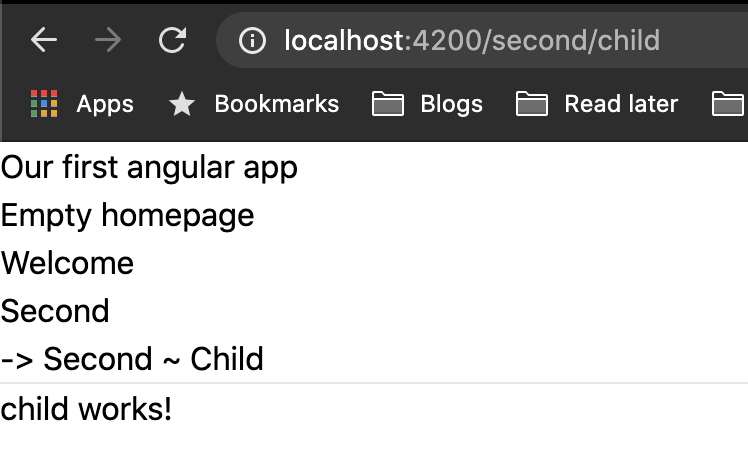
There is a difference in using a component in the parent, we can do this, but then we need another router-outlet in that parent.
We will make use of the same router for all our routes.
Let's now add the link in our app component as well.
<ul>
    <li><a routerLink="/">Empty homepage</a></li>
    <li><a routerLink="/welcome">Welcome</a></li>
    <li><a routerLink="/second">Second</a></li>
    <li><a routerLink="/second/child">-> Second ~ Child</a></li>
</ul>
As mentioned we can also use a second router outlet, let me show you that version as well, let's create an about component for our welcome.
ng generate component about
And add it under our routes.
const routes: Routes = [
  { path: 'welcome', component: WelcomeComponent, children: [
    { path: 'about', component: AboutComponent }
  ] },
  { path: 'second', children: [
    { path: '', component: SecondComponent, },
    { path: 'child', component: ChildComponent }
  ] },
  { path: '',   redirectTo: '/welcome', pathMatch: 'full' },
  { path: '**', component: NotFoundComponent }
];
Now, if we would try and visit this route, we just see the welcome component.
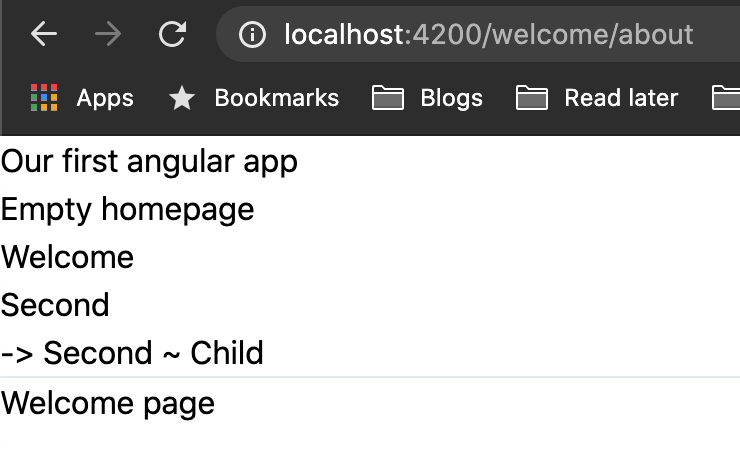
Hmm, weird, right? Well, not really. In this setup we are stating that the main component will have a router-outlet for us to sub render.
Let's open the welcome.component.html file and make it look like this.
<h1>Welcome page</h1>
<a routerLink="/about">About</a>
<hr />
<router-outlet></router-outlet>
If we now run our code and click the about link on our welcome page, we get the following result.
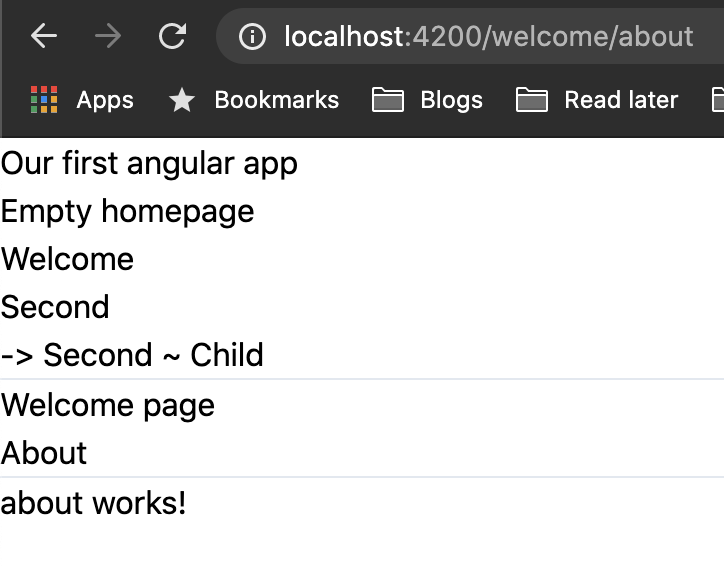
There we go, these are the fundamental elements you will need to know about routing in Angular.
I hope you learned something new. If you want to have a closer look at the code in this article, check out the GitHub repo.
Thank you for reading, and let's connect!
Thank you for reading my blog. Feel free to subscribe to my email newsletter and connect on Facebook or Twitter



