
Angular 10 adding custom pipes

I'm a full-stack developer from South Africa 🇿🇦. I love writing about JavaScript, HTML and CSS.
One powerful aspect of Angular is the ability to add custom pipes. Pipes are used for transforming data, mainly strings, into specific date formats, currencies, or something else.
They are simple functions that you can use in your templates by using a pipe symbol.
{{ myString | customPipe }}
Angular itself comes with several build-in pipes.
- DatePipe
- UpperCasePipe
- LowerCasePipe
- CurrencyPipe
And many more, find the full list on the Angular documentation.
Today we'll be making a pipe that will accept a text and input on the max characters. We will then return the string + ellipsis on the max.
Creating our pipe
We can make use of the Angular generator to create our pipe.
Open your terminal and navigate to the folder to run the following command.
ng generate pipe maxLength
This will create our pipe and add it to the app.module.ts as well.
@NgModule({
  declarations: [
    // All declarations
    MaxLengthPipe
  ],
  imports: [
        // All imports
  ],
  providers: [],
  bootstrap: [AppComponent]
})
Now let's open up the max-length.pipe.ts. You will see the pipe has an export function. This is the default function called.
Let's create the arguments and return type.
transform(value: string, length: number): string {
    return value;
}
We set the value to be a string, the length to be a number, and the output to be a string.
Now we need to check if the value is longer then our length and cap it.
if(length < value.length) {
  return value.substring(0, length) + '...';
}
return value;
Here we check if our length is bigger than our value.lenght. If yes, we return a substring.
Else we will just return the value as-is.
Putting our pipe to action
Let's open up the second.component.ts and declare a text to render in our HTML to use our new custom pipe.
export class SecondComponent implements OnInit {

  short: string = 'This is not so long.';
  long: string = 'Lorem ipsum dolor sit amet, consectetur adipiscing elit. Nam quis sollicitudin turpis, ac lobortis libero.';

  constructor() { }

  ngOnInit(): void {
  }

}
Now we can open up our second.component.html and make it look as such.
<p>second works!</p>

<p>{{ short | maxLength:50 }}
<p>{{ long | maxLength:50 }}
<p>{{ long | maxLength:10 }}
Now let's run our app and see how this looks.
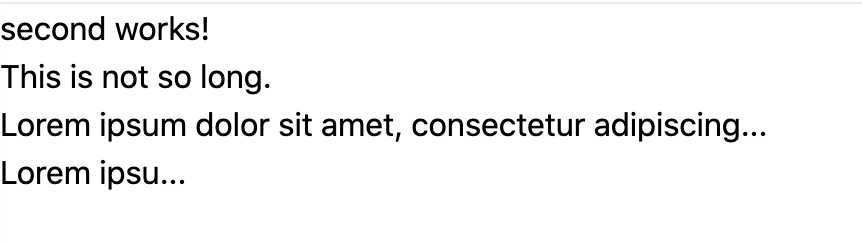
There we go, perfect, we now created our own custom pipe that accepts a dynamic argument.
You can find this code project on GitHub.
Thank you for reading, and let's connect!
Thank you for reading my blog. Feel free to subscribe to my email newsletter and connect on Facebook or Twitter


