
Adding tailwind typography plugin in Remix

Now that we added some markdown files to our Remix website, we saw the issue of the actual content not rendering the headings.
This is because Tailwind doesn't really know what to render this as. Thus, we can use the Tailwind Typography plugin to help with this issue.
Installing the Tailwind Typography plugin in Remix
The installation of this plugin is super straightforward, as we simply have to install the dependency with NPM:
npm install -D @tailwindcss/typography
Once this is done, we need to register it in our tailwind config file. This file is located at the root of our project named: tailwind.config.js.
Inside this file add the plugin:
module.exports = {
  content: ['./app/**/*.{ts,tsx,jsx,js}'],
  theme: {
    extend: {},
  },
  plugins: [require('@tailwindcss/typography')],
};
We can add the prose class to any element we want to use this plugin on.
In our case, let's add it to our root file so we can use it for our markdown files.
export default function App() {
  return (
    <html lang='en' className='h-full'>
      ...
      <body className='h-full p-4 prose'>
        <Outlet />
        ...
      </body>
    </html>
  );
}
Note the prose class on the body. This is what will make it active.
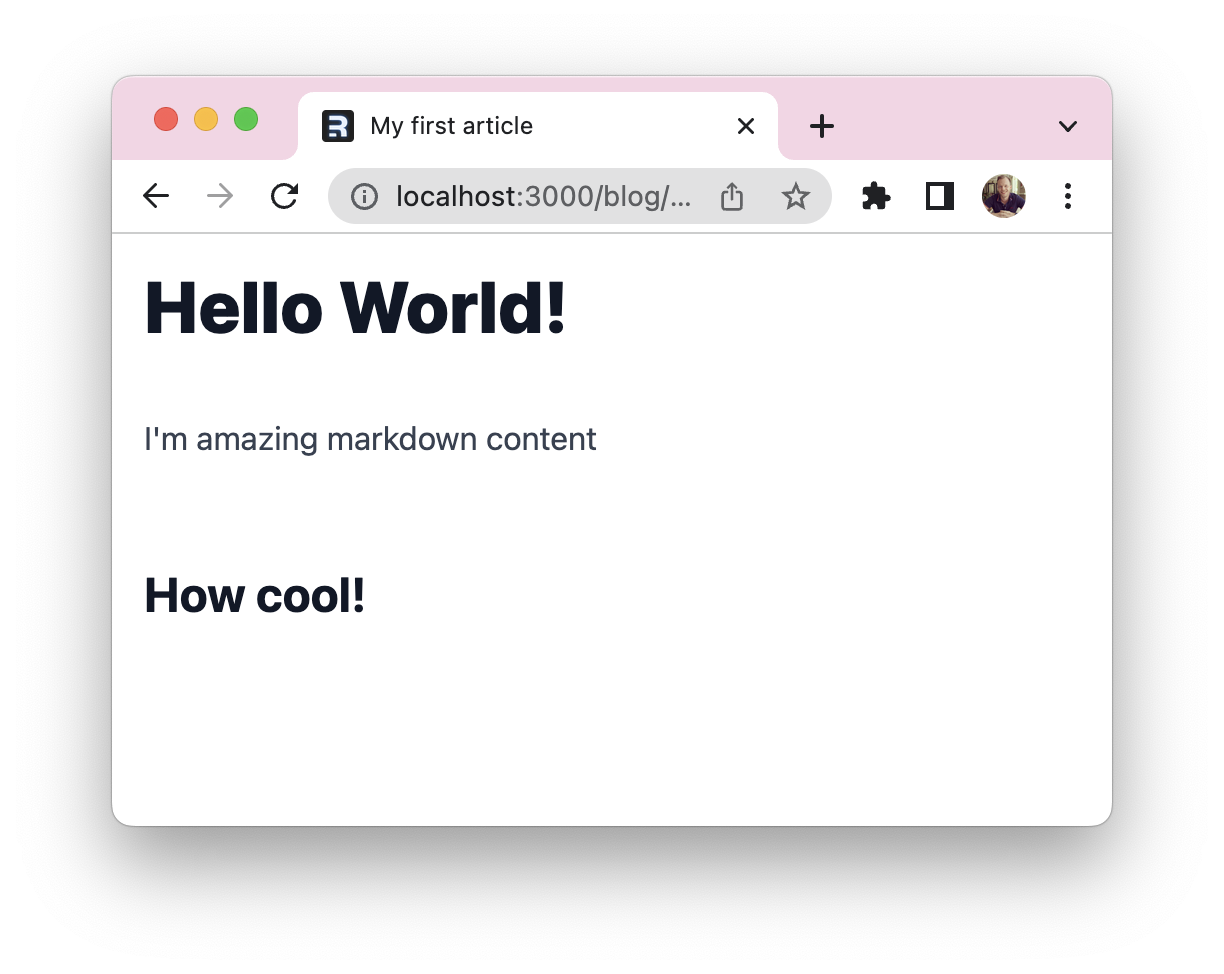
If we now run our website and view a markdown rendered post, we see it in action.
You can also find the completed code on GitHub.
Thank you for reading, and let's connect!
Thank you for reading my blog. Feel free to subscribe to my email newsletter and connect on Facebook or Twitter
About the author
I'm a full-stack developer from South Africa 🇿🇦. I love writing about JavaScript, HTML and CSS.
Comments
Join the discussionNo comments yet. Be the first to comment.



