
Adding Supabase to a Next.js application

Today we'll take a look at Supabase, the alternative to Firebase for your real-time database and user authentication.
For this article, we'll include Supabase into our Next.js application to try out its superpowers.
Don't worry if you haven't used Next.js. I'll guide you through all the basics from scratch.
Setting up our Next.js application
The setup of a Next.js application is actually pretty simple. Open your terminal and execute the following command.
npx create-next-app
It will prompt you to give your app a name. I choose next-supabase for this one.
Once the installation is done, you can spool up your application by running:
npm run dev
Your basic Next.js app is now running on http://localhost:3000.
Setting up Supabase
The first thing we have to do on the Supabase side is log in to their application.
Then you have to click on one of the "New Project" buttons.
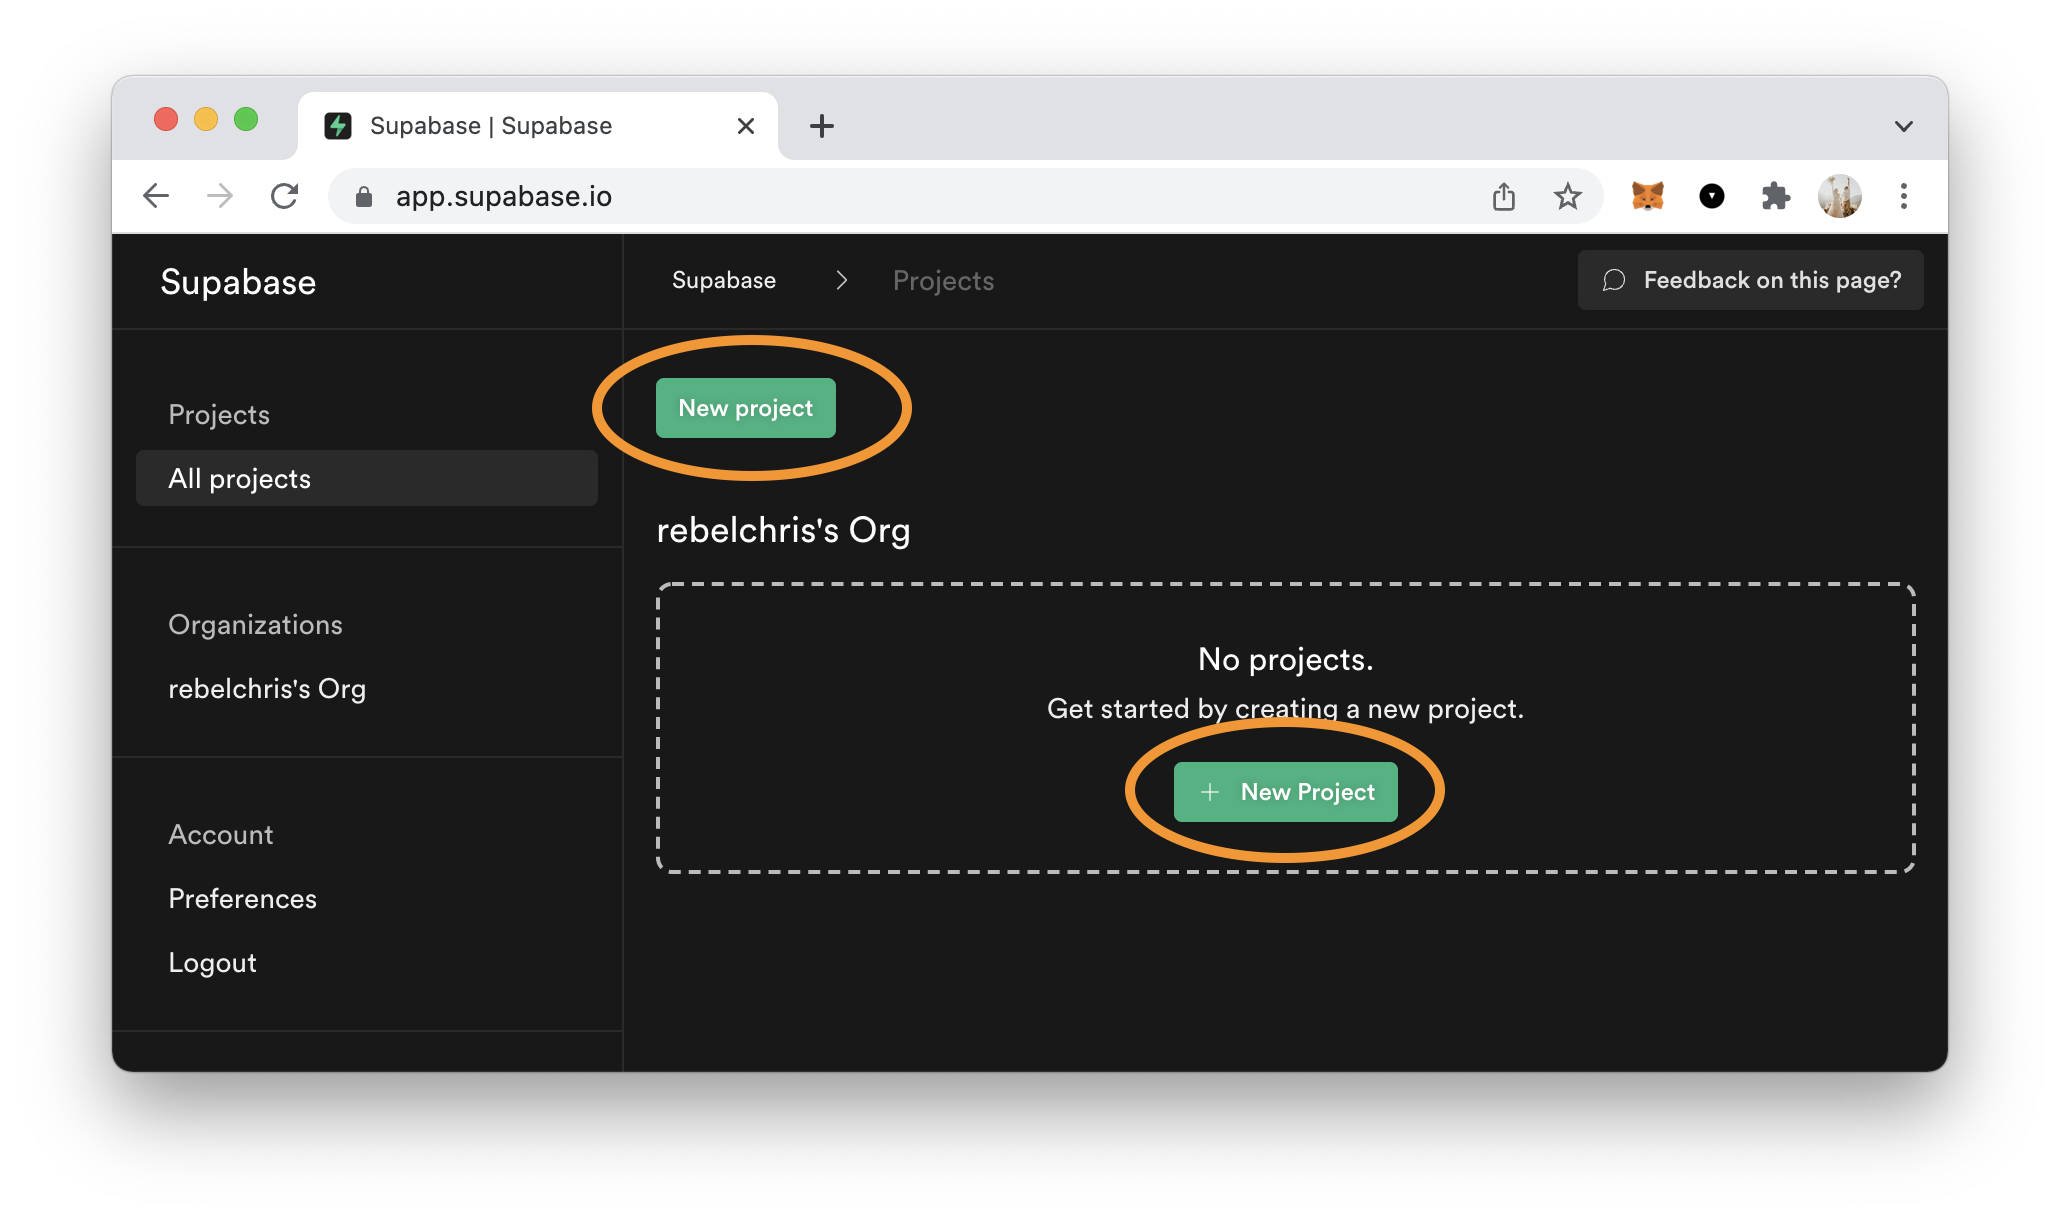
On the next screen, you have to give the project a new and determine a strong password (best to use a password manager for that).
Wait a minute or so to have the database finish setting up.
Once this is done, visit the SQL section, Supabase provides some basic starter templates. I'll be using the country list for this example.
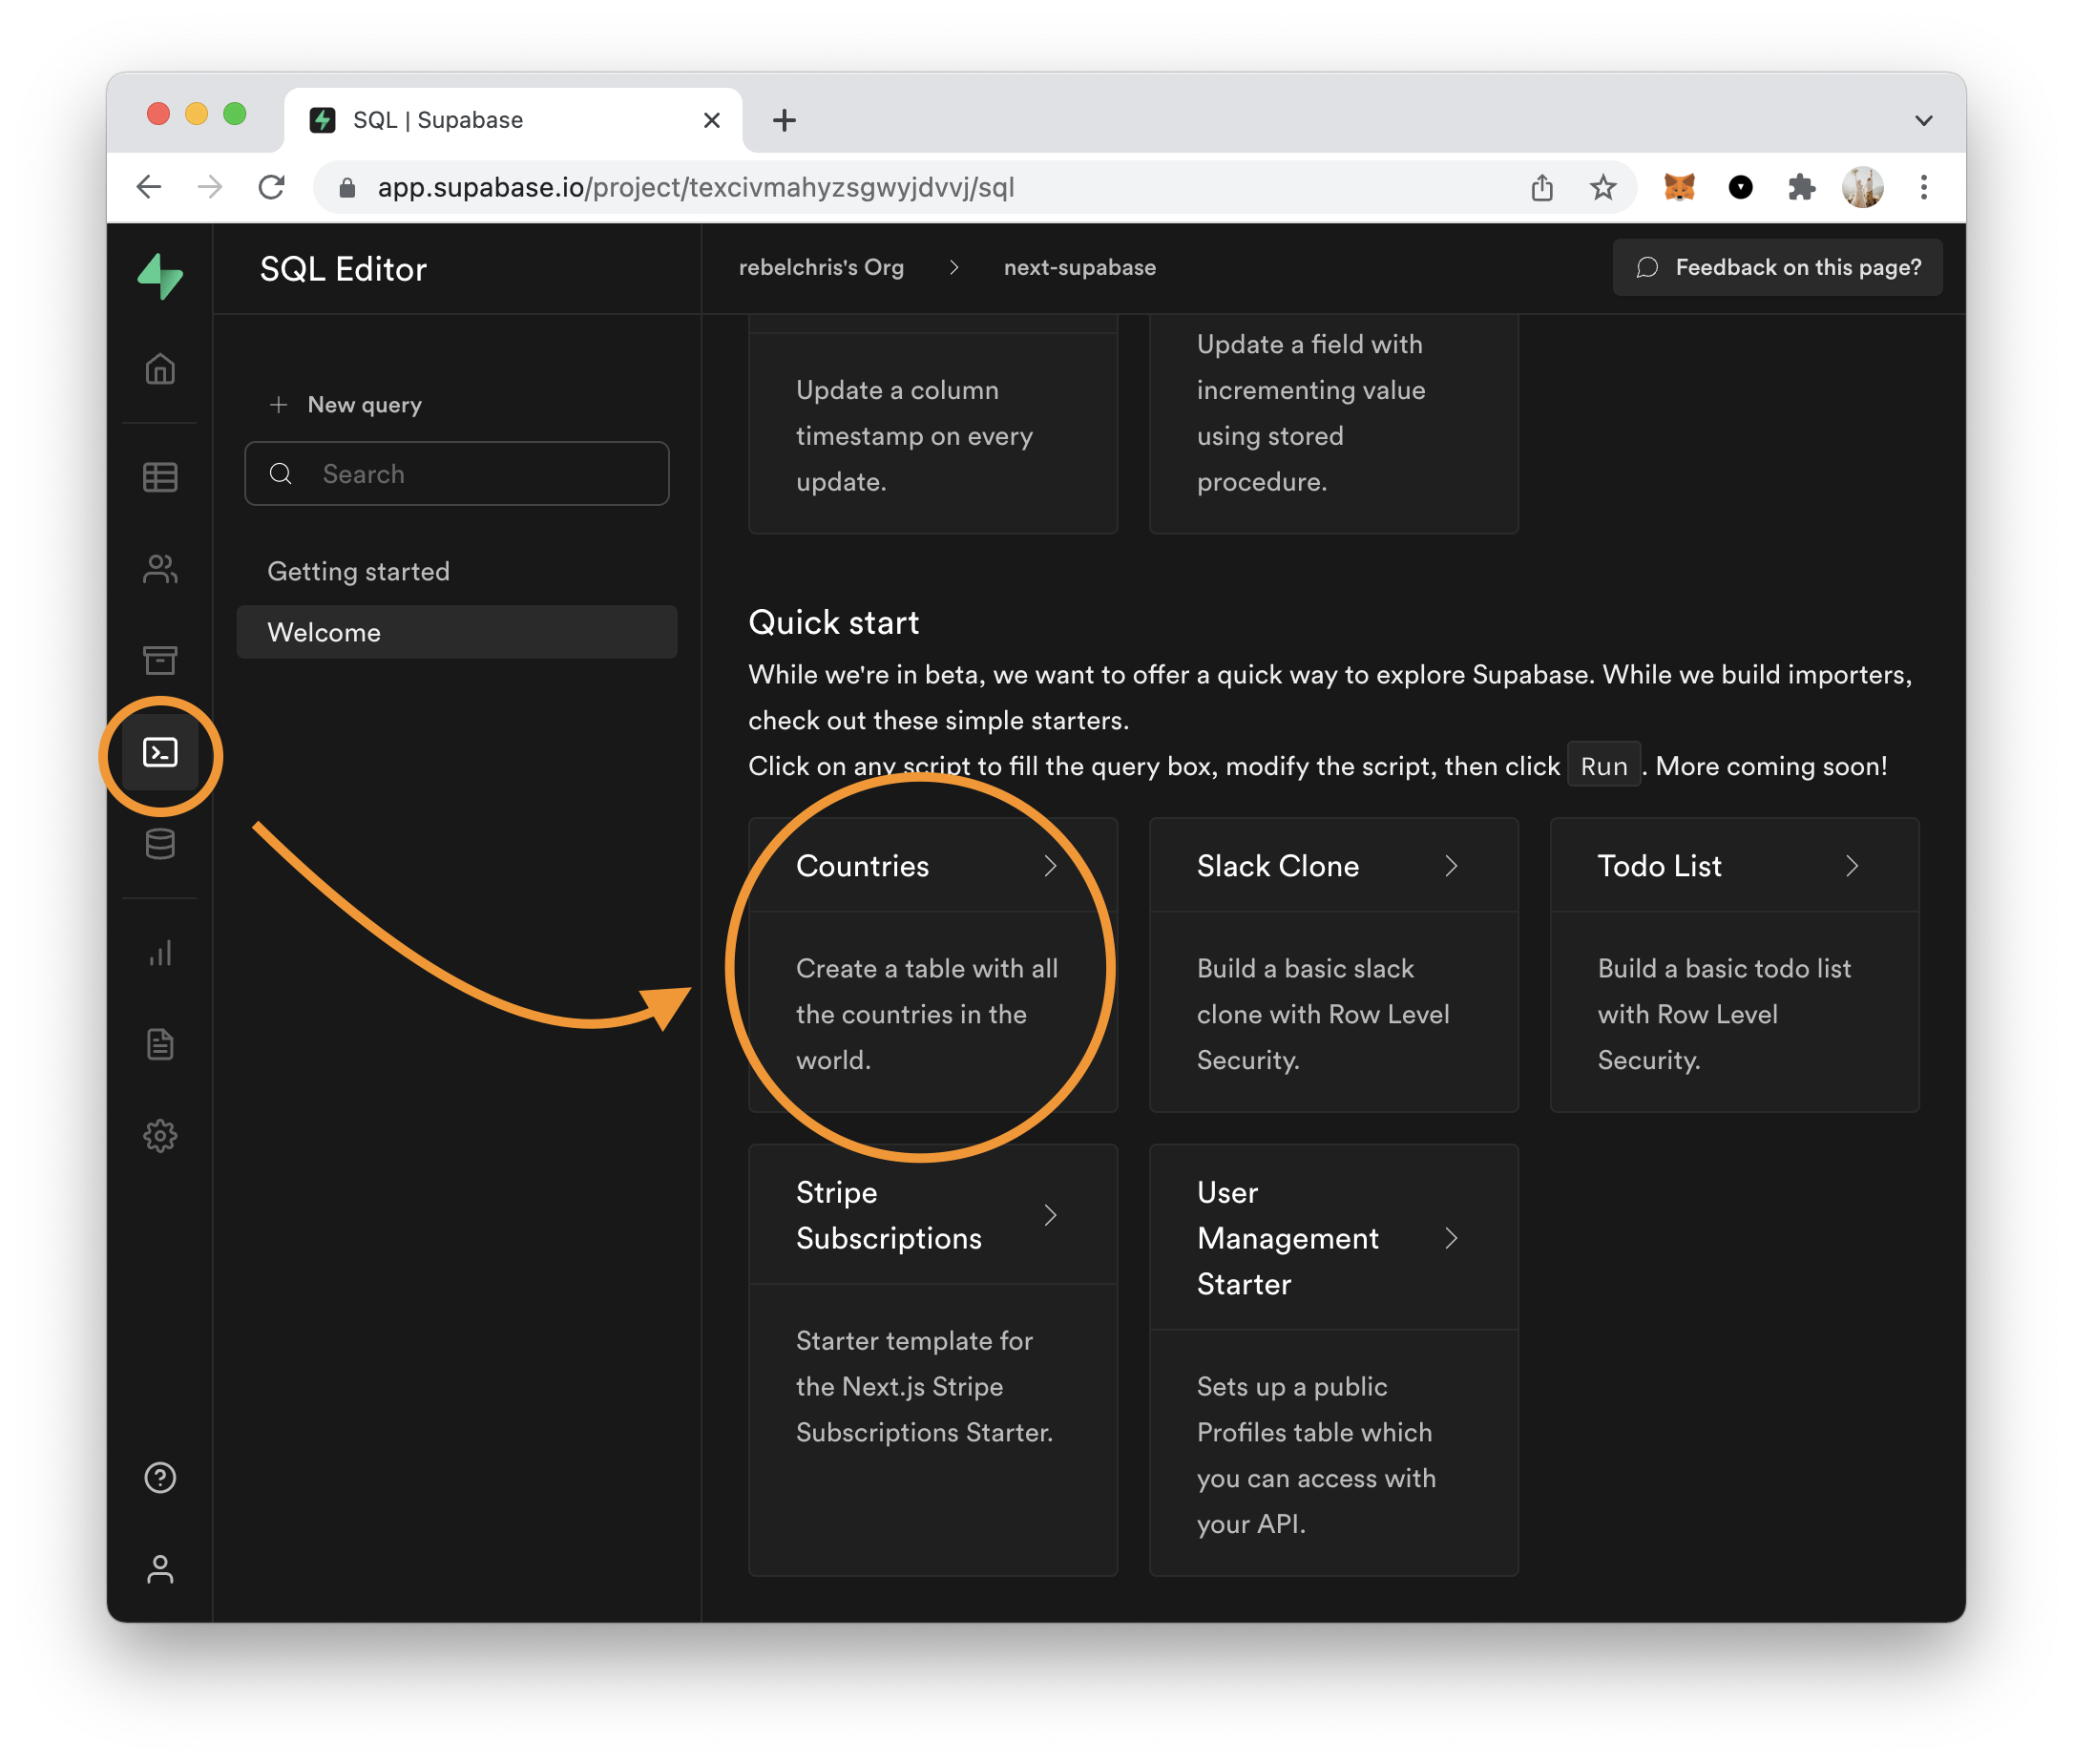
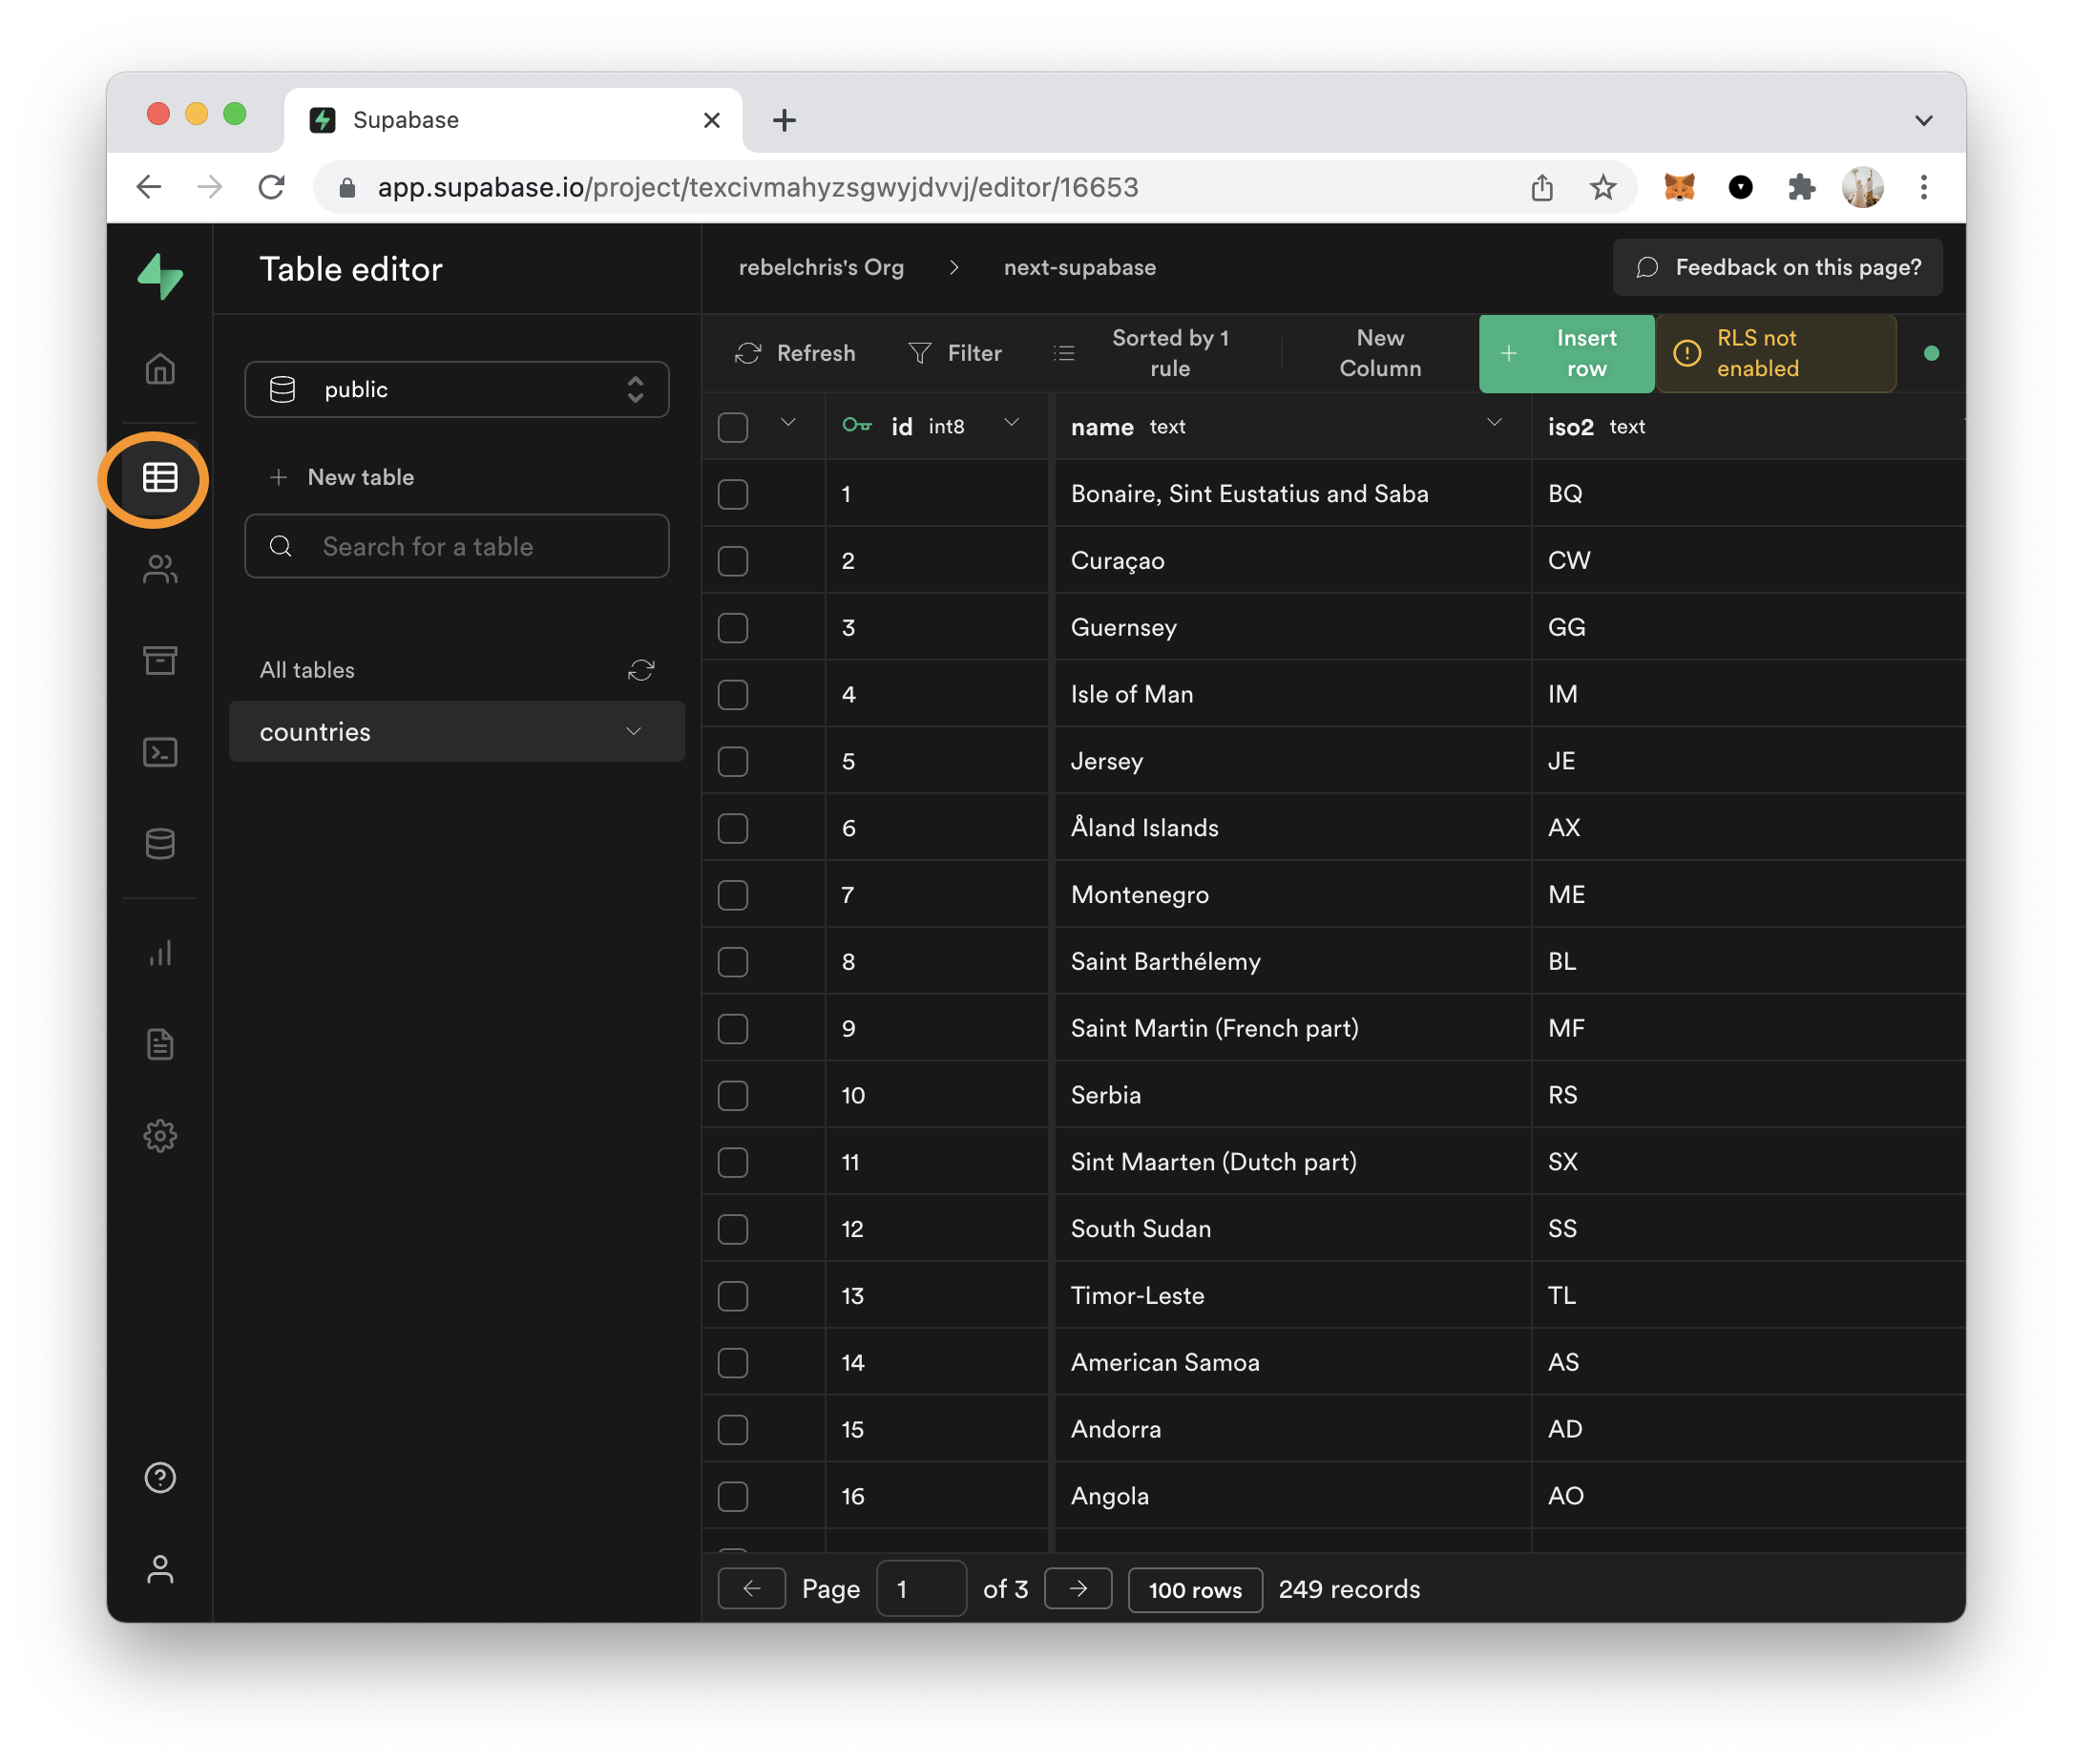
Once you click the Run button on the screen, it should create the table. You can head over to the table view to see it in action.
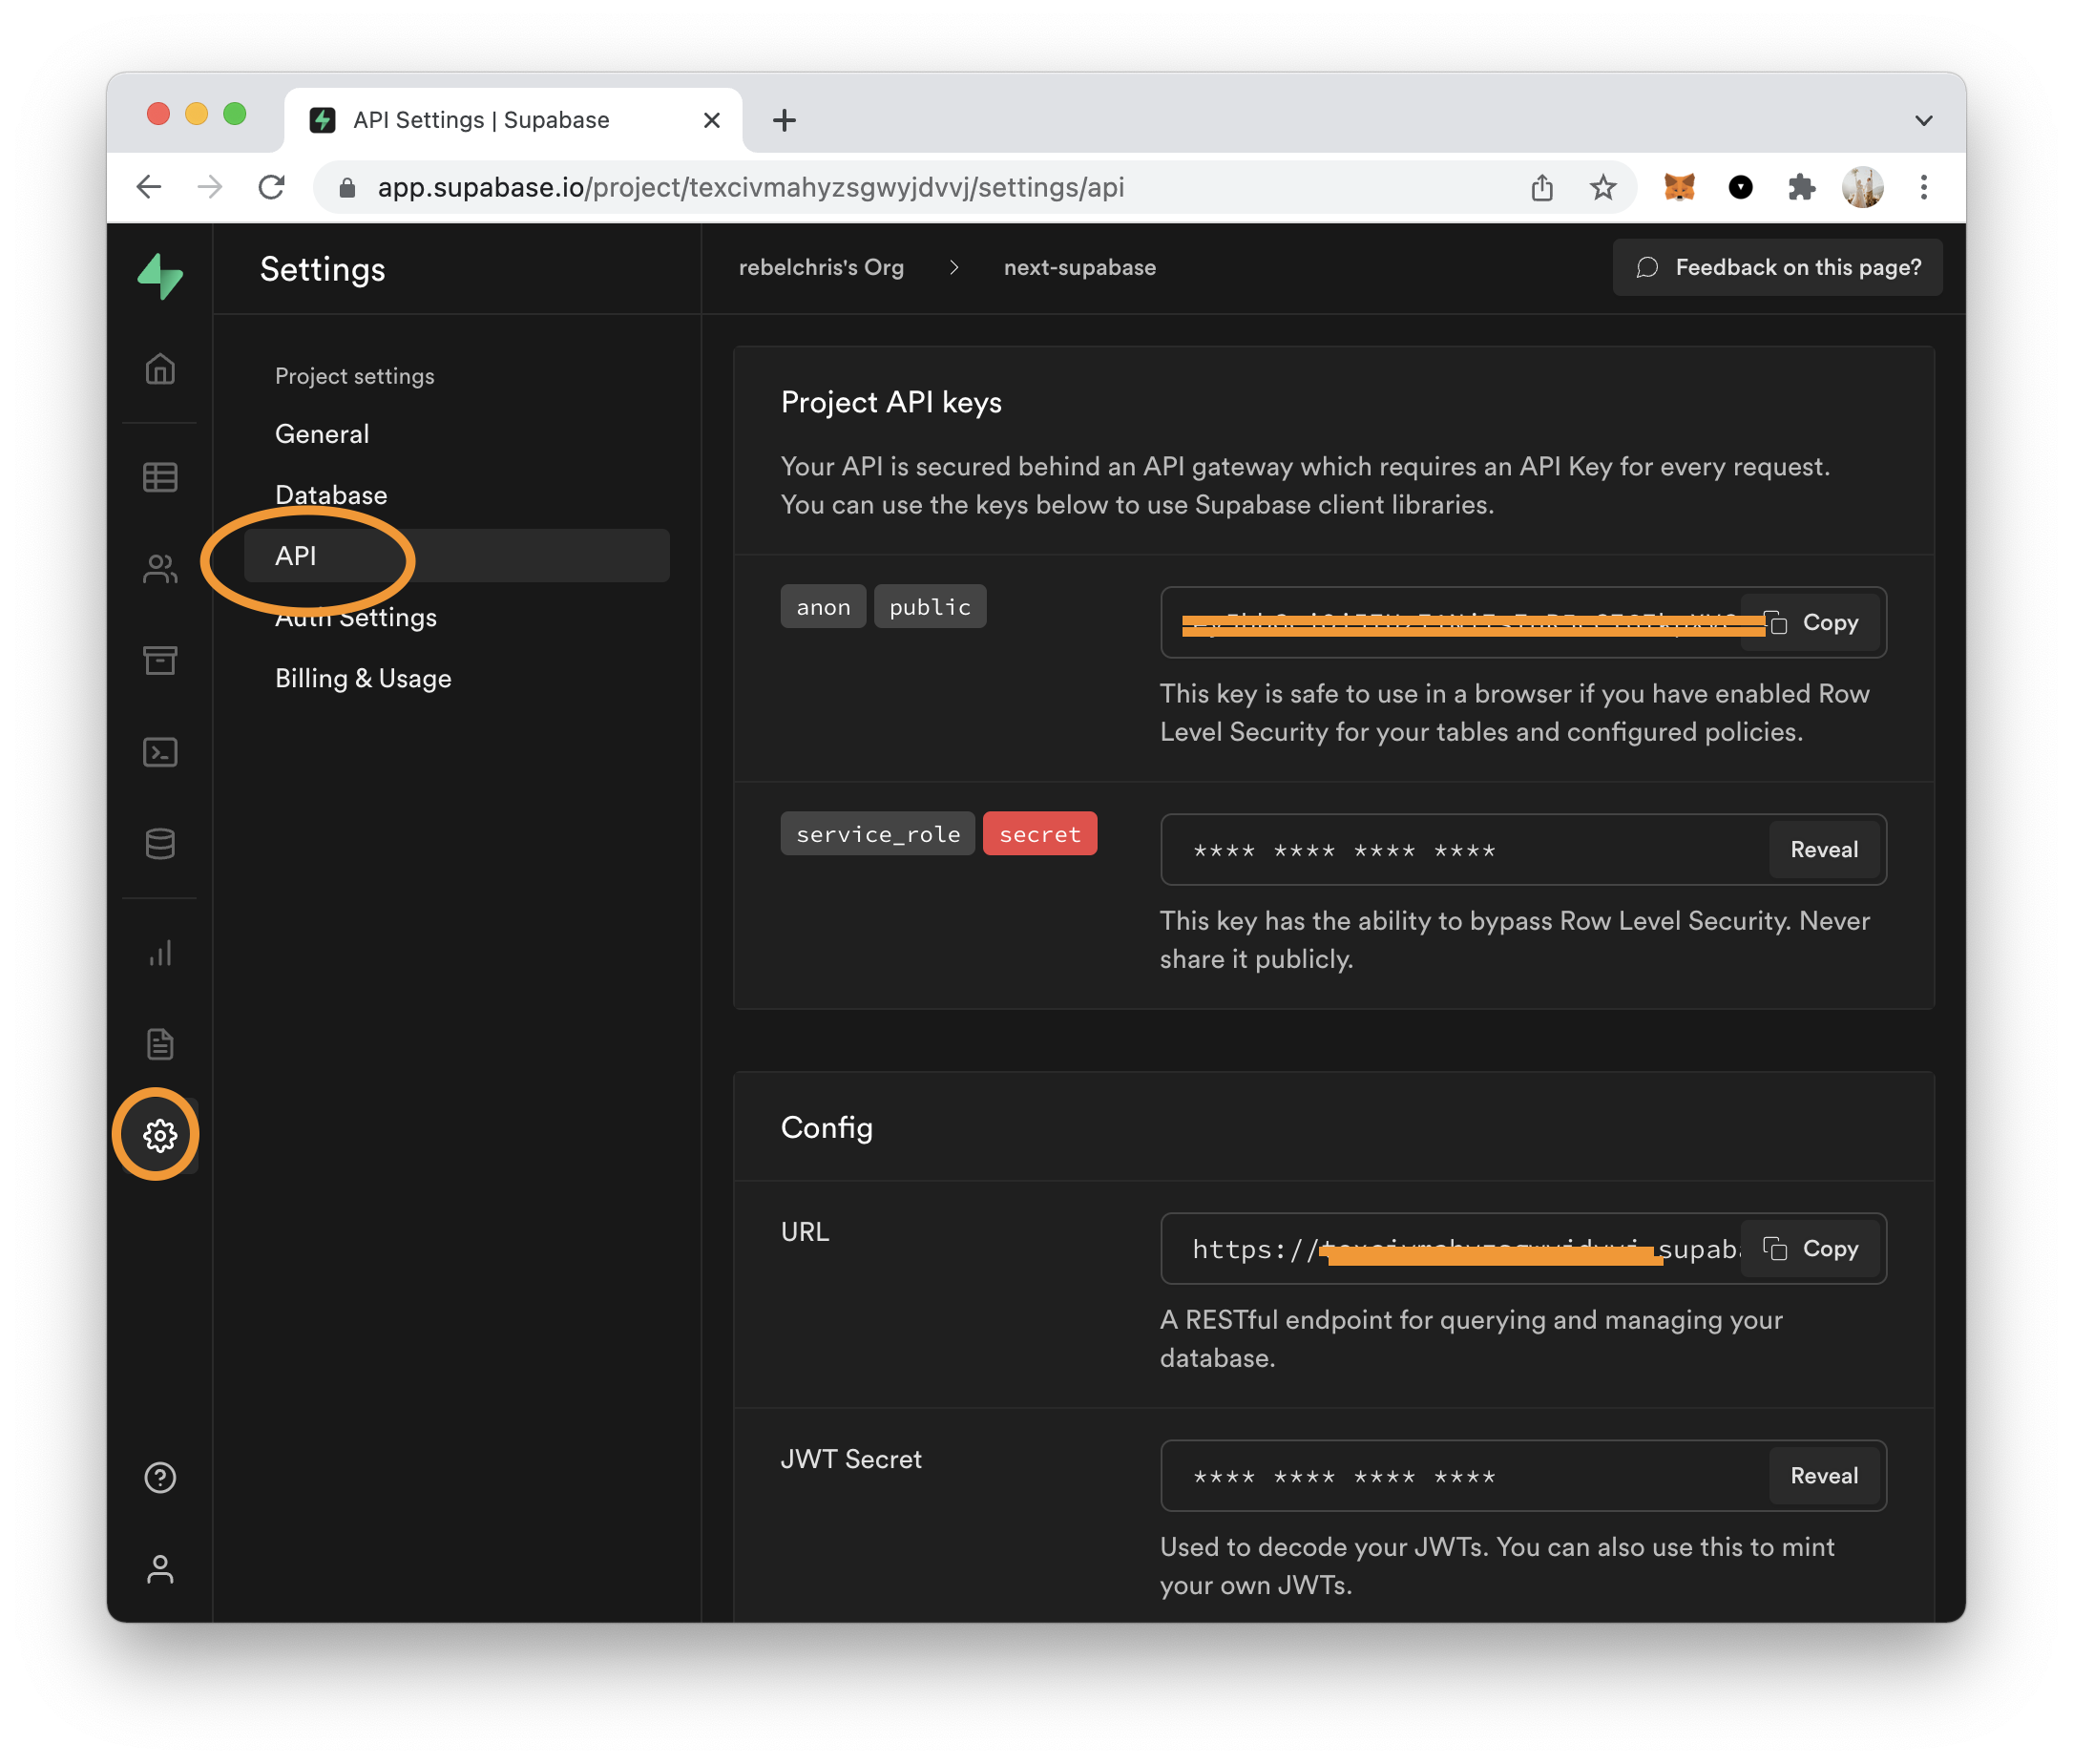
While we're in the Supabase screen, we also need to fetch the API keys.
Adding Supabase to Next.js
Now it's time to add Supabase to our Next.js app. Head over to the base of the project you created and execute the following command in a terminal.
npm install @supabase/supabase-js
Now create a .env.local file in the root of your project and add these two values you got from Supabase.
NEXT_PUBLIC_SUPABASE_URL=YOUR_SUPABASE_URL
NEXT_PUBLIC_SUPABASE_ANON_KEY=YOUR_SUPABASE_ANON_KEY
Then we'll create a helper to help us with authenticating to Supabase.
Create a new directory called lib. And inside this, create an initSupabase.js file.
import { createClient } from '@supabase/supabase-js'

const supabaseUrl = process.env.NEXT_PUBLIC_SUPABASE_URL
const supabaseAnonKey = process.env.NEXT_PUBLIC_SUPABASE_ANON_KEY

export const supabase = createClient(supabaseUrl, supabaseAnonKey)
Then open up the pages/index.js file and replace its contents with the following.
import Head from 'next/head';
import Image from 'next/image';
import CountryList from '../components/countryList';

export default function Home() {
  return (
    <main>
      <CountryList />
    </main>
  );
}
This CountryList component does not exist yet, so let's create a components folder and inside create the CountryList.js file.
The basic structure for the file will look like this:
export default function CountryList() {
  return (
    <ul>
      <li>Country</li>
    </ul>
  );
}
This is, of course, a hard-coded country, and we'll make this dynamic using Supabase.
Now let's load the Supabase init we just made and the react hooks we'll be using:
import { useEffect, useState } from 'react';
import { supabase } from '../lib/initSupabase';
Then we'll define a new state array for our country list.
const [countries, setCountries] = useState([]);
And we'll create a function that can fetch the countries from Supabase.
const fetchCountries = async () => {
    const { data: countries } = await supabase
      .from('countries')
      .select('*')
      .order('name', true);
    setCountries(countries);
};
However, we need to load this. For this, we can leverage the useEffect hook.
useEffect(() => {
    fetchCountries();
}, []);
And now all that's left is for us to render a list of these countries.
return (
    <ul>
      {countries.map((country) => (
        <li key={country.id}>{country.name}</li>
      ))}
    </ul>
);
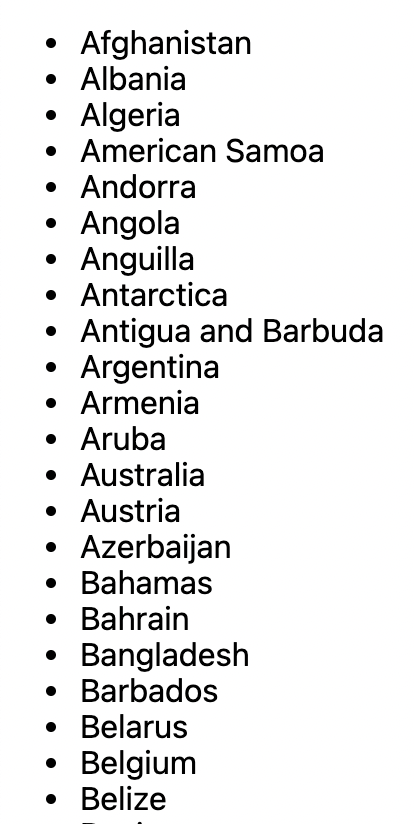
And there you go. We should now see the list of countries once we run our application.
You can also find the complete code on GitHub.
Thank you for reading, and let's connect!
Thank you for reading my blog. Feel free to subscribe to my email newsletter and connect on Facebook or Twitter
About the author
I'm a full-stack developer from South Africa 🇿🇦. I love writing about JavaScript, HTML and CSS.
Comments
Join the discussionNo comments yet. Be the first to comment.



