
Adding Prisma to Remix

I'm a full-stack developer from South Africa 🇿🇦. I love writing about JavaScript, HTML and CSS.
As you might know, I'm a big fan of Prisma, and since we choose the indie stack when we set up our Remix project, it already comes with Prisma.
Setting up Postgres in Remix
Since it already comes with Prisma installed, we can find the schema over in prisma/schema.prisma file.
Inside this, let's add the most basic post setup.
And while we are here, change the data source to Postgres.
datasource db {
  provider = "postgres"
  url      = env("DATABASE_URL")
}

model Post {
  slug     String @id
  title    String
  content  String

  createdAt DateTime @default(now())
  updatedAt DateTime @updatedAt
}
Now open your .env file and the correct DATABASE_URL to your Prisma database instance.
For me it looks like this:
DATABASE_URL = 'postgresql://USER:[email protected]:5432/YOUR_DB';
Once you setup, run the following command to create the database.
npx prisma db push
We should have the database populated and visible in our database client.
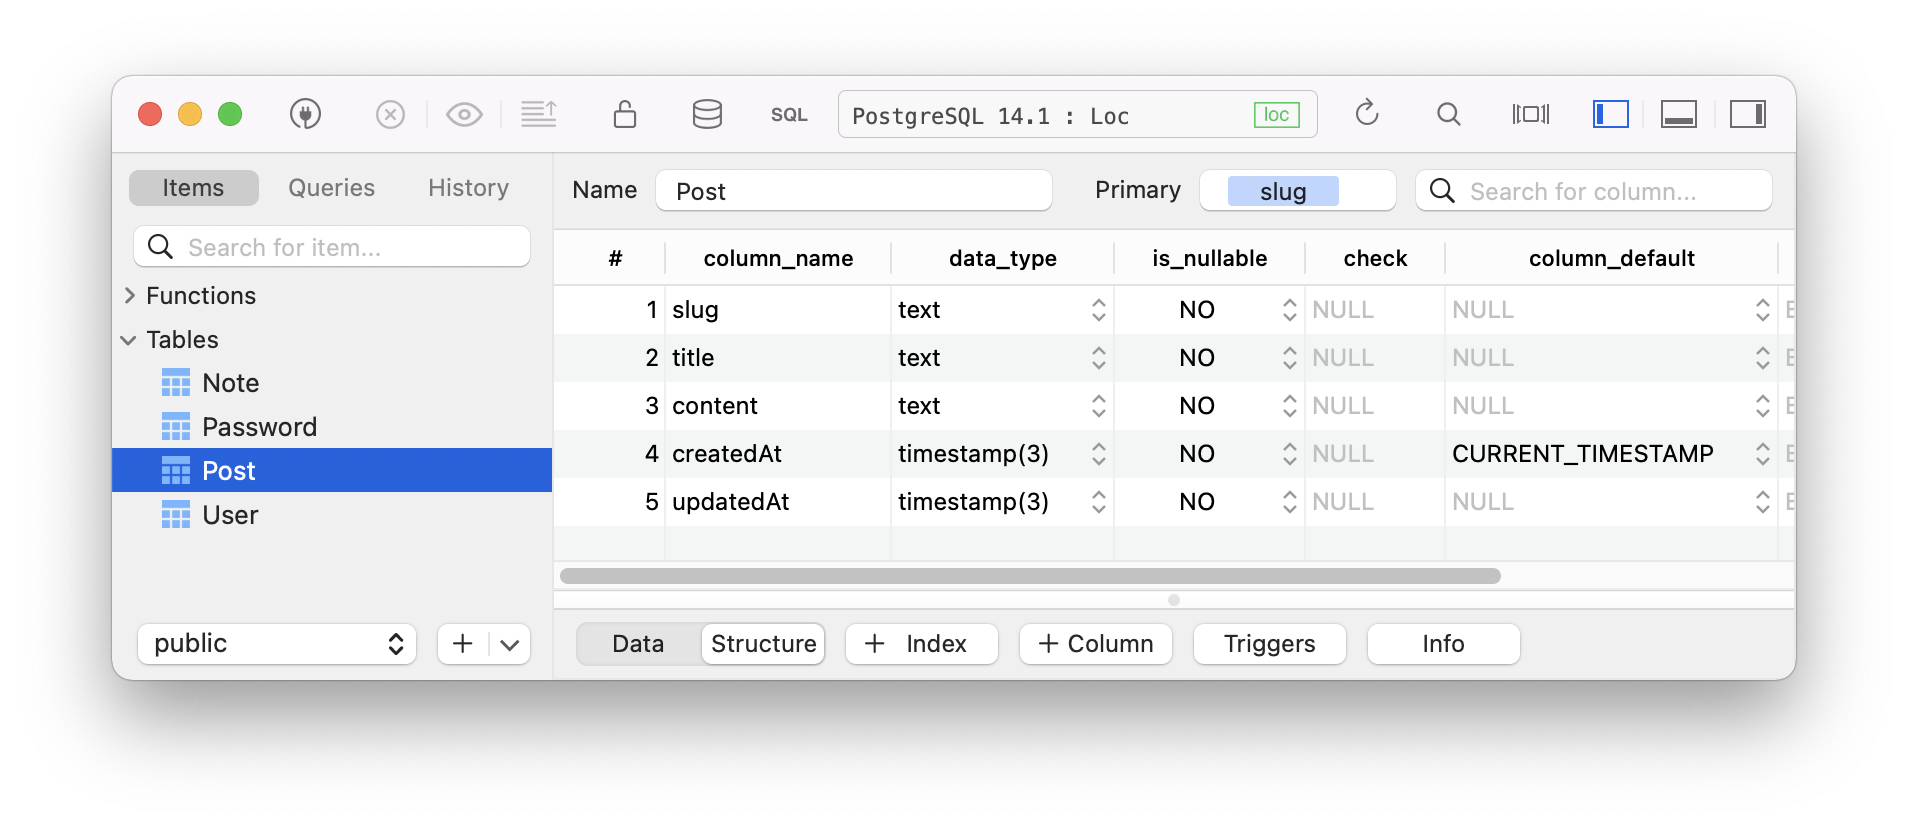
Changing our model to Postgres
So far, our model has been using the plain JSON file we had set up locally. Let's change it to be loaded from the Postgres database.
Open up the app/models/post.server.ts file and modify it to look like this.
import { prisma } from '~/db.server';

export async function getPosts() {
  return prisma.post.findMany();
}

export async function getPost(slug: string) {
  return prisma.post.findUnique({ where: { slug } });
}
This makes it way cleaner as well.
Note: Go ahead and add a post to your database. Either use the Prisma seeder or manually add one.
Now when we run our app, we don't have to make any other changes, and it will simply reflect this new data source!
A match made in heaven: Remix ❤️ Prisma.
If you want to see the completed code, it's hosted here on GitHub.
Thank you for reading, and let's connect!
Thank you for reading my blog. Feel free to subscribe to my email newsletter and connect on Facebook or Twitter



