
Adding posts to my lifestyle blog in Eleventy - part-2

I'm a full-stack developer from South Africa 🇿🇦. I love writing about JavaScript, HTML and CSS.
Welcome to part 2 of rebuilding my blog in Eleventy. Today we will focus on adding blog pages, an archive, and tag pages to our blog.
Because what is a blog without any of those, right!
I will be using markdown files for the blog pages, and we will use tags in markdown to get the specific elements.
We will also add pagination to our archive so we don't have just one big list.
Adding posts to our Eleventy blog
Write picking up from where we left, let's add some posts to our blog!
Ad a folder called posts inside the src folder and start adding a couple of files ending in .md in there.
Example of such a file:
---
layout: layouts/post.njk
title: 'Article 1'
metaTitle: 'Article 1'
metaDesc: 'todo'
socialImage: images/article-1.jpg
date: 2020-09-12T03:00:00.000Z
tags:
  - health
---

Health article 1
The name of the file will result in the URL.
You can see we are using a new layout, so let's add this layout to our layouts folder.
{% extends 'layouts/base.njk' %} {% block content %}
<div class="row">
  <div class="col w-1/2">
    <h1>{{ title }}</h1>
  </div>
  <div class="col w-1/2">
    {{ content | safe }}
  </div>
</div>
{% endblock %}
In here we simply render the title and content, for now, we will come back to styling this in another article.
By now we can run eleventy again and we should have got our posts published.
I called my post article-1 so I can view them following this URL:
http://localhost:8080/posts/article-1/
Alright, you should see something like this now:
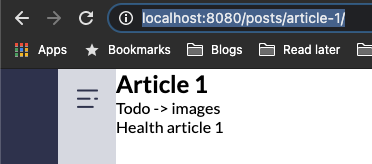
We did it, we added posts to our blog! Now you can go ahead and add some more posts using the above technique, try and add some different tags for the following example.
Adding an archive page for our blog
We also want to have an archive for our articles, this archive should use pagination.
Before we do that, we have to register or post-collection with Eleventy.
Open up the .eleventy.js file and in the exports add the following section.
const now = new Date();
const livePosts = post => post.date <= now;
config.addCollection('posts', collection => {
  return [
    ...collection.getFilteredByGlob('./src/posts/*.md').filter(livePosts)
  ].reverse();
});
This will register the post collection of all posts that have a date before today.
We also reverse the list so we will start with the newest article on page 1.
Now we can add a file called archive.njk in our src folder.
---
title: Archive
pagination:
  data: collections.posts
  size: 1
  alias: posts
---

{% extends 'layouts/base.njk' %} {% set postListItems = pagination.items %} {% block
content %}
<main id="main-content" tabindex="-1">
  {% include "partials/components/post-list.njk" %} {% include
  "partials/components/pagination.njk" %}
</main>
{% endblock %}
We tell the page to use pagination based on the posts collection, and each page should show 1 result (you can change this of course)
Then we set a variable called postListItems which holds the pagination items for the current page.
We then render two included files in the content section, these are the post-list and the pagination component.
Creating the post-list component
Let's add this post-list component, this basically is a list of posts that serves the pagination and tag overview pages.
Place the file post-list.njk inside the src/_includes/partials/components folder.
{% if postListItems.length %}
<ul>
  {% for item in postListItems %}
  <li>
    <h3>
      <a href="{{ item.url }}" title="{{ item.data.title }}">{{ item.data.title }}</a>
    </h3>
  </li>
  {% endfor %}
</ul>
{% endif %}
As you can see, we check if the postListItems is not empty then we loop over each element and add a link to that page.
Creating the pagination component
Our pagination component will only include previous and next links so it's pretty basic.
Let's add the pagination.njk to the src/_includes/partials/components folder.
{% if pagination.href.previous or pagination.href.next %}
<br />
<hr />
{% if pagination.href.previous %}
<a href="{{ pagination.href.previous }}" data-direction="backwards">
  Previous
</a>
{% endif %} {% if pagination.href.next %}
<a href="{{ pagination.href.next }}" data-direction="forwards">
  Next
</a>
{% endif %} {% endif %}
This will check if we have any pagination at all, and add the relevant previous and next links to the page.
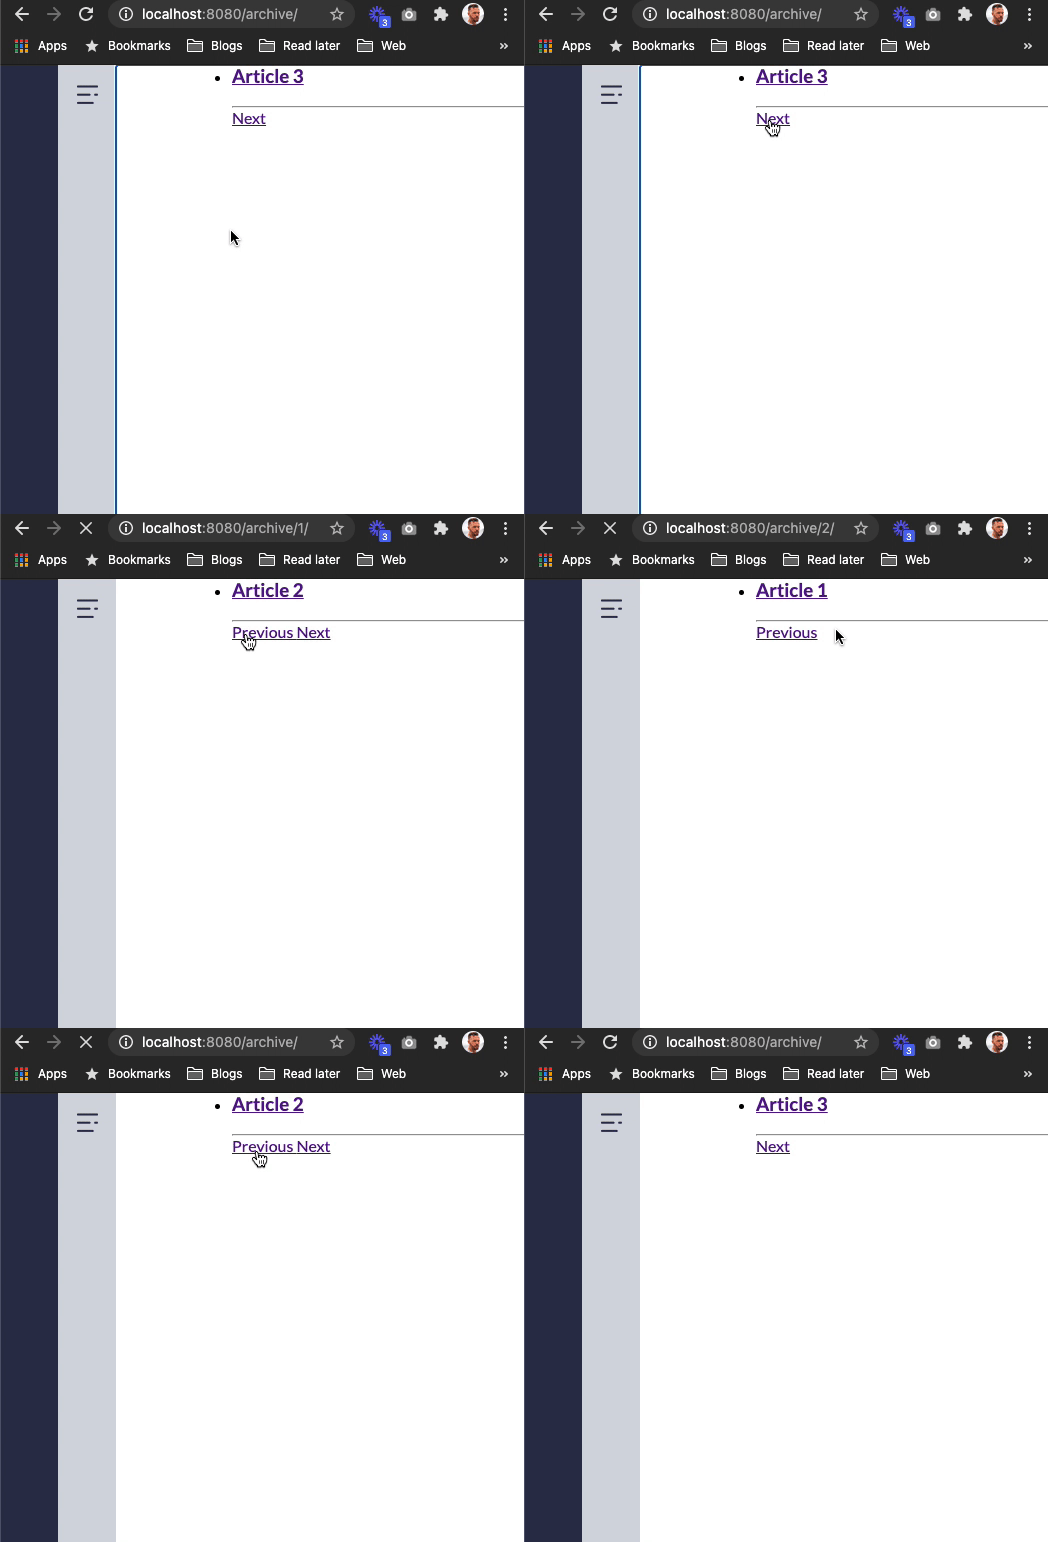
This will result in the following:
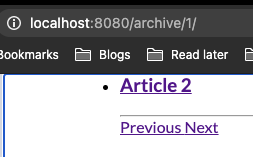
Alright, we now have our archive with pagination
Adding a tag overview to our Eleventy blog
Now that we have our archive, we might as well add a tag archive. This will be a list for all posts for a specific tag.
The good part is we can re-use the stuff we just made for the archive.
Let's add the tags.njk file in our src directory.
---
pagination:
  data: collections
  size: 1
  alias: tag
  addAllPagesToCollections: true
permalink: /tags/{{ tag }}/
---

{% extends 'layouts/base.njk' %} {% set postListItems = collections[tag] %} {% block
content %}
<main id="main-content" tabindex="-1">
  {% include "partials/components/post-list.njk" %}
</main>
{% endblock %}
This will create a page for every tag, it won't include pagination, so it's just a long list of all articles.
It will then re-use the post-list we just created to render these posts.
This will look as such:
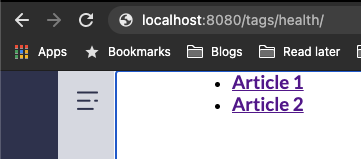
If you are following along, you can find today's code on GitHub.
Thank you for reading, and let's connect!
Thank you for reading my blog. Feel free to subscribe to my email newsletter and connect on Facebook or Twitter



