
Adding medusa storefronts
I'm a full-stack developer from South Africa 🇿🇦. I love writing about JavaScript, HTML and CSS.
Now that we have our medusa server and our medusa admin. Let's look at the most critical part, the actual storefront.
The storefront is the system customers will use to order the products.
Luckily for us, medusa comes with two ready-made starters, and you can use these for inspiration and make your system.
The two systems out of the box are:
- Next.js storefront
- Gatsby storefront
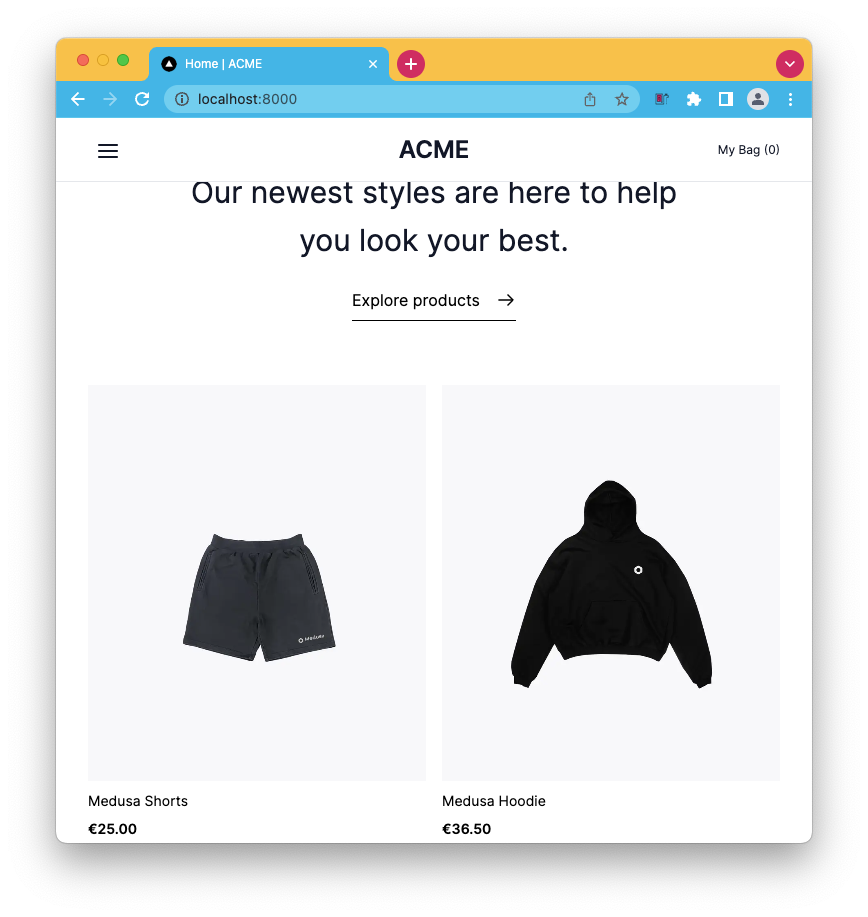
Installing the Next.js medusa storefront
Let's start with the Next.js storefront, as this will most likely be the one I'll be using.
Open your terminal and navigate to the directory where you place your projects. Run the following command:
npx create-next-app -e https://github.com/medusajs/nextjs-starter-medusa medusa-store
The medusa-store parameter will be the project folder in which we create the project.
Now you can go inside this folder and run npm run dev. This should spool up your Next.js storefront!
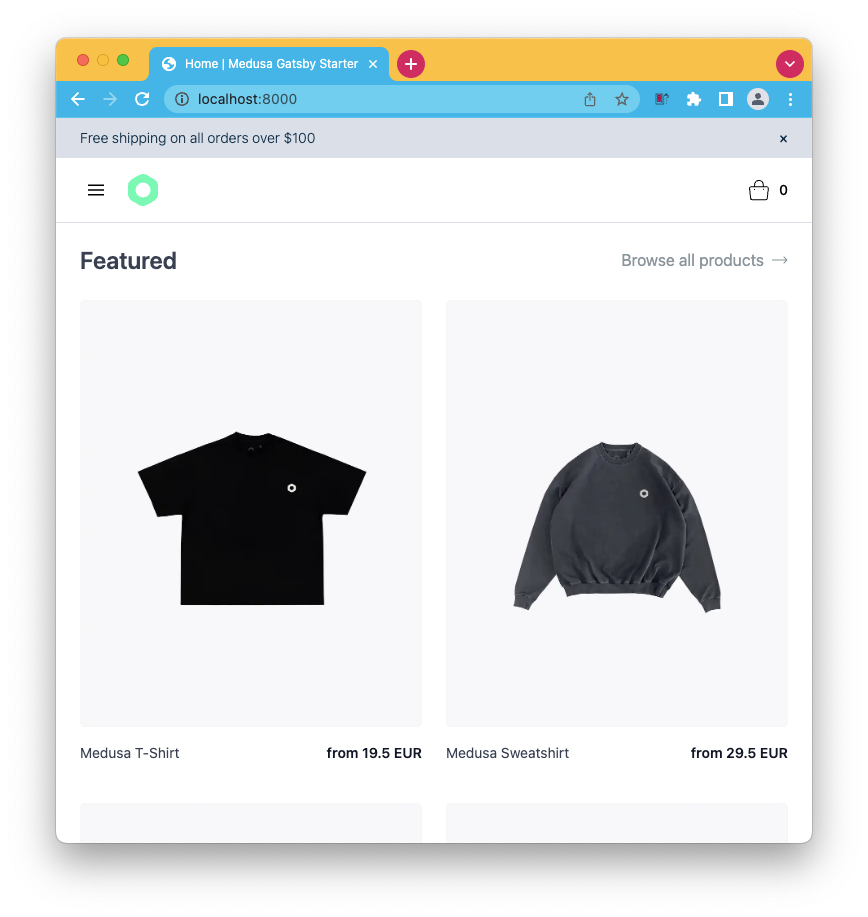
Installing the Gatsby storefront
Perhaps you are more a fan of Gatsby? Well, no problem. Let's also give that a try so that we can evaluate both of them.
First, ensure that you have the Gatsby CLI installed.
npm install gatsby-cli -g
Then we can run the following command in our main project directory to install the project.
gatsby new medusa-gatsby https://github.com/medusajs/gatsby-starter-medusa
Again the medusa-gatsby is the folder name we will install the project into.
Once it's done installing, you should copy the environment default to a local one.
mv .env.template .env.development
And now run the server:
gatsby develop
Now visit http://localhost:8000/, and you should see this pretty cool storefront.
Thank you for reading, and let's connect!
Thank you for reading my blog. Feel free to subscribe to my email newsletter and connect on Facebook or Twitter


