
Adding email authentication to NextAuth

I'm a full-stack developer from South Africa 🇿🇦. I love writing about JavaScript, HTML and CSS.
We had a first look at NextAuth, a super simple way to add authentication to your Next.js app.
We chose a social login that time, but we can also roll out email authentication!
We need to have a database setup. We will be using the Postgres database we created on Heroku.
Installing the dependencies
For the ease of this tutorial, I'll start from scratch so that it's easier for you to follow along.
Let's create a new Next.js app:
npx create-next-app
Then we need to add all the dependencies:
npm install next-auth@beta @prisma/client @next-auth/prisma-adapter@next
npm install prisma --save-dev
At the time of writing, I had some issues installing the Prisma adapter version, so I used
--legacy-peer-depsfor now.
And on sub-note two, it should install nodemailer, but I needed to add it manually.
npm install nodemailer
Setting the environment
We need quite some administrative environment variables, so let's get started by setting those up.
Open/create the .env file and add the following fields.
DATABASE_URL="postgres://..."
EMAIL_SERVER=smtp://{user}:{password}@smtp.mailtrap.io:587
[email protected]
NEXTAUTH_URL=http://localhost:3000
- Database URL can be taken from your Heroku Postgres URL
- Email server I'm using mailtrap for this, as a testing server
- Email from can be anything you like
- NextAuth URL needs to match the domain you are running this on
Creating the schema
Let's start by creating our prism schema for the authentication layer.
Run the following command to generate the primary Prisma folder.
npx prisma init
In there, add the following schema that is needed for NextAuth.
model Account {
  id                 String  @id @default(cuid())
  userId             String
  type               String
  provider           String
  providerAccountId  String
  refresh_token      String?
  access_token       String?
  expires_at         Int?
  token_type         String?
  scope              String?
  id_token           String?
  session_state      String?
  oauth_token_secret String?
  oauth_token        String?

  user User @relation(fields: [userId], references: [id], onDelete: Cascade)

  @@unique([provider, providerAccountId])
}

model Session {
  id           String   @id @default(cuid())
  sessionToken String   @unique
  userId       String
  expires      DateTime
  user         User     @relation(fields: [userId], references: [id], onDelete: Cascade)
}

model User {
  id            String    @id @default(cuid())
  name          String?
  email         String?   @unique
  emailVerified DateTime?
  image         String?
  accounts      Account[]
  sessions      Session[]
}

model VerificationToken {
  identifier String
  token      String   @unique
  expires    DateTime

  @@unique([identifier, token])
}
You can then go ahead and run the following command to publish the database.
npx prisma db push
// Or this one if you are following migrations
npx prisma migrate dev
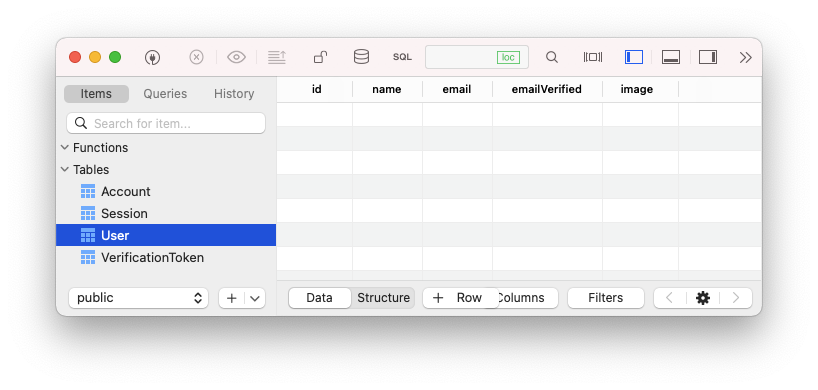
Once it's done, we should see all the fields in the database.
NextAuth config for email login
The next thing we need to do is the standard NextAuth config, so let's set that up quickly.
First, we'll need an API file to handle all the logic for us. Create an auth folder inside your pages/api directory.
In there create the [...nextauth].js file.
import NextAuth from 'next-auth';
import EmailProvider from 'next-auth/providers/email';
import { PrismaAdapter } from '@next-auth/prisma-adapter';
import { PrismaClient } from '@prisma/client';

const prisma = new PrismaClient();

export default NextAuth({
  adapter: PrismaAdapter(prisma),
  providers: [
    EmailProvider({
      server: process.env.EMAIL_SERVER,
      from: process.env.EMAIL_FROM,
    }),
  ],
});
Here we set the NextAuth to work with the Prisma database adapter and use the email provider. These two combined enable us to store users in our own Postgres database.
Then we need to wrap our app with the session provider.
Open up the _app.js file and make it look like this:
import '../styles/globals.css';
import { SessionProvider } from 'next-auth/react';

function MyApp({ Component, pageProps: { session, ...pageProps } }) {
  return (
    <SessionProvider session={session}>
      <Component {...pageProps} />
    </SessionProvider>
  );
}

export default MyApp;
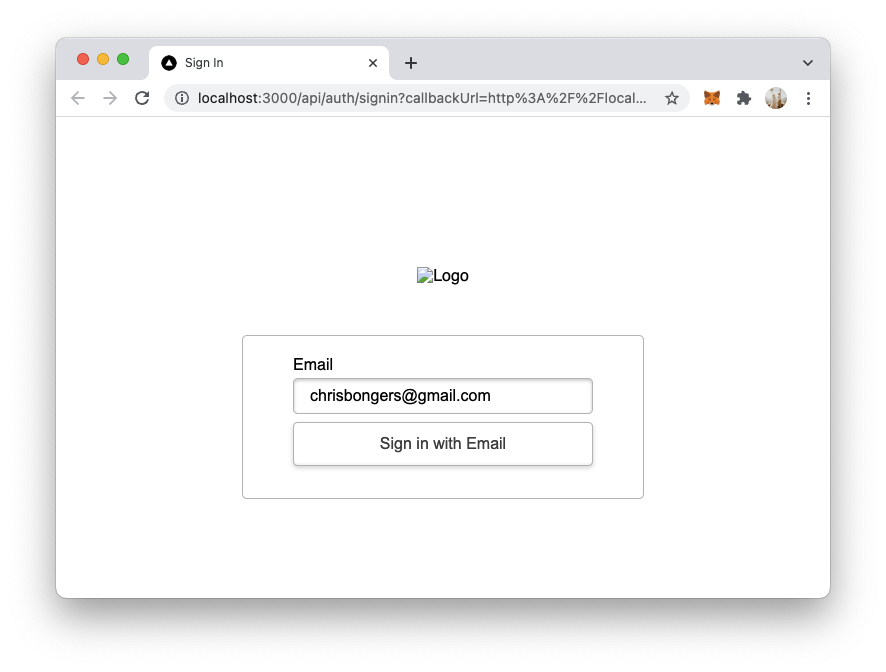
The last part is the frontend page, so open the index.js file and change it to this:
import { useSession, signIn, signOut } from 'next-auth/react';

export default function Component() {
  const { data: session } = useSession();
  if (session) {
    return (
      <>
        Signed in as {session.user.email} <br />
        <button onClick={() => signOut()}>Sign out</button>
      </>
    );
  }
  return (
    <>
      Not signed in <br />
      <button onClick={() => signIn()}>Sign in</button>
    </>
  );
}
Now let's try it out and see what happens.
Run the app npm run dev and click the login button.
If you used Mailtrap, the mail should show up there like so:
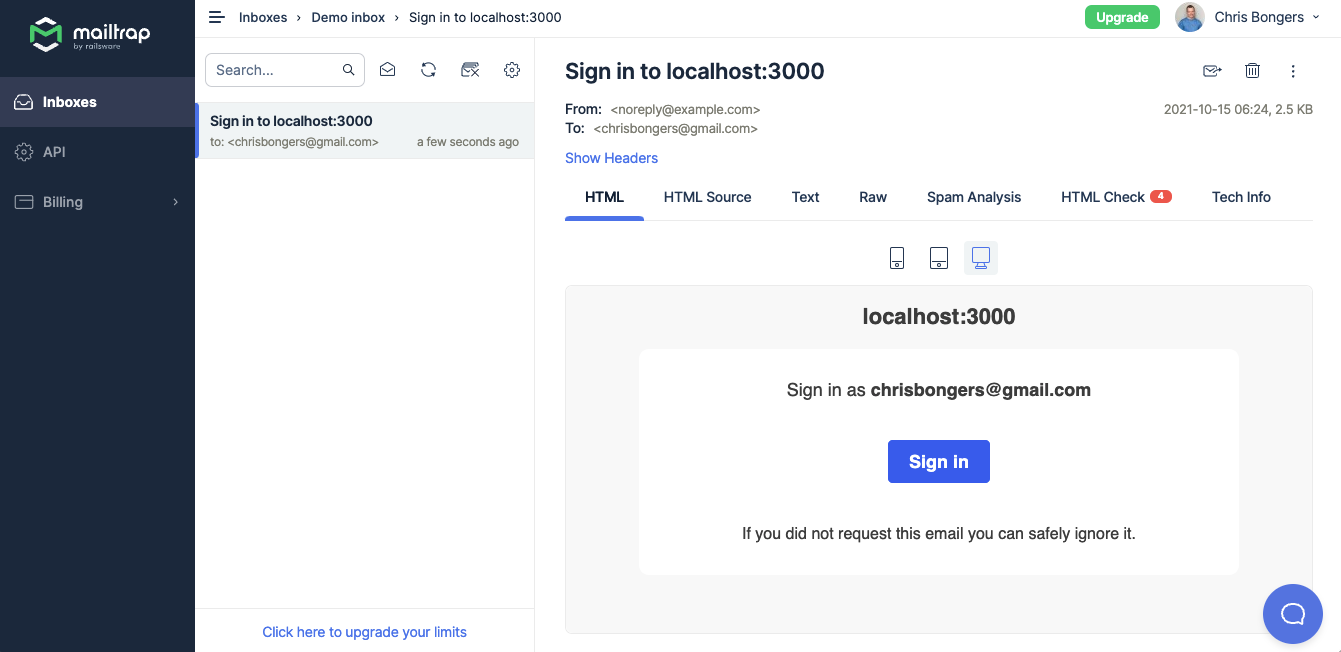
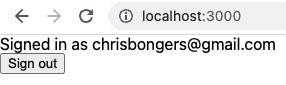
Once we click the sign-in button, we should go back to our app and be logged in!
And if we open our database, we can see the user created in there.

Pretty cool, we now rolled out our own authentication layer for NextAuth based on email.
You can find the complete code on GitHub.
Thank you for reading, and let's connect!
Thank you for reading my blog. Feel free to subscribe to my email newsletter and connect on Facebook or Twitter


