
Adding custom routes in medusa

I'm a full-stack developer from South Africa 🇿🇦. I love writing about JavaScript, HTML and CSS.
The cool part about medusa is that we get the option to customize a lot of things. One of them is routes. This article will show you how to add a store and an admin route.
When it comes to these routes, we add all of them to our server project. Go ahead and open your server project in your favorite IDE.
Adding a store route
Custom routes are added in the src/app directory. In our case, we'll add an index.js.
import { Router } from 'express';

export default () => {
  const router = Router();

  router.get('/store/ping', (req, res) => {
    res.json({
      message: 'Pong from the server!',
    });
  });

  return router;
};
This will inject a new route under store/ping, which the storefront can use.
Note: the store prefix is according to medusa conventions. You can modify it and return a direct route.
Now let's restart our server and test the endpoint in Insomnia.
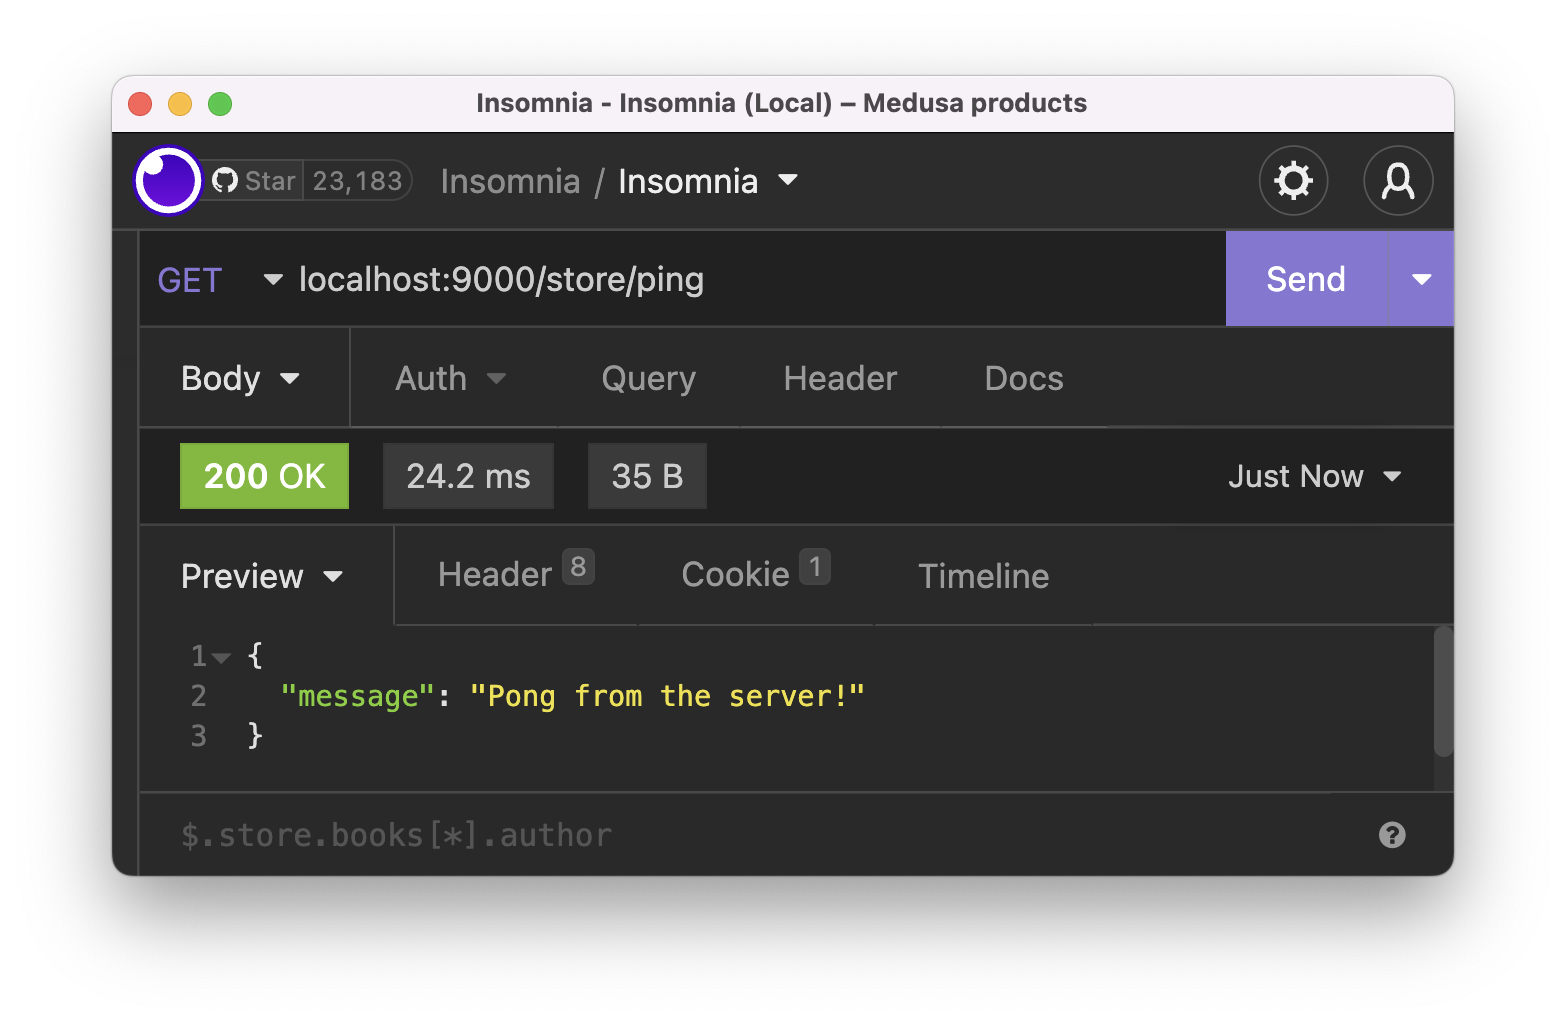
There you go, it works!
Adding an admin route
We can use this same principle to prefix admin routes.
However, the route is now prefixed with admin.
import { Router } from 'express';

export default () => {
  const router = Router();

  router.get('/admin/ping', (req, res) => {
    res.json({
      message: 'Pong from the server!',
    });
  });

  return router;
};
You can go ahead and try this endpoint as well.

And that's it. We now learned how to add custom routes to our medusa server. These routes will come in handy while exploring other options for our admin and front end.
Thank you for reading, and let's connect!
Thank you for reading my blog. Feel free to subscribe to my email newsletter and connect on Facebook or Twitter


